
>>

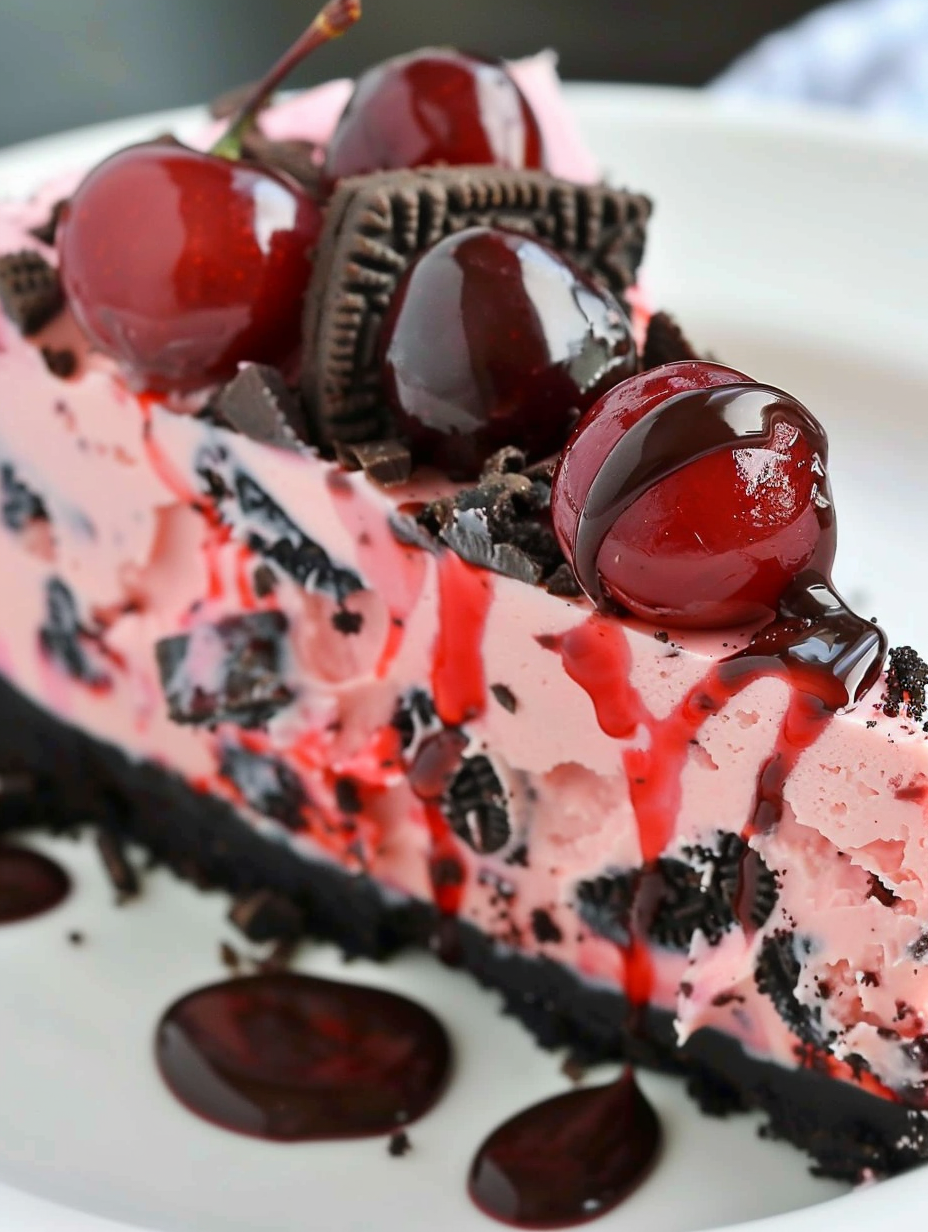
A luscious, no-bake cheesecake with an Oreo crust, cherry gelatin, juicy cherries, and semisweet chocolate chips—perfect for parties and easy summer desserts.

This Oreo Cherry Chocolate Chip No Bake Cheesecake has been a celebration staple in my kitchen for years. I first stumbled on the idea one summer when I wanted a cool showstopper that combined childhood favorites: Oreos, cherries, and chocolate. The result is a creamy, pillowy filling that needs no oven, set with cherry gelatin and studded with juicy cherries and chocolate chips. Every bite gives a contrast of textures—the crisp crumb base, the silky cream cheese cloud, and the little pops of fruit and chocolate. It quickly earned a spot at birthdays, potlucks, and even weeknight treats when time was short.
I discovered this version when I adapted an old family no-bake formula by swapping raspberry for cherry and adding chocolate chips for texture. The cherry gelatin gives a gentle lift and flavor without making the filling gummy; use a good-quality gelatin mix and let it cool to thicken before folding so it sets evenly. My family always asks for seconds, and the springform pan means it slices cleanly for pretty plated servings. If you want a dessert that feels luxurious but requires minimal hands-on cooking, this is your new go-to.
In my experience this cheesecake turns skeptics into fans. Once I brought it to a family reunion and someone declared it “the perfect summer cake” after the first bite. The combination of familiar store-bought elements and a simple technique makes it easy to teach to friends; I’ve shown this to several new bakers and everyone nails it the first time.
My favorite aspect is how reliably this dessert becomes the centerpiece of any table. One Mother’s Day I made it last minute and it disappeared before dinner—guests loved the nostalgic Oreo base with the grown-up cherry and chocolate contrast. The method is forgiving, so even confident beginners get impressive results.
Store the cheesecake covered in the refrigerator for up to 3 days—use a cake carrier or wrap the pan with plastic wrap to prevent odor absorption. For longer storage, freeze slices individually on a baking sheet until solid, then transfer to a freezer-safe container for up to 3 months. Thaw overnight in the refrigerator; bring to room temperature for 20-30 minutes before serving to restore creaminess. If the crust softens after freezing, re-chill briefly on a tray to firm the base before slicing.
If you need dairy-free options, substitute the cream cheese with a firm cashew-based cream cheese and use coconut cream whipped with powdered sugar as a replacement for heavy cream, but skip the gelatin or use agar-agar (adjust setting method) for a vegetarian set. For a gluten-free base, use gluten-free chocolate sandwich cookies or a graham cracker mixture. To reduce sugar, swap half the granulated sugar for erythritol and use dark chocolate chips with higher cacao content.
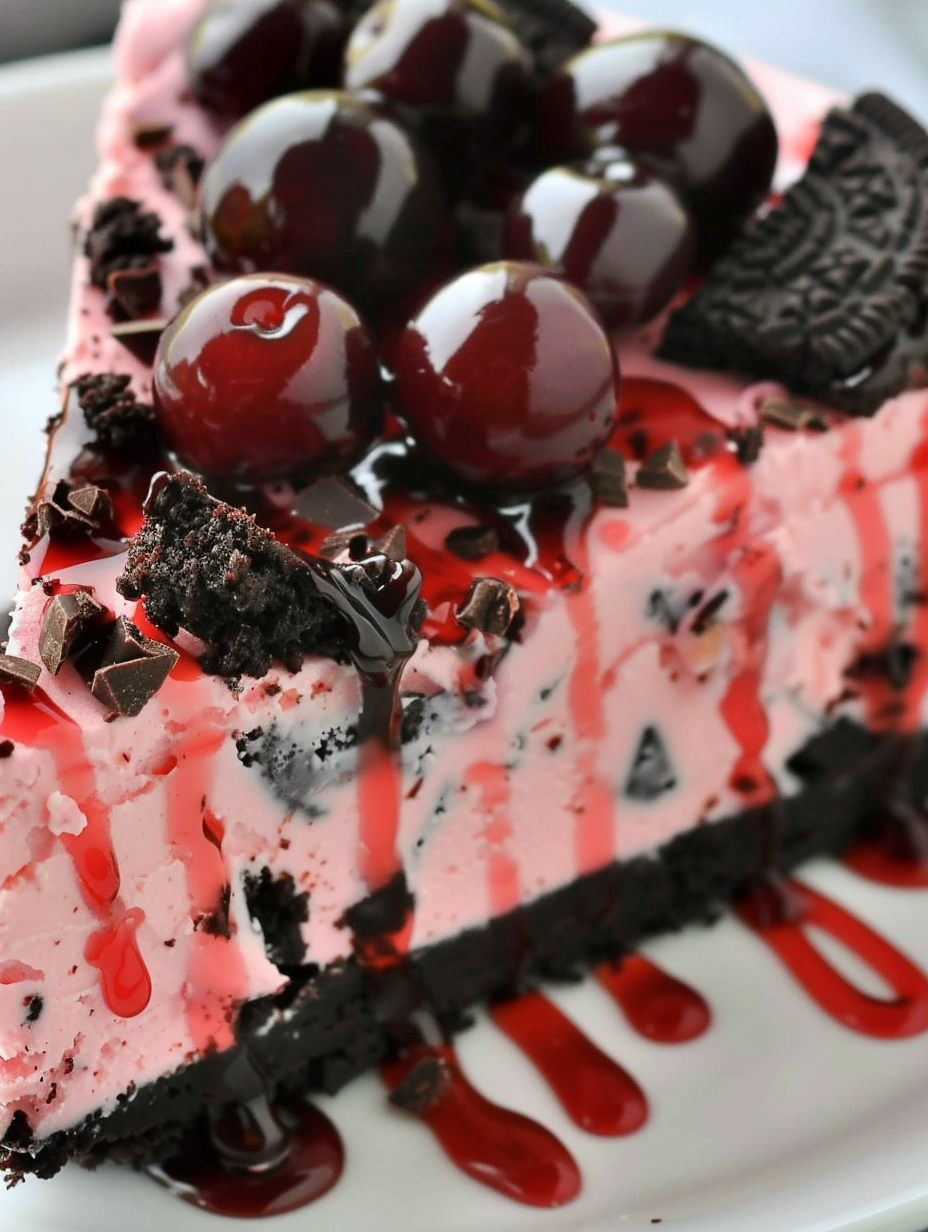
Serve slices chilled on dessert plates with a dusting of crushed Oreos, a drizzle of warmed chocolate, or a dollop of lightly sweetened whipped cream. Pair with a bright espresso or a sparkling rosé to cut the richness. For a celebration, top with fresh cherries and chocolate curls and arrange on a cake stand for dramatic presentation. Small ramekins also work—make mini no-bake cheesecakes in jars for portion control and portable desserts.
No-bake chilled desserts have roots in recipes designed to avoid long oven times or work with limited kitchens. Combining chocolate sandwich cookies with a creamy filling grew popular in mid-20th-century American baking when convenience foods (like boxed gelatins and pre-made cookies) entered home pantries. The cherry flavor nods to classic American cherry pie fillings and black forest-style pairings where cherries and chocolate are a natural duet.
In summer, use fresh cherries and reduce added sugar slightly; in winter swap cherries for a berry compote or cranberry drizzle for holiday flair. For Valentine’s Day, use heart-shaped cookie cutters to create fun crust shapes in individual pans. Add a splash of liqueur—kirsch or cherry brandy—into the gelatin for a grown-up depth of flavor, reducing the boiling water slightly to account for the alcohol addition.
Make the crust and filling a day ahead: prepare the crust, chill, then make the filling and assemble the next day. This reduces stress on the day of serving and improves flavor integration. Portion into individual jars for portable lunches or party favors—use mason jars and layer crust, filling, and garnish. Label containers with the assembly date and consume within 3 days when refrigerated.
Readers tell me they love this for potlucks because it travels well and doesn’t require reheating. One friend used the method to make a gluten-free version for a coworker and reported rave reviews. Another made a double batch for a family reunion and found that the chocolate chips kept kids happy while grown-ups appreciated the cherry zing. These small celebrations are what keep me making this again and again.
Give this Oreo Cherry Chocolate Chip No Bake Cheesecake a try—its ease, crowd-pleasing flavors, and pretty presentation make it a dessert you’ll reach for repeatedly. Personalize the garnish, make it ahead, and enjoy the way simple components come together into something memorable.
Use room-temperature cream cheese to avoid lumps and ensure a smooth filling.
Let the dissolved gelatin cool until slightly thickened before folding into whipped cream to prevent melting.
Chill the crust before adding the filling so it doesn’t soak up moisture and become soggy.
Warm the knife between cuts and wipe dry to get clean, professional slices.
Reserve whole cherries for garnish and dice the rest for folding to maintain a pretty top.
This nourishing oreo cherry chocolate chip no bake cheesecake recipe is sure to be a staple in your kitchen. Enjoy every moist, high protein slice — it is perfect for breakfast or as a wholesome snack any time.
Yes—thaw frozen cherries partially and drain excess liquid before using to prevent a watery filling.
Freeze slices individually on a tray, then transfer to an airtight container; thaw overnight in the refrigerator.
This Oreo Cherry Chocolate Chip No Bake Cheesecake recipe makes perfectly juicy, tender, and flavorful steak every time! Serve with potatoes and a side salad for an unforgettable dinner in under 30 minutes.
Set 12 ounces of frozen cherries on the counter to thaw slightly. Drain and pat dry any excess liquid to prevent thinning the filling.
Pulse 22 Oreos in a food processor to fine crumbs. Mix with 3 tablespoons melted butter and 1 tablespoon sugar. Press firmly into the bottom and up the sides of a 9-inch springform pan. Refrigerate at least 30 minutes to firm.
Beat 16 ounces softened cream cheese with 1 cup granulated sugar until smooth and lump-free. Scrape the bowl to ensure an even texture.
Add 1 1/2 cups boiling water to the 6-ounce box of cherry gelatin and stir until completely dissolved. Allow to cool until slightly thickened but still pourable.
Whip 16 ounces (2 cups) cold heavy cream with 1/4 cup powdered sugar until stiff peaks form. Use chilled equipment for best volume.
Once the gelatin has thickened, fold it into the whipped cream until evenly combined to distribute the cherry flavor and stabilize the mixture.
Fold the whipped cream/gelatin mixture into the cream cheese batter in two additions. Fold in diced cherries and 2 cups semisweet chocolate chips until distributed.
Pour the filling into the chilled crust, smooth the top, and garnish with whole cherries or additional crushed cookies. Refrigerate for at least 4 hours or until firm.
Last Step: Please leave a rating and comment letting us know how you liked this recipe! This helps our business to thrive and continue providing free, high-quality recipes for you.
Leave a comment & rating below or tag
@savoryte on social media!

Flaky pan-seared tilapia topped with a velvety lemon butter sauce. Quick to cook, bright with citrus, and weeknight-easy yet dinner-party special.

Start your morning with veggie-loaded, protein-packed egg muffins at just 50 calories each. Perfect for make-ahead breakfasts, freezer-friendly, and easy to customize.

Crispy, cheesy, and ready in minutes, this viral tortilla fold layers bacon, egg, avocado, and melty cheese into a perfectly portable triangle.
Leave a comment & rating below or tag @savoryte on social media!
Enjoyed this recipe? Share it with friends and family, and don't forget to leave a review!
This recipe looks amazing! Can't wait to try it.
Comments are stored locally in your browser. Server comments are displayed alongside your local comments.

Join to receive our email series which contains a round-up of some of our quick and easy family favorite recipes.
