
>>

Quick, cheesy mini pepper pizzas made with sweet mini peppers, melty mozzarella, pizza sauce, and mini pepperoni — perfect for parties, snacks, or a speedy family lunch.
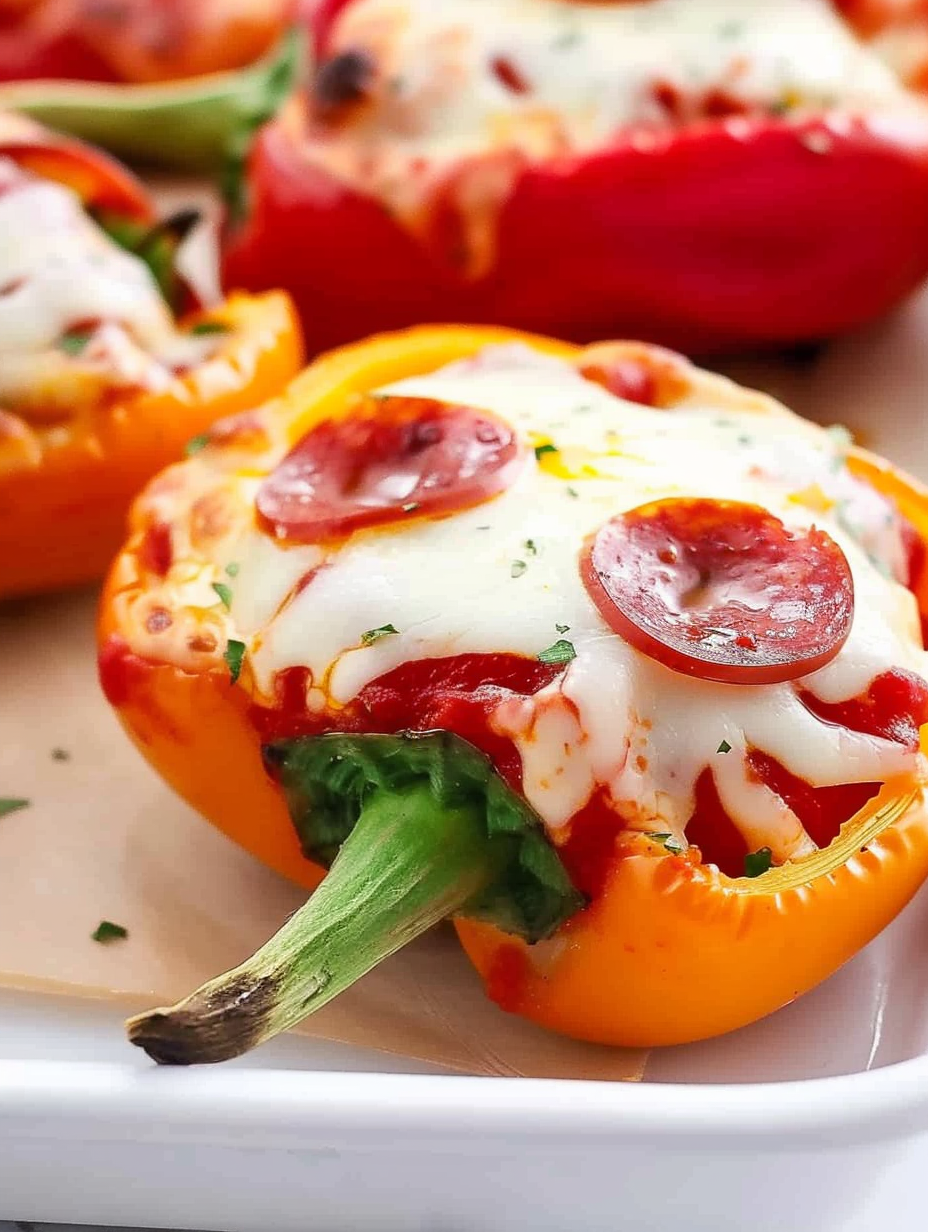
In my kitchen these are a guaranteed hit — neighbors once popped by and left with an entire plate because they were so good warm from the oven. My aunt suggested arranging them by color on a platter, which immediately brightened our table and made them disappear twice as fast.
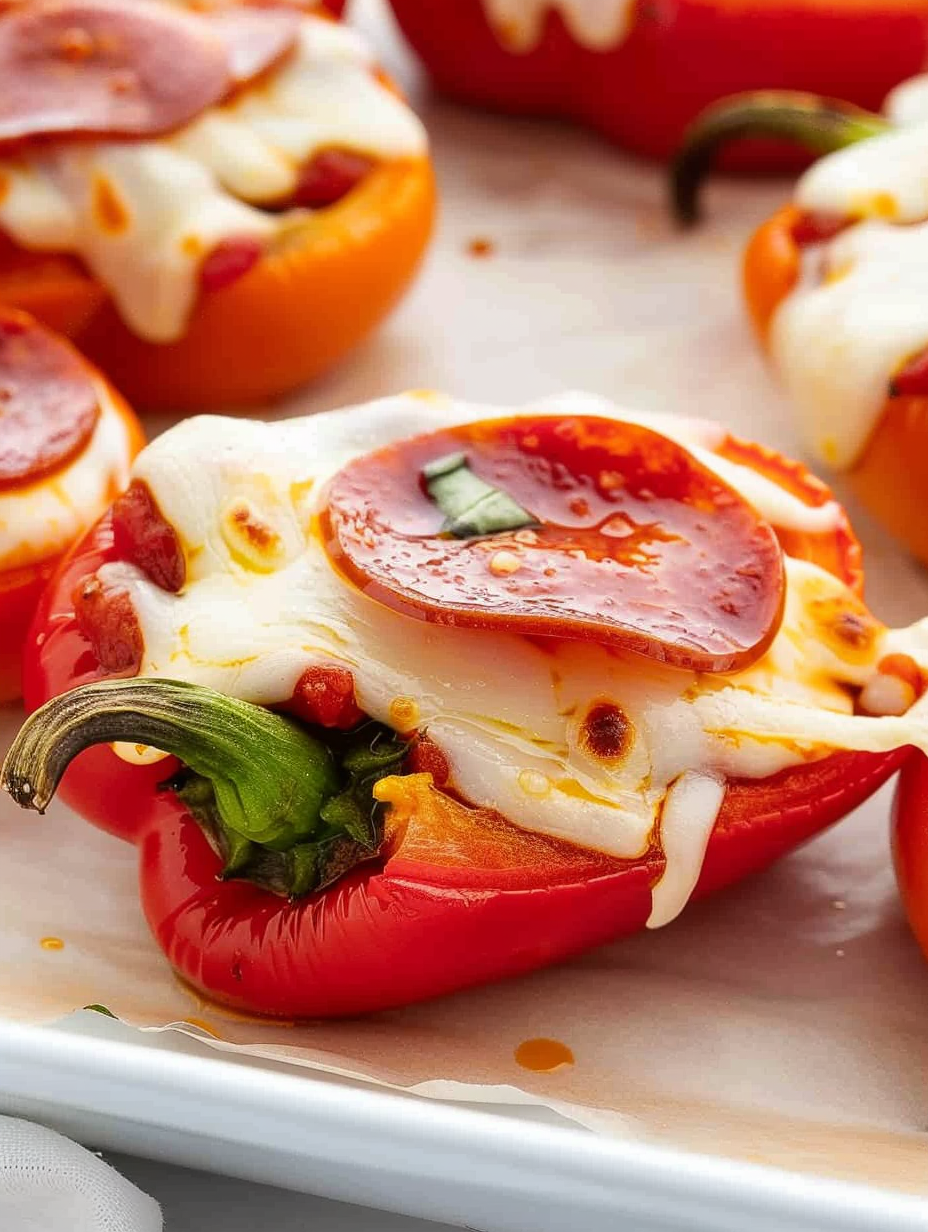
My favorite part is how quickly these disappear at gatherings. Once I made a double batch for a neighborhood block party and someone asked for the recipe three times before sundown. They’re a reliable little crowd-pleaser — bright, cheesy, and familiar enough that even picky kids will try them.
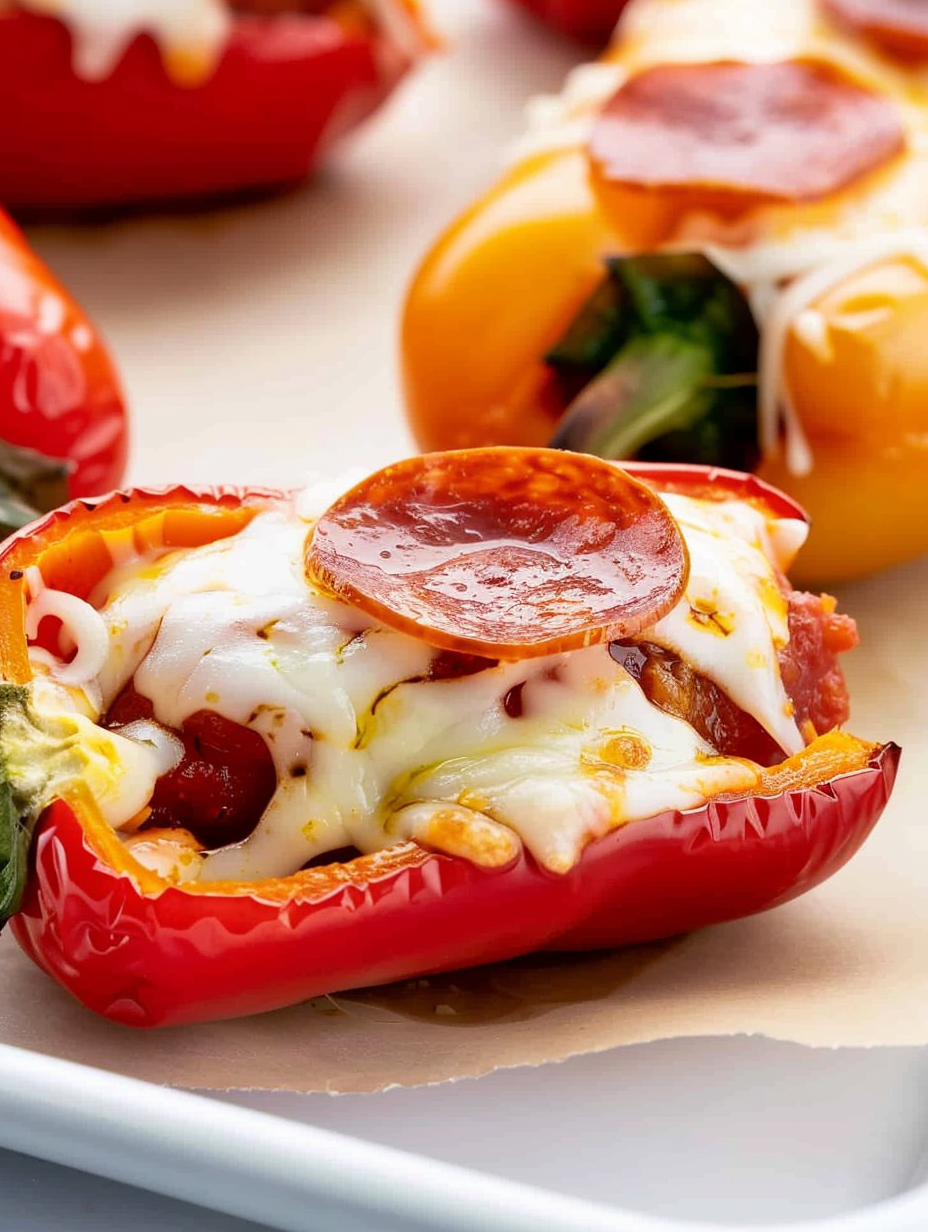
Store leftover cooked pieces in an airtight container in the refrigerator for up to 3 days. To retain texture, place a sheet of parchment between layers so the cheese does not stick. Reheat in a toaster oven or conventional oven at 350°F for 5–7 minutes to restore crispness; microwave will work but softens the peppers and makes the cheese rubbery. If freezing before baking, arrange halved peppers filled on a sheet tray, flash-freeze until firm, then transfer to a freezer bag for up to 1 month. Bake directly from frozen, adding a few extra minutes.
If you need dairy-free options, use plant-based shredded mozzarella and confirm the pizza sauce contains no hidden dairy. For a vegetarian version, swap mini pepperoni for seasoned roasted mushrooms, sliced olives, or thin rounds of smoked tomato-based vegan chorizo. Low-sodium lovers can use a salt-reduced pizza sauce and low-sodium pepperoni alternatives. For a smoky flavor without meat, add a few drops of liquid smoke to the sauce or finish with smoked paprika.
Serve these warm on a colorful platter alongside a simple green salad or a bowl of extra pizza sauce for dipping. They make a playful addition to a kids’ lunchbox with carrot sticks and fruit. For an elegant appetizer spread, arrange the pieces on a slate board with small bowls of chili oil, grated Parmesan, and fresh basil leaves so guests can customize each bite. Garnish with torn basil or a sprinkle of flaky sea salt just before serving.
These take inspiration from classic Italian-American pizza flavors but reimagine them with an American snack sensibility — portability, quick prep, and a focus on finger food. The idea of using vegetables as a base for pizza toppings has roots in many cuisines that use flatbreads or vegetables as vessels for robust toppings; here, the mini pepper offers a fresh, crunchy alternative to dough while keeping the spirit of pizza alive.
In summer, use fully ripe, locally grown mini peppers for the sweetest flavor; add fresh basil and a drizzle of balsamic reduction after baking. In colder months, use heartier toppings like caramelized onions, roasted garlic, or a sprinkle of smoked Gouda with the mozzarella for depth. Holiday parties are a perfect time to add festive toppings: swap pepperoni for prosciutto and fig jam for a sweet-and-savory twist, or use seasonal herbs like thyme and rosemary for an aromatic finish.
For make-ahead convenience, halve and seed the peppers the night before and store them in a covered container in the fridge. Assemble right before baking or prefill and refrigerate up to 6 hours before you plan to cook. If preparing for a party, line filled halves on baking sheets in advance so you can pop several trays into the oven back-to-back. Use shallow, stackable containers to transport them warm to potlucks and reheat briefly on arrival.
These mini pepper pizzas are small in size but big on nostalgia and flavor — perfect for busy weeknights, gatherings, and anyone who loves pizza without the fuss. Give them a try and make them your own with topping swaps and presentation tricks.
Use slightly larger, plump mini peppers so each half holds more filling and is easier to pick up.
Shred your own mozzarella from a block for the best melt and texture; pre-shredded cheese often contains anti-caking agents.
Watch the oven at 8 minutes — high heat melts cheese quickly and prevents peppers from becoming too soft.
Leave the stem on each half for an attractive presentation and an easy handle for guests.
This nourishing mini pepper pizzas recipe is sure to be a staple in your kitchen. Enjoy every moist, high protein slice — it is perfect for breakfast or as a wholesome snack any time.
Yes — you can assemble them and refrigerate for up to 6 hours before baking. For longer storage, freeze unbaked for up to 1 month and bake from frozen, adding 2–3 minutes.
Use plant-based cheese and vegan pepperoni, and confirm the sauce is free from animal ingredients.
This Mini Pepper Pizzas recipe makes perfectly juicy, tender, and flavorful steak every time! Serve with potatoes and a side salad for an unforgettable dinner in under 30 minutes.
Preheat oven to 425°F and line a baking sheet with parchment paper to prevent sticking and make cleanup easy.
Slice each mini pepper lengthwise, remove seeds, and keep the stem intact for presentation and easier handling.
Spoon 1 to 1 1/2 teaspoons pizza sauce into smaller halves or up to 1/2 tablespoon into larger halves, spreading thinly.
Sprinkle 1 1/2 to 2 tablespoons shredded mozzarella over each sauced half for a generous but not overpowering layer.
Place 3 to 4 mini pepperoni slices on each, folding a slice slightly if you like extra crisp edges.
Bake at 425°F for 8 to 10 minutes until cheese is bubbly and pepperoni edges are slightly crisp. Check at 8 minutes.
Allow to cool 1–2 minutes, transfer to a platter, and serve warm. Garnish with basil or a sprinkle of oregano if desired.
Last Step: Please leave a rating and comment letting us know how you liked this recipe! This helps our business to thrive and continue providing free, high-quality recipes for you.
Leave a comment & rating below or tag
@savoryte on social media!
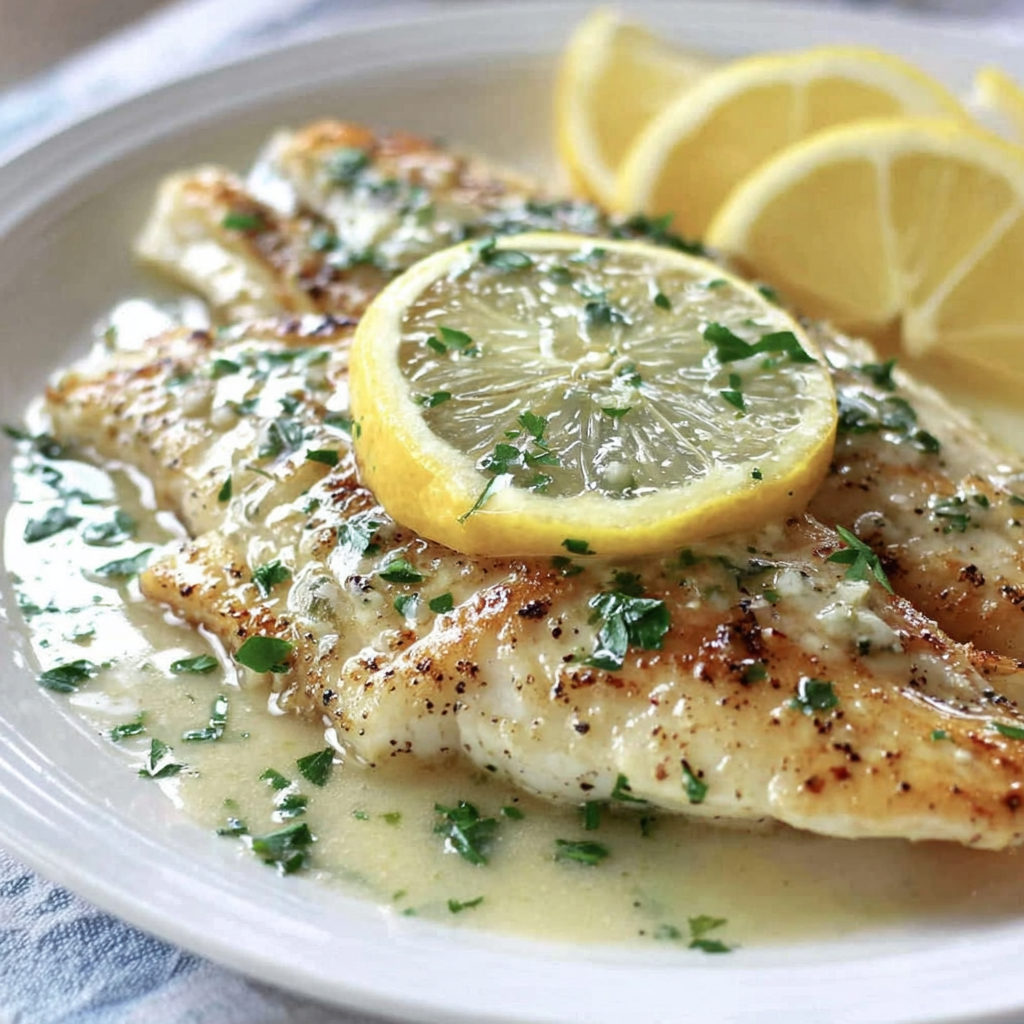
Flaky pan-seared tilapia topped with a velvety lemon butter sauce. Quick to cook, bright with citrus, and weeknight-easy yet dinner-party special.
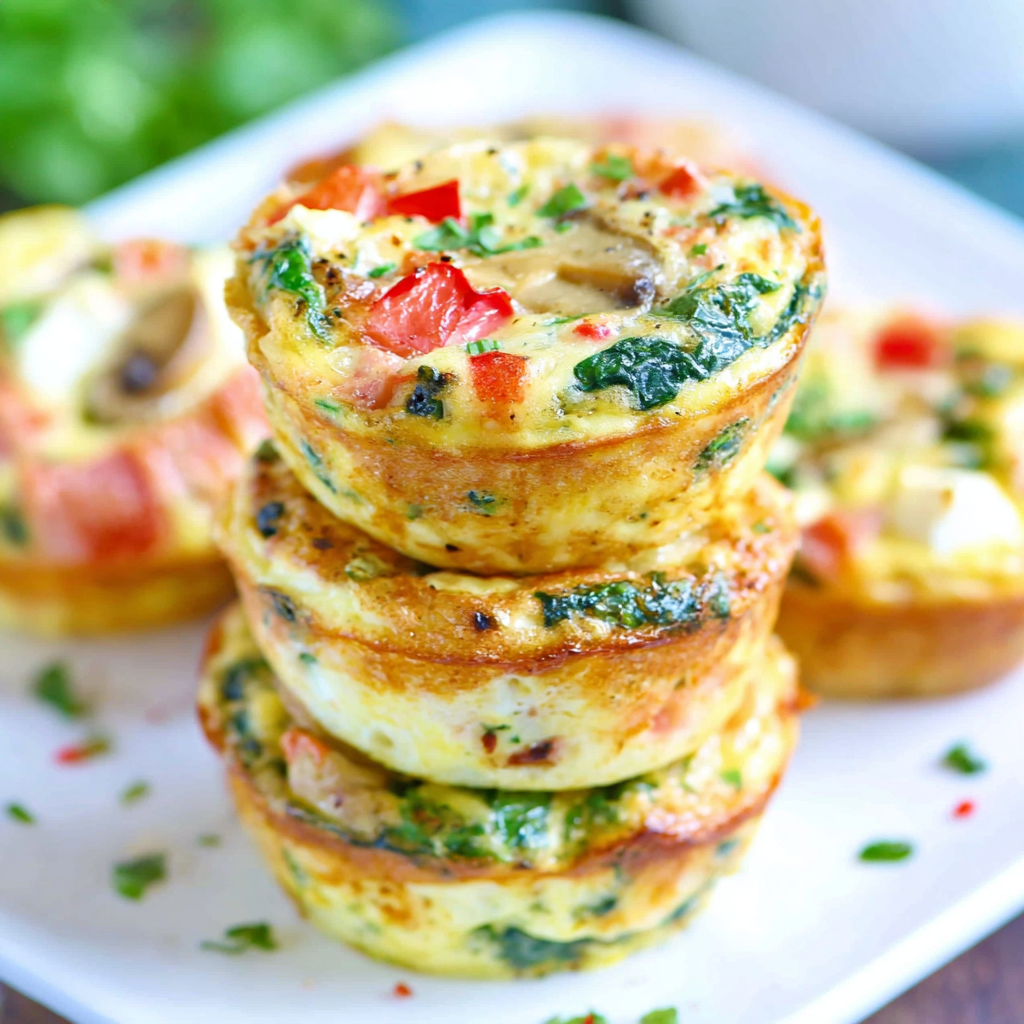
Start your morning with veggie-loaded, protein-packed egg muffins at just 50 calories each. Perfect for make-ahead breakfasts, freezer-friendly, and easy to customize.
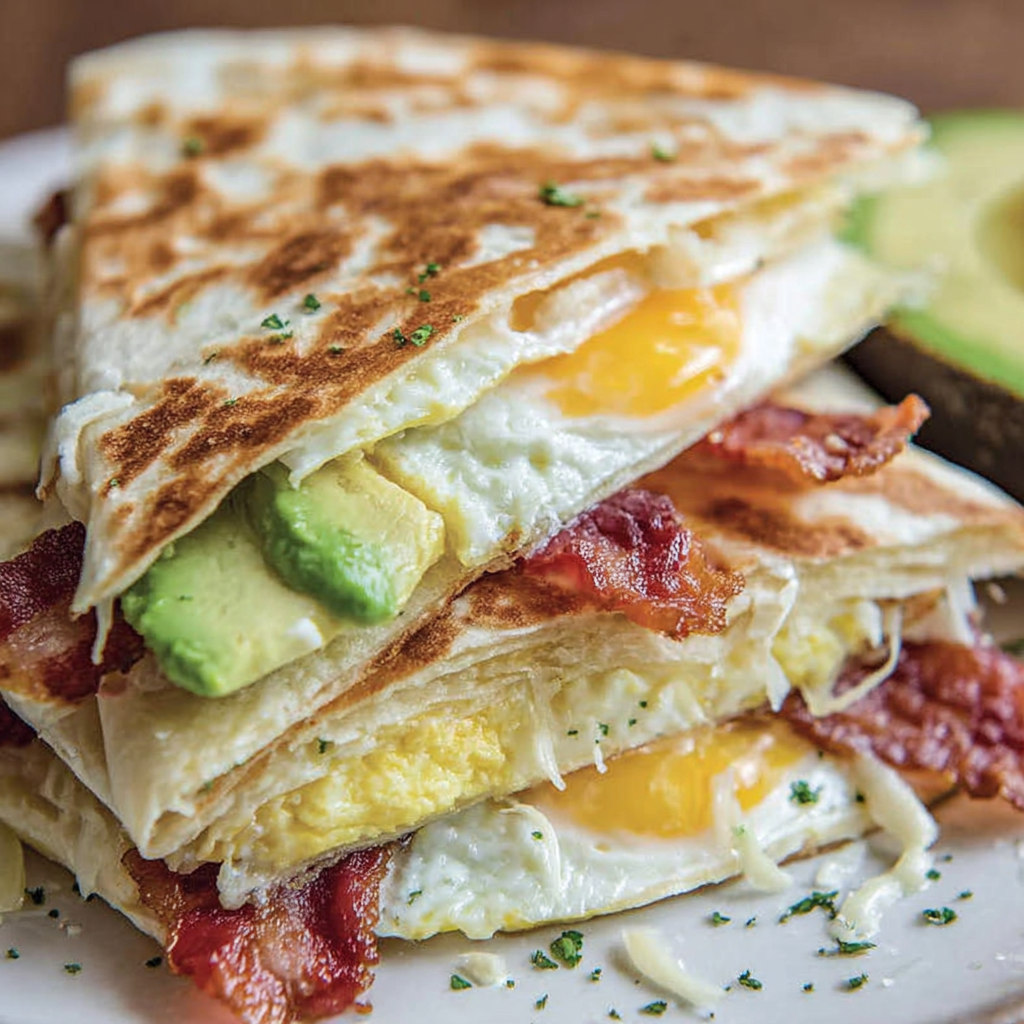
Crispy, cheesy, and ready in minutes, this viral tortilla fold layers bacon, egg, avocado, and melty cheese into a perfectly portable triangle.
Leave a comment & rating below or tag @savoryte on social media!
Enjoyed this recipe? Share it with friends and family, and don't forget to leave a review!
This recipe looks amazing! Can't wait to try it.
Comments are stored locally in your browser. Server comments are displayed alongside your local comments.

Join to receive our email series which contains a round-up of some of our quick and easy family favorite recipes.
