
>>

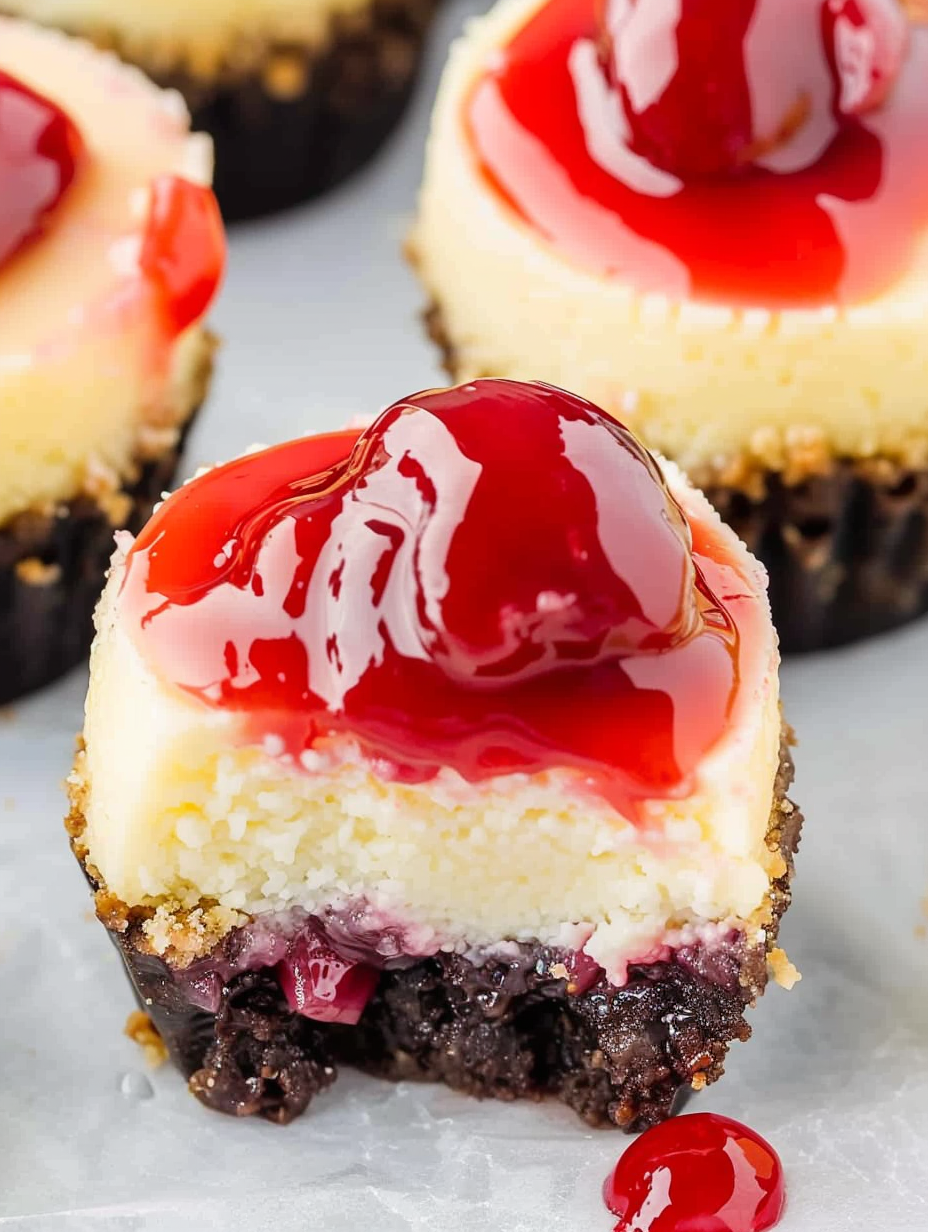
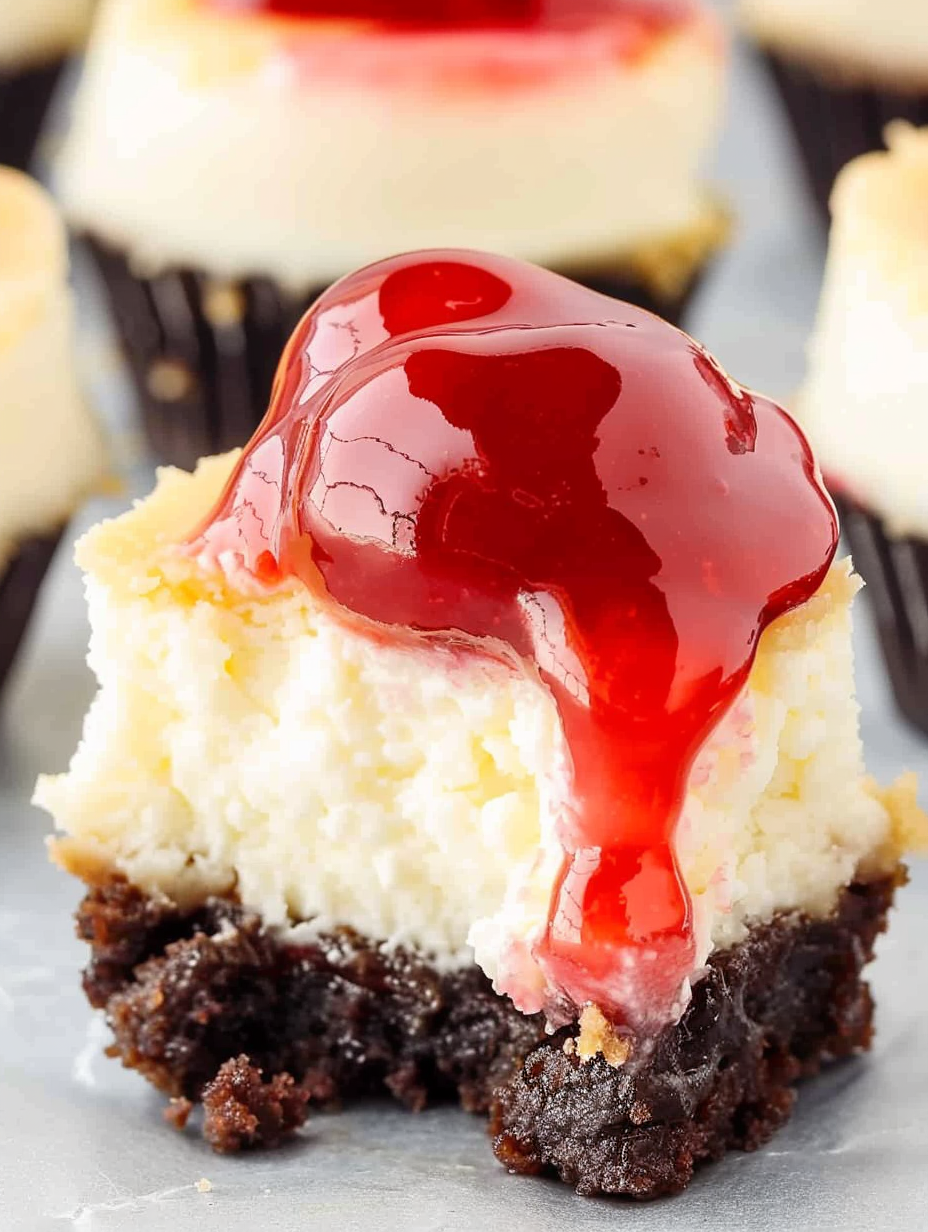
Creamy, bite-sized cheesecakes with a crunchy graham crust and bright cherry topping—perfect for parties, make-ahead desserts, and crowd-pleasing treats.
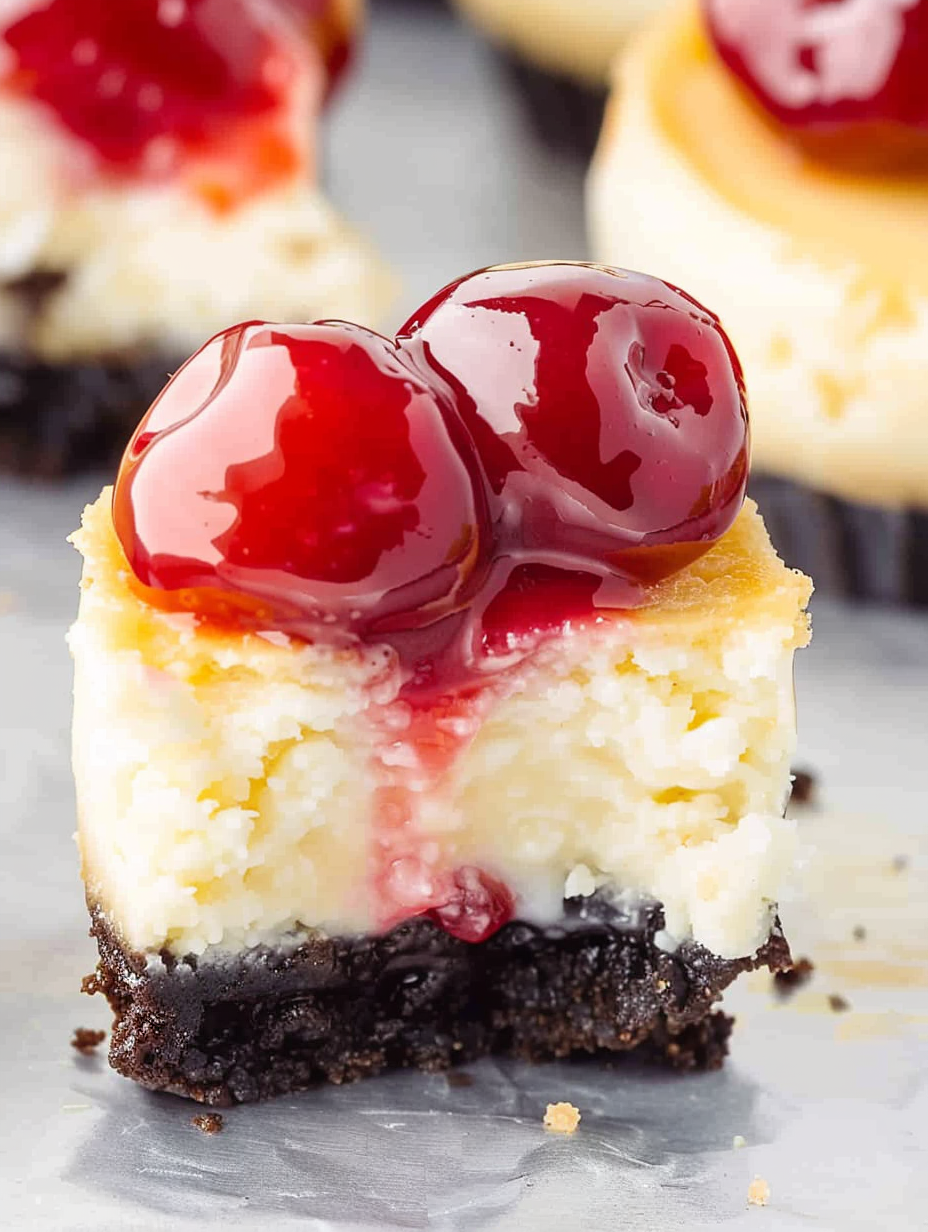
This recipe for mini cherry cheesecakes has been a party staple in my kitchen for years. I first developed it on a busy holiday afternoon when I wanted something elegant but simple to serve a crowd. The idea was to offer guests an individually portioned dessert that combined a buttery, crunchy base with a silky cream cheese center and a bright burst of cherry on top. The result was irresistible—light, tangy, and sweet in balanced bites that vanish quickly.
I remember the first time I brought these to a potluck: the tray returned empty, and several people asked for the recipe on the spot. What makes these special is the contrast of textures—the compact graham crust that snaps against a luxuriously smooth filling—and how easily the cherries elevate each bite with jewel-like color and a pleasant, jammy sweetness. These are also forgiving to make: they keep well, travel nicely, and are extremely forgiving on timing and assembly, which makes them an ideal choice for both novice and experienced cooks.
In my experience these mini cheesecakes are a guaranteed hit—neighbors have brought these to neighborhood block parties, and family members now request them for birthdays. The convenience of individual portions means fewer crumbs and a beautiful display, and once you master the timing, they become one of those recipes you reach for again and again.
My favorite part is how versatile these are: swap the topping to lemon curd or blueberry compote for seasonal twists. Family members have said these taste like a miniature restaurant dessert, which never gets old. Watching kids and adults alike savor the first bite is one of the simple joys that keep me baking these time and again.
Once chilled, store the mini cheesecakes in a single layer in an airtight container in the refrigerator for up to 4 days. If stacking is necessary, separate layers with parchment paper to prevent sticking. For longer storage, freeze the baked and fully chilled minis on a tray until solid, then transfer to a freezer-safe container for up to 3 months. Thaw in the refrigerator overnight rather than at room temperature to maintain texture. Reheat is not necessary—serve straight from the fridge for the best density and flavor.
For a lighter filling, substitute half of the cream cheese with full-fat ricotta or mascarpone—this will create a slightly grainier texture but a milder tang. To make them gluten-free, use gluten-free graham-style crumbs or finely crushed gluten-free cookies and confirm your pie filling is gluten-free. If avoiding eggs, try a silken tofu-based filling (blend silken tofu with sugar, lemon, and a stabilizer like cornstarch) though texture will be noticeably different. For a lower-sugar option, use a natural sweetener such as erythritol measured cup-for-cup for sugar, but expect a slightly different mouthfeel.
Arrange the minis on a tiered dessert stand for an elegant presentation at showers or holiday gatherings. Garnish each with a fresh mint leaf, a dusting of powdered sugar, or a few shaved dark chocolate curls for contrast. They pair beautifully with coffee, a light dessert wine, or a sparkling beverage. For family desserts, serve with extra pie filling on the side so guests can add more cherries to taste.
The classic cream cheese dessert has its roots in American baking traditions where cream cheese became widely available in the early 20th century. Miniaturized versions like these draw from the tradition of individual tarts and custards—small, sharable bites that allow for variety and easy portion control. Using graham cracker crusts is a distinctively American choice, popularized for its sweet, slightly honeyed flavor that complements creamy fillings.
Swap the cherry topping for seasonal fruit: use macerated strawberries in spring, blueberry compote in summer, baked apples with warm spices in fall, or cranberry-orange relish for winter holidays. In warmer months, lighten the filling slightly with whipped cream folded in after chilling for a mousse-like texture. For holiday dinners, top with spiced nuts and a drizzle of caramel for a festive finish.
To streamline for entertaining, prepare the crusts and filling the day before. Fill and bake the minis the morning of your event, cool, and refrigerate until serving. Alternatively, bake a day ahead and top immediately before serving. Use labeled containers if making different toppings so guests know their choices. When transporting, place them in a shallow box lined with non-slip shelf liner to prevent sliding.
These mini cheesecakes are simple to make yet deliver an impressive, polished dessert. Whether you’re serving a crowd or treating yourself, they’re a reliable, delicious choice that’s easy to adapt and always well-received. Enjoy baking—and don’t forget to reserve a few for yourself!
Soften the cream cheese to room temperature for at least 30 minutes to avoid lumps and ensure a silky filling.
Use foil-lined liners for the cleanest removal; if using paper liners, chill well and run a thin knife around the edge before peeling.
Prevent cracks by avoiding overmixing and by stopping when the center is just set; the residual heat finishes the cook.
Compact the crust firmly with the bottom of a measuring spoon to ensure a stable base that won’t crumble when eaten.
This nourishing mini cherry cheesecakes recipe is sure to be a staple in your kitchen. Enjoy every moist, high protein slice — it is perfect for breakfast or as a wholesome snack any time.
Yes. Chill for at least 2 hours or overnight; refrigerate in an airtight container for up to 4 days.
Look for foil-lined cupcake liners or use a thin knife around the edge after chilling to help remove them.
Bake until the edges are set but the center still jiggles slightly. Overbaked minis will become dry and dense.
This Mini Cherry Cheesecakes recipe makes perfectly juicy, tender, and flavorful steak every time! Serve with potatoes and a side salad for an unforgettable dinner in under 30 minutes.
Preheat oven to 350°F (175°C). Line two muffin tins or one large tin with foil-lined cupcake liners so that the cheesecakes are easy to remove after chilling.
Combine 1 1/2 cups graham cracker crumbs with 1/2 cup melted unsalted butter in a bowl until crumbs are evenly moistened and the mixture holds together when pinched.
Press about 1 tablespoon of the graham mixture firmly into the bottom of each liner using the base of a measuring spoon to compact the crumbs and form a stable base.
Beat 16 ounces softened cream cheese with 1 cup sugar on medium speed until smooth, scraping the bowl frequently to ensure no lumps remain.
Add 2 large eggs one at a time, then beat in 1/3 cup sour cream, 1 teaspoon vanilla extract, and 1 tablespoon flour until the filling is homogeneous and smooth.
Spoon the filling into each prepared cup, filling to about 1/2 inch from the top—approximately 1 3/4 to 2 tablespoons per cup to allow for slight rising.
Bake for 20–25 minutes. The edges should be set while the centers remain slightly jiggly; remove from oven to cool on a wire rack for 20 minutes.
Refrigerate the minis for at least 2 hours or overnight. Just before serving, top each with a scoop of cherry pie filling and garnish as desired.
Last Step: Please leave a rating and comment letting us know how you liked this recipe! This helps our business to thrive and continue providing free, high-quality recipes for you.
Leave a comment & rating below or tag
@savoryte on social media!

Flaky pan-seared tilapia topped with a velvety lemon butter sauce. Quick to cook, bright with citrus, and weeknight-easy yet dinner-party special.

Start your morning with veggie-loaded, protein-packed egg muffins at just 50 calories each. Perfect for make-ahead breakfasts, freezer-friendly, and easy to customize.

Crispy, cheesy, and ready in minutes, this viral tortilla fold layers bacon, egg, avocado, and melty cheese into a perfectly portable triangle.
Leave a comment & rating below or tag @savoryte on social media!
Enjoyed this recipe? Share it with friends and family, and don't forget to leave a review!
This recipe looks amazing! Can't wait to try it.
Comments are stored locally in your browser. Server comments are displayed alongside your local comments.

Join to receive our email series which contains a round-up of some of our quick and easy family favorite recipes.
