
>>

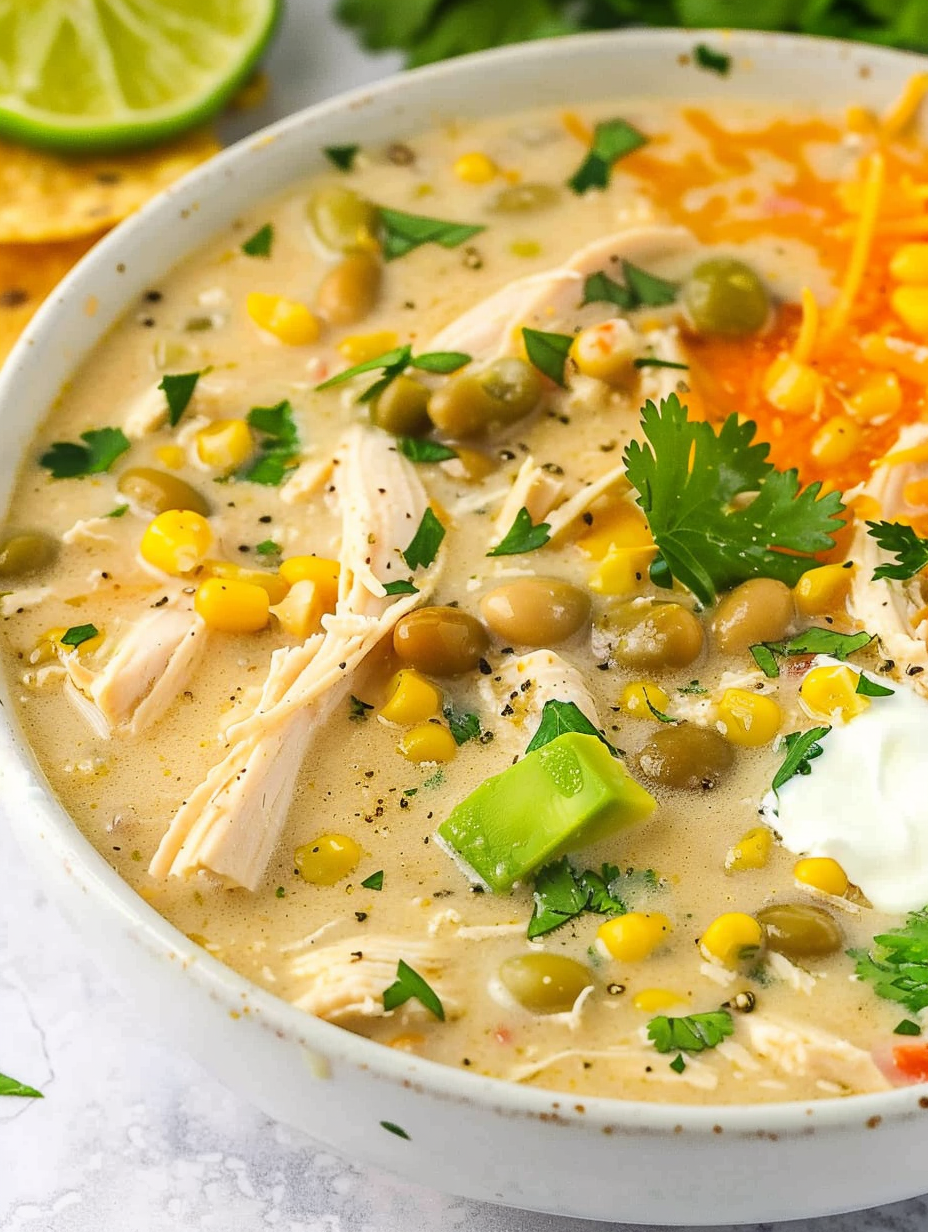
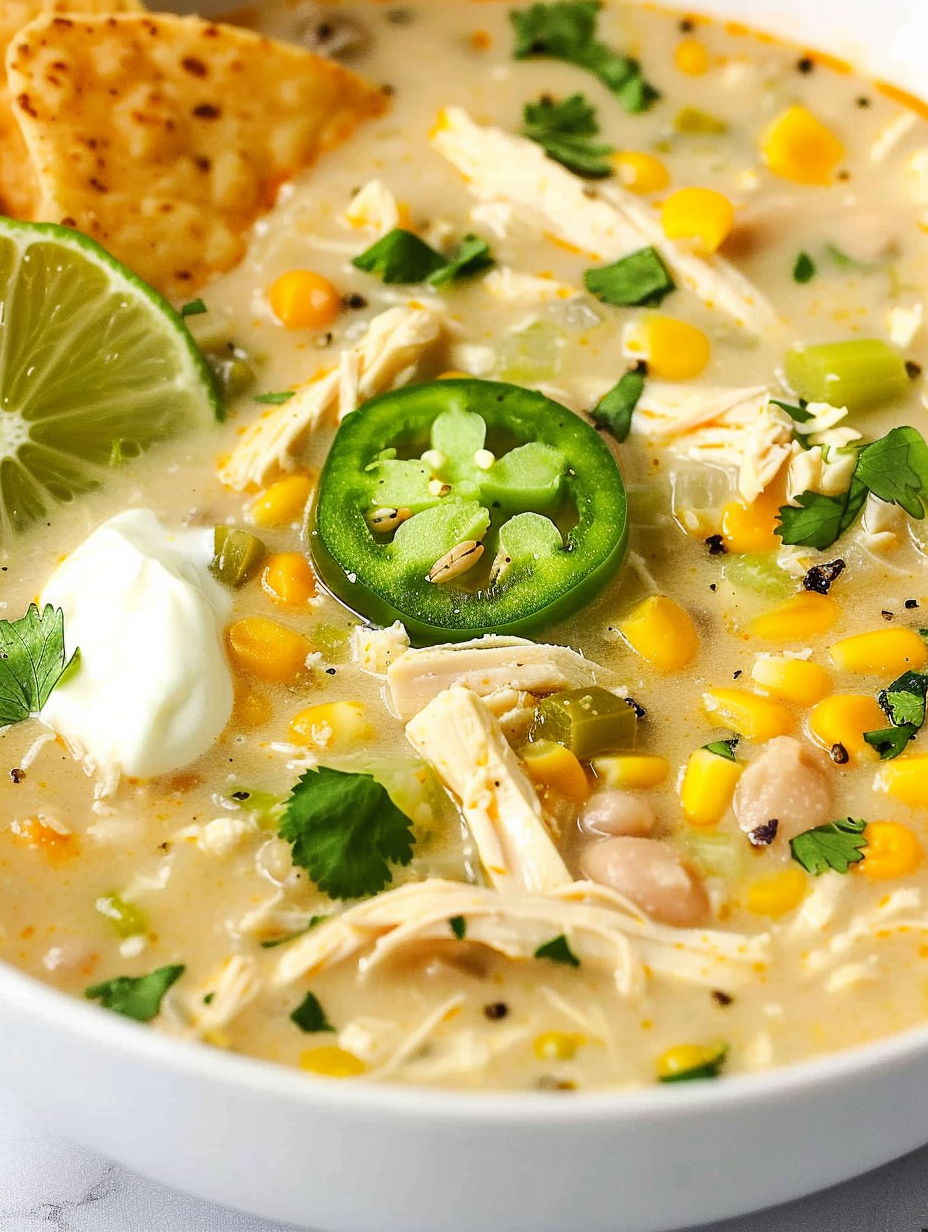
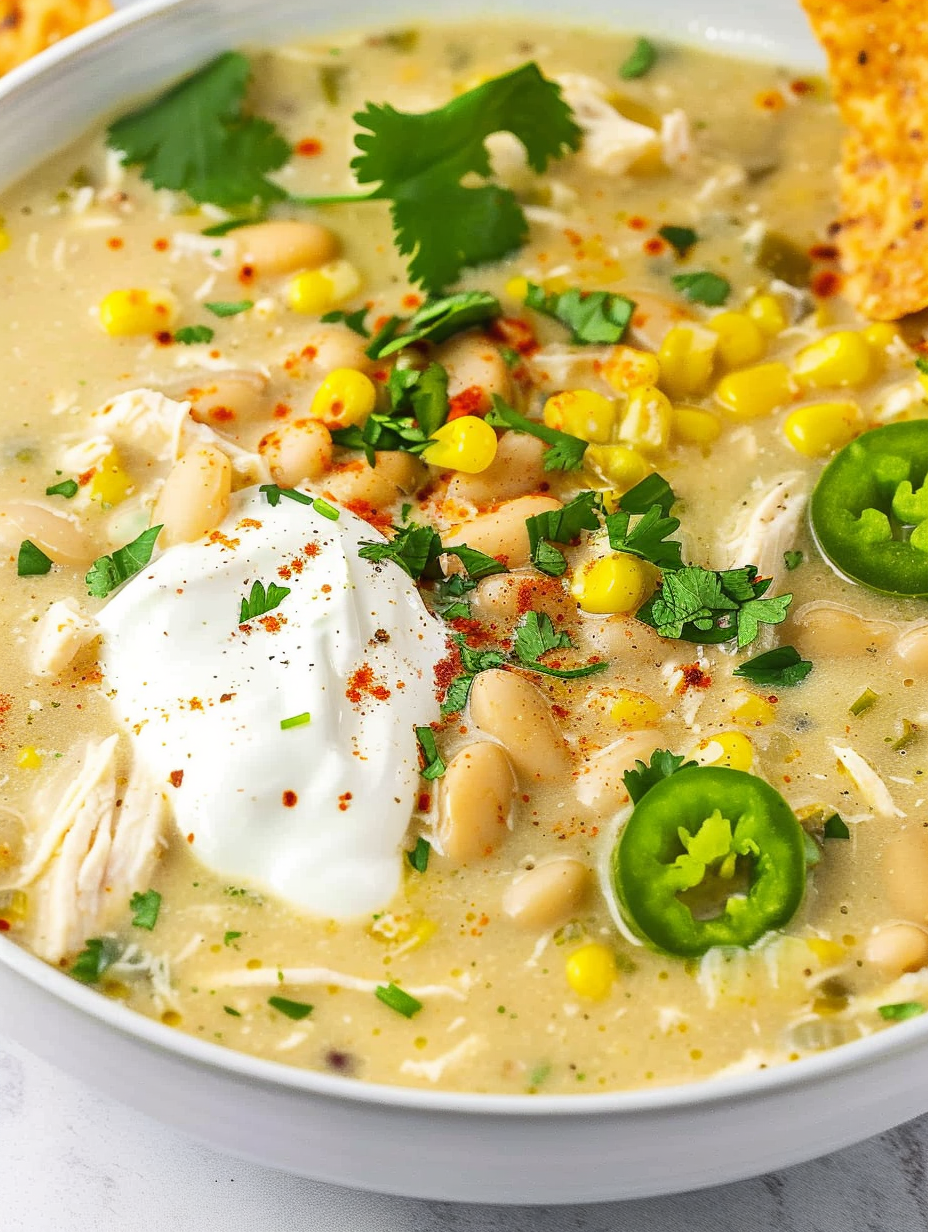
A creamy, comforting white chicken chili made quickly in the Instant Pot — perfect for chilly nights and busy weeknights.
Personally, my favorite memory is serving this at a small dinner party during a blustery February. I paired it with garlicky bread and a simple green salad — guests kept returning for more and gushed over how creamy it was without using heavy cream. My neighbor even asked for the recipe the next day.
My favorite part of this meal is how the flavors improve overnight. If I make a batch on a Sunday, Monday lunches are even better. Family members always request extra lime and cilantro on top; one friend said the tang from the lime totally transforms the creaminess into something bright and addictive.
Allow the chili to cool slightly before transferring to airtight containers. In the refrigerator, it will keep for 3–4 days; to freeze, portion into meal-sized freezer-safe containers and leave a little headspace for expansion. Label with the date and freeze for up to 3 months. Reheat gently on the stovetop over low heat or microwave in 60–90 second bursts, stirring between intervals. If the consistency thickens after refrigeration, add a splash of low-sodium chicken broth or water while reheating to restore a creamy texture.
If you prefer a dairy-free version, substitute full-fat canned coconut milk for the cream cheese and use a dairy-free sour cream alternative — the flavor will shift slightly but remain rich. For a lower-fat option, use reduced-fat cream cheese and Greek yogurt instead of sour cream, though the final texture will be less silky. Swap great northern beans for cannellini or navy beans, and use roasted poblanos in place of canned chiles for a fresher, smoky note. For more heat, increase cayenne by 1/4 to 1/2 teaspoon or add a diced jalapeño at the start.
Serve bowls with lime wedges, chopped cilantro, diced avocado, and crushed tortilla chips for crunch. A sprinkle of shredded Monterey Jack or cheddar adds a melty topping. For a heartier meal, offer warm garlic bread or charred corn tortillas. Pair with a crisp green salad dressed in lime vinaigrette to cut through the richness. This dish also makes a lovely topping for baked potatoes or a filling for tacos when you want a change from the bowl.
White chicken chili is an American comfort adaptation influenced by Southwestern flavors — cumin, oregano, and green chiles bring a mild Tex-Mex profile while beans and corn reflect staple New World ingredients. Unlike traditional red chiles and tomato-based chilis, the white version emphasizes creaminess and a subtler spice. It became popular in American home cooking as pressure cookers and convenience canned goods made hearty, quick stews more accessible. Regional variations often add ingredients like poblano peppers, hominy, or different beans.
In winter, stick to the classic form with comforting warm spices and heavier toppings. For spring, add fresh roasted sweet corn and a handful of chopped fresh cilantro at the end for brightness. During summer, finish with fresh lime juice and diced tomatoes or tomatillos for acidity. For autumn gatherings, serve with cornbread and roasted vegetable sides. Small technique changes — like switching to thighs in colder months — tailor the dish to seasonal preferences.
Make a double batch and freeze half in single-serving containers for quick lunches. Portion into microwave-safe bowls if you plan grab-and-go meals during the week. When reheating, add a tablespoon of water or broth per serving before microwaving to maintain creaminess. Keep a zip-top bag of mix-and-match toppings ready (shredded cheese, chopped cilantro, lime wedges) so reheating becomes a five-minute assembly rather than a full cook.
This Instant Pot White Chicken Chili is both reliably comforting and wonderfully flexible — once you make it, you’ll find yourself experimenting with toppings and subtle swaps to make it your own. Enjoy the cozy bowls and the happy faces around your table!
Soften the cream cheese at room temperature for at least 30 minutes so it blends smoothly into the hot broth.
Allow a 10-minute natural pressure release to keep the chicken tender and avoid drier meat.
Rinse canned beans to reduce excess sodium and remove starchy liquid that can thicken too much.
If the chili is too thick after refrigeration, stir in low-sodium chicken broth while reheating to loosen the texture.
Use low-sodium broth and adjust salt at the end to prevent over-salting.
This nourishing instant pot white chicken chili recipe is sure to be a staple in your kitchen. Enjoy every moist, high protein slice — it is perfect for breakfast or as a wholesome snack any time.
This Instant Pot White Chicken Chili recipe makes perfectly juicy, tender, and flavorful steak every time! Serve with potatoes and a side salad for an unforgettable dinner in under 30 minutes.
Open and drain beans and corn, dice the onion, measure spices, and soften cream cheese at room temperature. Trim and even out chicken breasts for uniform cooking.
Place chicken breasts in the pot and add onion, garlic, chicken broth, green chiles, drained beans, drained corn, and spices. Layering prevents burning and protects the meat.
Seal lid, set valve to seal, and cook on manual high pressure for 20 minutes. Allow the Instant Pot to come to pressure first, which takes roughly 10–15 minutes.
Let the pot naturally release for 10 minutes to keep chicken tender, then carefully vent the remaining pressure and open the lid when safe.
Remove and shred chicken, return to the pot, add cream cheese and sour cream, and stir until fully incorporated and creamy. Adjust seasoning to taste.
Ladle into bowls and garnish with lime, cilantro, avocado, tortilla chips, or shredded cheese. Serve with garlic bread or warm tortillas as desired.
Last Step: Please leave a rating and comment letting us know how you liked this recipe! This helps our business to thrive and continue providing free, high-quality recipes for you.
Leave a comment & rating below or tag
@savoryte on social media!

Flaky pan-seared tilapia topped with a velvety lemon butter sauce. Quick to cook, bright with citrus, and weeknight-easy yet dinner-party special.

Start your morning with veggie-loaded, protein-packed egg muffins at just 50 calories each. Perfect for make-ahead breakfasts, freezer-friendly, and easy to customize.

Crispy, cheesy, and ready in minutes, this viral tortilla fold layers bacon, egg, avocado, and melty cheese into a perfectly portable triangle.
Leave a comment & rating below or tag @savoryte on social media!
Enjoyed this recipe? Share it with friends and family, and don't forget to leave a review!
This recipe looks amazing! Can't wait to try it.
Comments are stored locally in your browser. Server comments are displayed alongside your local comments.

Join to receive our email series which contains a round-up of some of our quick and easy family favorite recipes.
