>>

Perfectly melty inside and irresistibly crispy outside — a vegan take on the classic snack that's ideal for game day, parties, or a cozy night in.
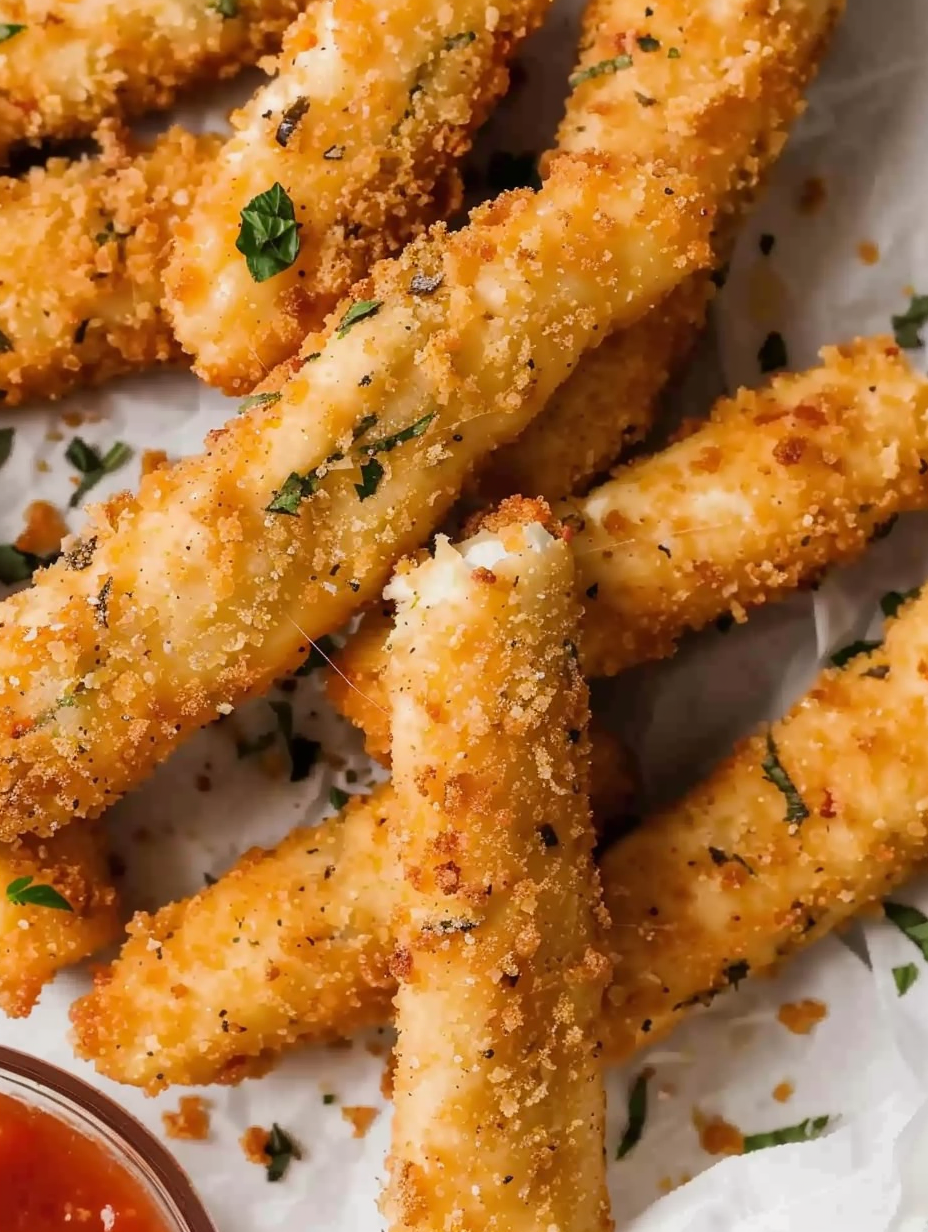
When I brought these to a family gathering, the plate was empty within minutes. We compared brands and techniques and discovered that a light double-dip batter with a chilled cheese gives the best fry stability. It’s become one of those little rituals I enjoy — slicing the block, setting up the breading station, and waiting for that perfect golden color that signals they are ready.
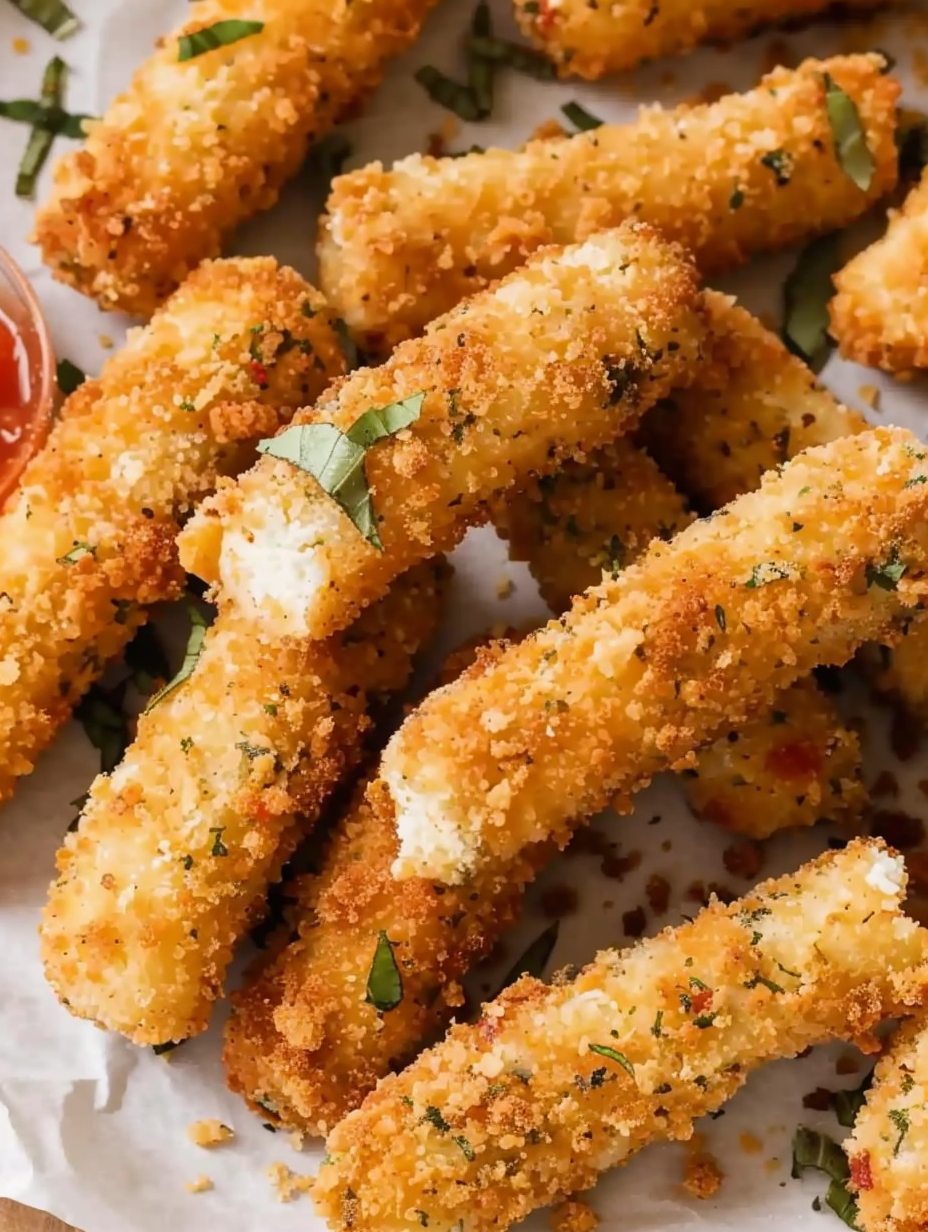
My favorite aspect of this method is its adaptability — I’ve served these to vegans and non-vegans alike, and they rarely guess they’re dairy-free. A simple tweak to the seasoning in the breadcrumbs or a swap to panko can change the texture profile, and I love experimenting depending on the occasion.
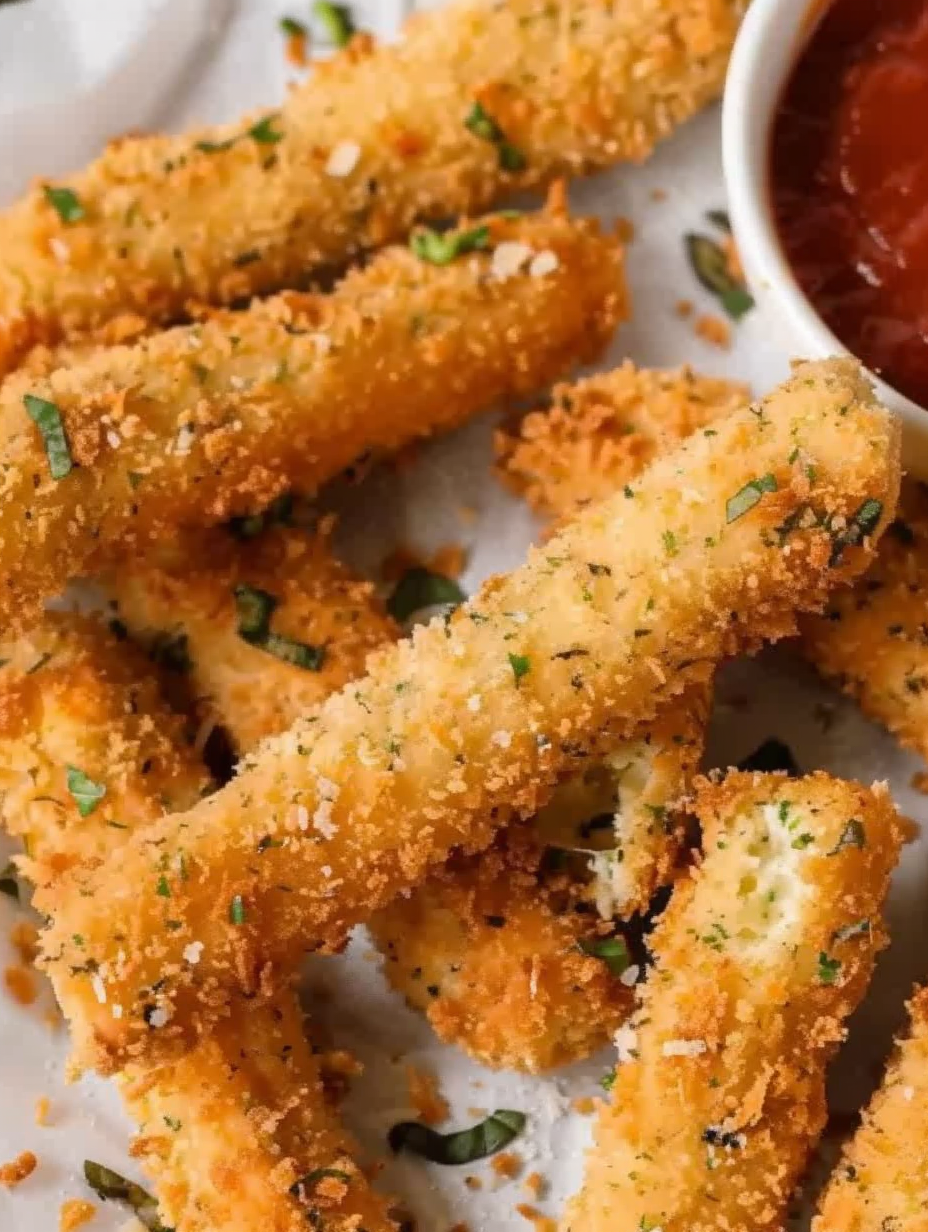
After frying, let the sticks cool completely before storing to avoid sogginess. Refrigerate in a single layer separated by parchment for up to 3 days. For longer storage, freeze the breaded sticks before frying: place on a tray for 30 to 60 minutes, then transfer to an airtight freezer-safe bag for up to 3 months. To reheat from frozen, either shallow fry for a few minutes until warm or bake at 375 degrees F for about 10 minutes until golden and heated through. For the crispiest results, finish with a 1-2 minute quick fry after baking from frozen.
If you can’t find a vegan mozzarella block, you can use a vacuum-packed stack of vegan slices without separating them; just cut through the entire stack into sticks so they hold together. Substitute almond milk with soy or oat milk for a different flavor profile. Panko breadcrumbs increase crunch but will brown faster, so lower frying time slightly. For an oil-free option, coat and bake or air-fry; freeze the breaded sticks first to help retain shape and reduce meltdown.
Serve warm with classic marinara sauce, a garlicky arrabbiata for heat, or a basil pesto for bright herb notes. Pair with a crisp green salad, roasted vegetables, or a simple charcuterie board of vegan meats and pickles for a party spread. Garnish with chopped fresh basil or parsley and a dusting of nutritional yeast for cheesier umami and color contrast.
Fried cheese sticks are a popular snack in American casual dining and fairground cuisine, originally inspired by Mediterranean fried cheese traditions. This vegan take adapts the same technique to plant-based ingredients, reflecting the larger trend of reinterpreting comfort foods without animal products. Brands producing melting vegan cheeses have made this transition easier, allowing home cooks to recreate familiar textures while honoring dietary choices.
In colder months, serve these with a heartier tomato-basil stew or bowl of pasta for a comfort-food pairing. During summer gatherings, make smaller bite-sized sticks and serve with bright, chilled gazpacho or a fresh tomato bruschetta. For holidays, spice the breadcrumbs with crushed roasted sage and cracked black pepper for a festive twist.
For easy entertaining, bread several batches and freeze them on trays. When guests arrive, fry directly from frozen a few at a time to maintain oil temperature. Label containers with the date and use within 3 months. Use airtight containers or vacuum seal bags to prevent freezer burn. If prepping for weekly snacks, store cooked sticks in the fridge for up to 3 days and reheat in a hot oven or air fryer for best texture retention.
These sticks are simple, satisfying, and versatile enough to adapt to different diets and cooking equipment. Whether fried, baked, or air-fried, the double-dip technique and chilled cheese are the keys to success. Enjoy sharing them with friends and experimenting with your favorite seasonings — they’re as fun to make as they are to eat.
Chill the cut sticks before breading to reduce melt during frying.
Use two sets of forks or tongs — one for wet batter and one for dry — to prevent clumping and mess.
Maintain oil temperature at about 370 degrees F to ensure crisping without excessive oil absorption.
Freeze breaded sticks briefly before baking or air-frying to help them hold shape.
This nourishing homemade vegan mozzarella sticks recipe is sure to be a staple in your kitchen. Enjoy every moist, high protein slice — it is perfect for breakfast or as a wholesome snack any time.
Yes. Freeze the breaded sticks in a single layer for 30 minutes, then store in a freezer-safe bag for up to 3 months. Fry or bake from frozen.
Use a thermometer and keep oil around 370 degrees F. If the exterior browns too fast, lower heat slightly; if the oil is too cool, the coating will absorb oil.
This Homemade Vegan Mozzarella Sticks recipe makes perfectly juicy, tender, and flavorful steak every time! Serve with potatoes and a side salad for an unforgettable dinner in under 30 minutes.
Heat oil in a deep fryer or heavy pot to 370 degrees F. Use a thermometer to maintain consistent temperature.
Cut the 8 oz block lengthwise, then into 1/2-inch wide sticks. Refrigerate while preparing the breading station to firm the cheese.
Whisk together 1/2 cup unsweetened almond milk, 2 tablespoons flour, garlic powder, onion powder, salt, and pepper until smooth.
Place remaining flour in one bowl. In another bowl combine breadcrumbs with Italian seasoning and whisk to combine.
Using two sets of forks or tongs, dip each chilled stick into batter, then flour, back into batter, and into breadcrumbs. Place on a tray and repeat.
Fry in hot oil for 2–4 minutes until evenly golden. Work in batches and avoid overcrowding to keep oil temperature stable.
Drain on paper towels, let cool slightly, and serve warm with marinara or preferred dip.
Last Step: Please leave a rating and comment letting us know how you liked this recipe! This helps our business to thrive and continue providing free, high-quality recipes for you.
Leave a comment & rating below or tag
@savoryte on social media!
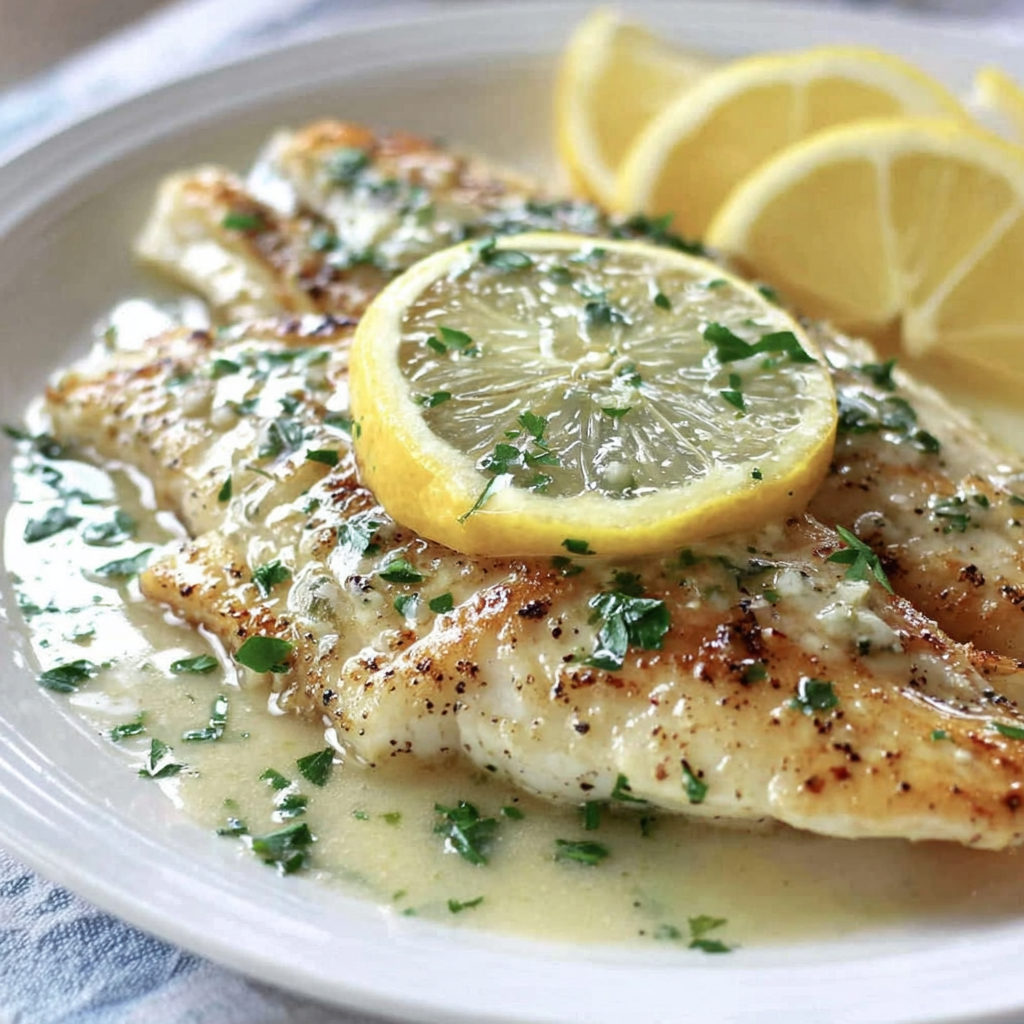
Flaky pan-seared tilapia topped with a velvety lemon butter sauce. Quick to cook, bright with citrus, and weeknight-easy yet dinner-party special.
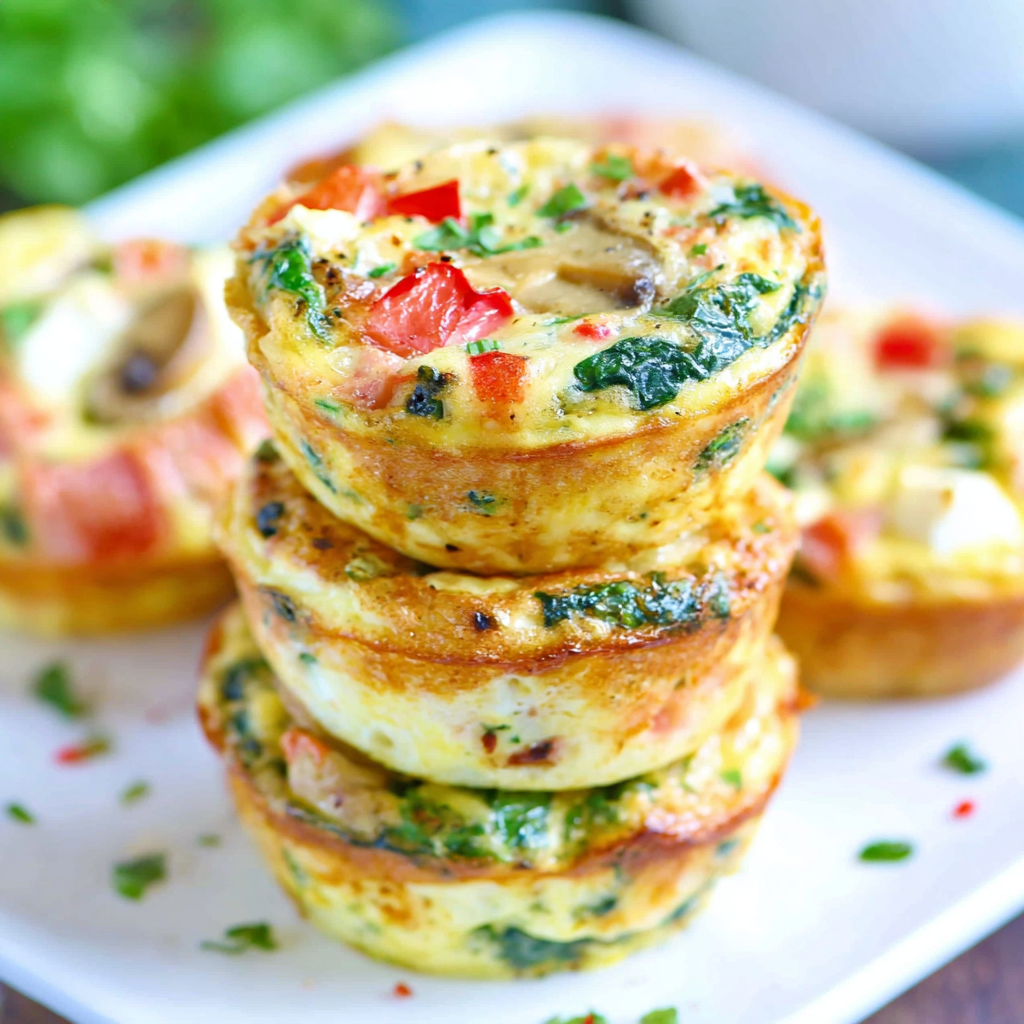
Start your morning with veggie-loaded, protein-packed egg muffins at just 50 calories each. Perfect for make-ahead breakfasts, freezer-friendly, and easy to customize.
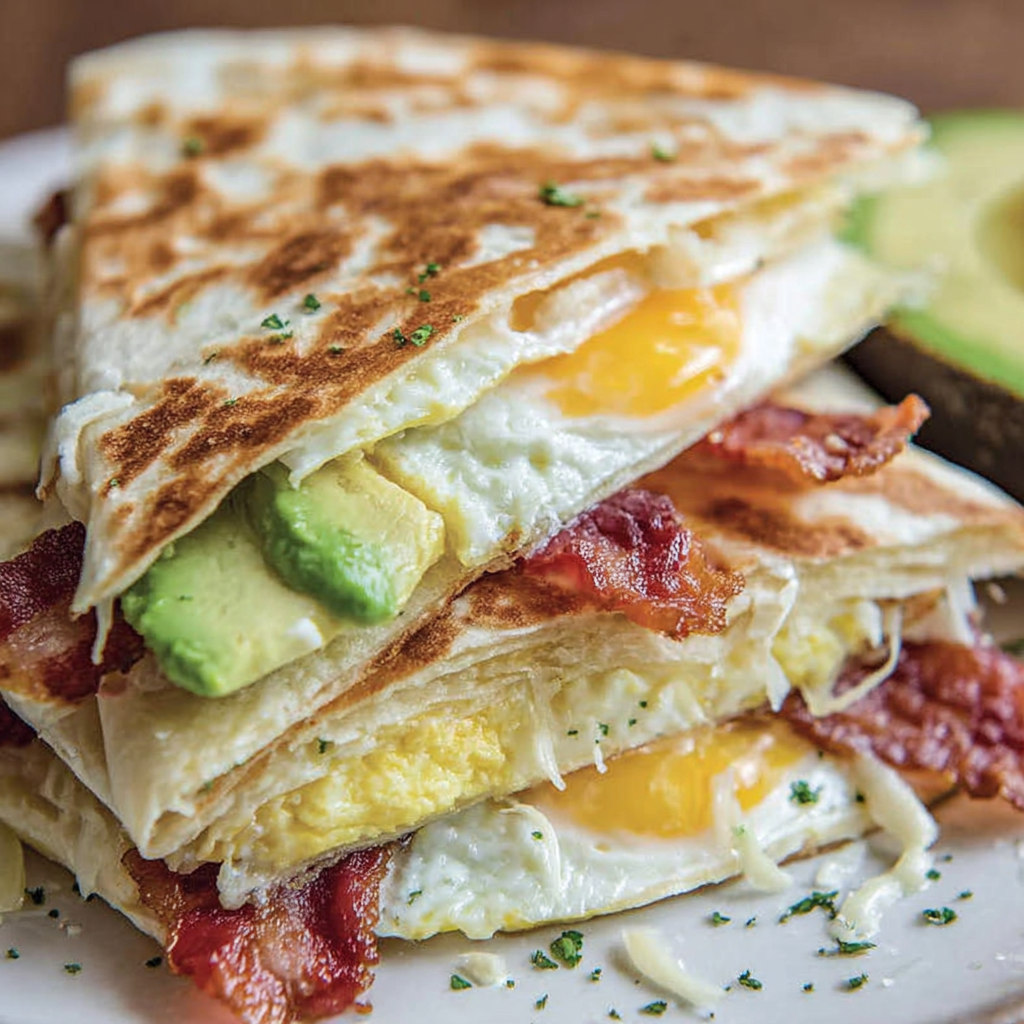
Crispy, cheesy, and ready in minutes, this viral tortilla fold layers bacon, egg, avocado, and melty cheese into a perfectly portable triangle.
Leave a comment & rating below or tag @savoryte on social media!
Enjoyed this recipe? Share it with friends and family, and don't forget to leave a review!
This recipe looks amazing! Can't wait to try it.
Comments are stored locally in your browser. Server comments are displayed alongside your local comments.

Join to receive our email series which contains a round-up of some of our quick and easy family favorite recipes.
