
>>

Rich, fudgy almond flour brownies that are gluten-free and paleo-friendly — simple ingredients, easy method, and irresistibly chocolatey.
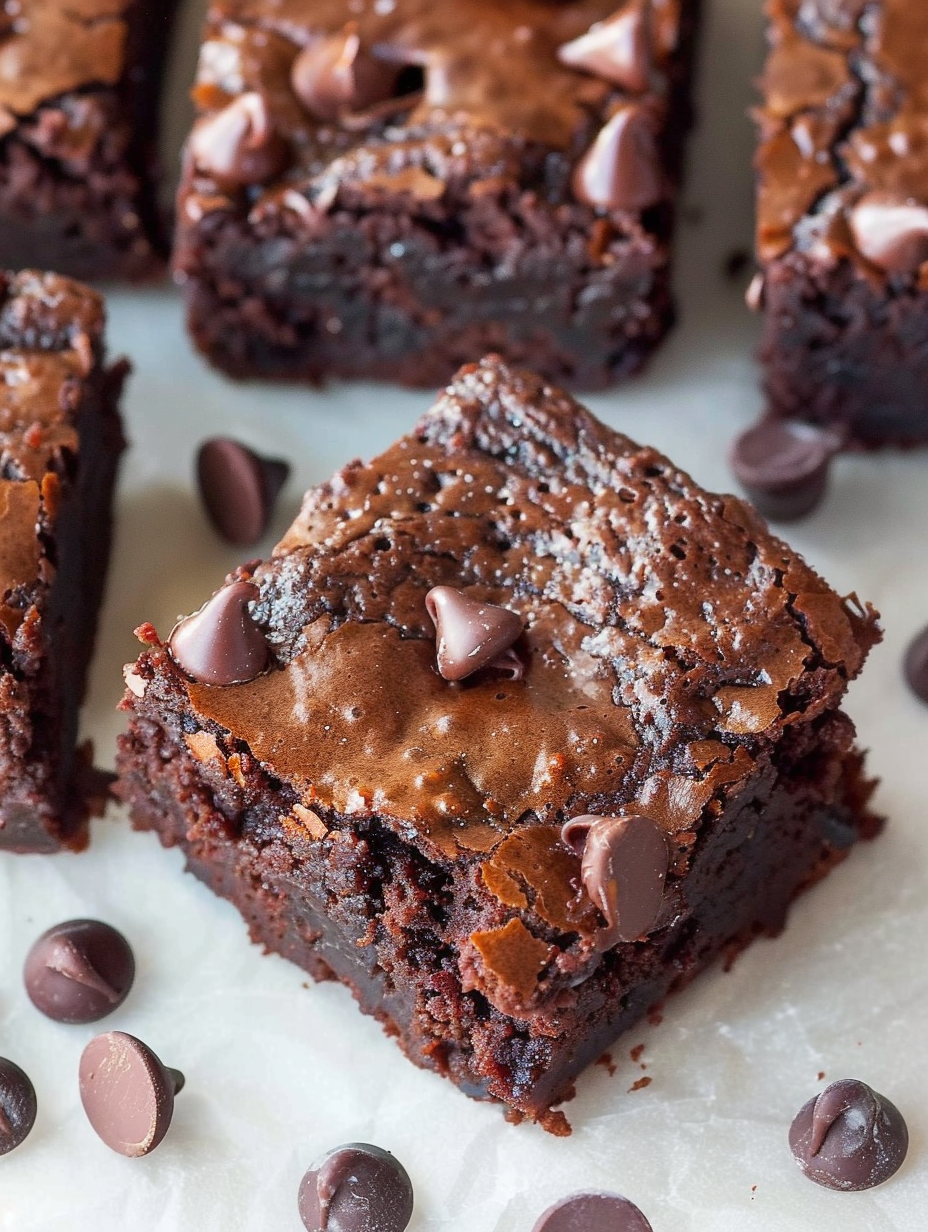
This recipe for gluten-free almond flour brownies is one I've kept in my back pocket for years, surfacing whenever I want something deeply chocolatey but without wheat flour. I first developed this version on a rainy weekend when the pantry offered almond flour and coconut sugar, and the result was so indulgent that friends asked for the recipe on the spot. The texture leans fudgy rather than cakey: a crackled top, a dense, moist interior, and the kind of chocolate punch that makes you close your eyes on the first bite. These squares are robust enough to satisfy traditional brownie cravings yet light in ingredients and easy to pull together.
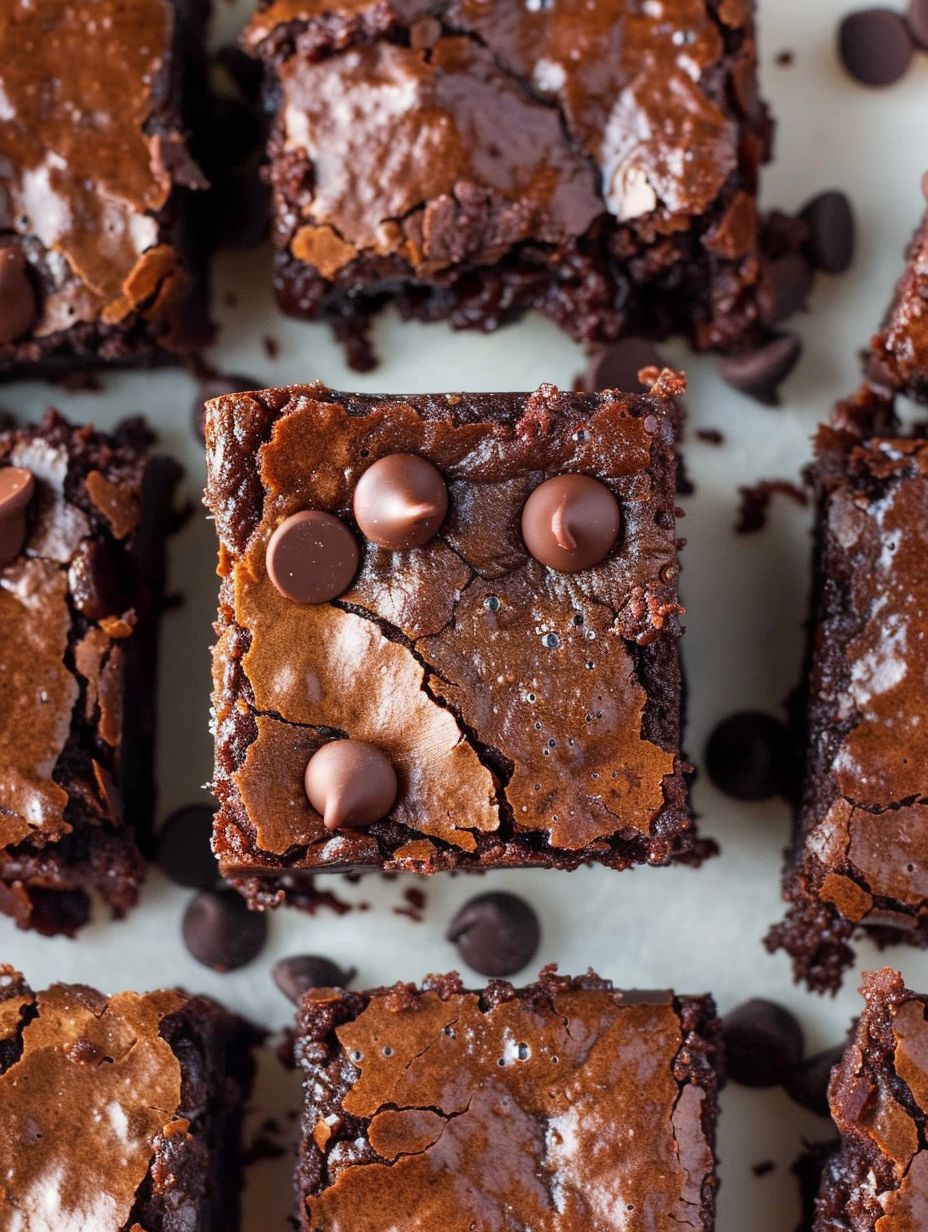
What I love most is how forgiving the method is. With simple mixing, a single bowl, and an 8x8 pan, you can produce 16 neat squares that hold together well after cooling. The brownies are paleo-friendly when you choose compliant chocolate chips and coconut sugar, and they travel well to potlucks or pack into lunchboxes. Over the years I've tweaked the timings and techniques—room-temperature eggs, gentle folding of the cocoa and almond flour, and a mandatory full cool-down—to guarantee clean cuts and the perfect fudgy bite. Serve them slightly warmed with a spoonful of coconut cream for a small celebration.
My family reacted the first time with genuine surprise — some insisted these couldn't be gluten-free. Over time this has become my go-to for gatherings because it pleases both gluten-free and regular eaters. The simplicity of ingredients means I can riff on add-ins like chopped nuts or espresso powder depending on mood.
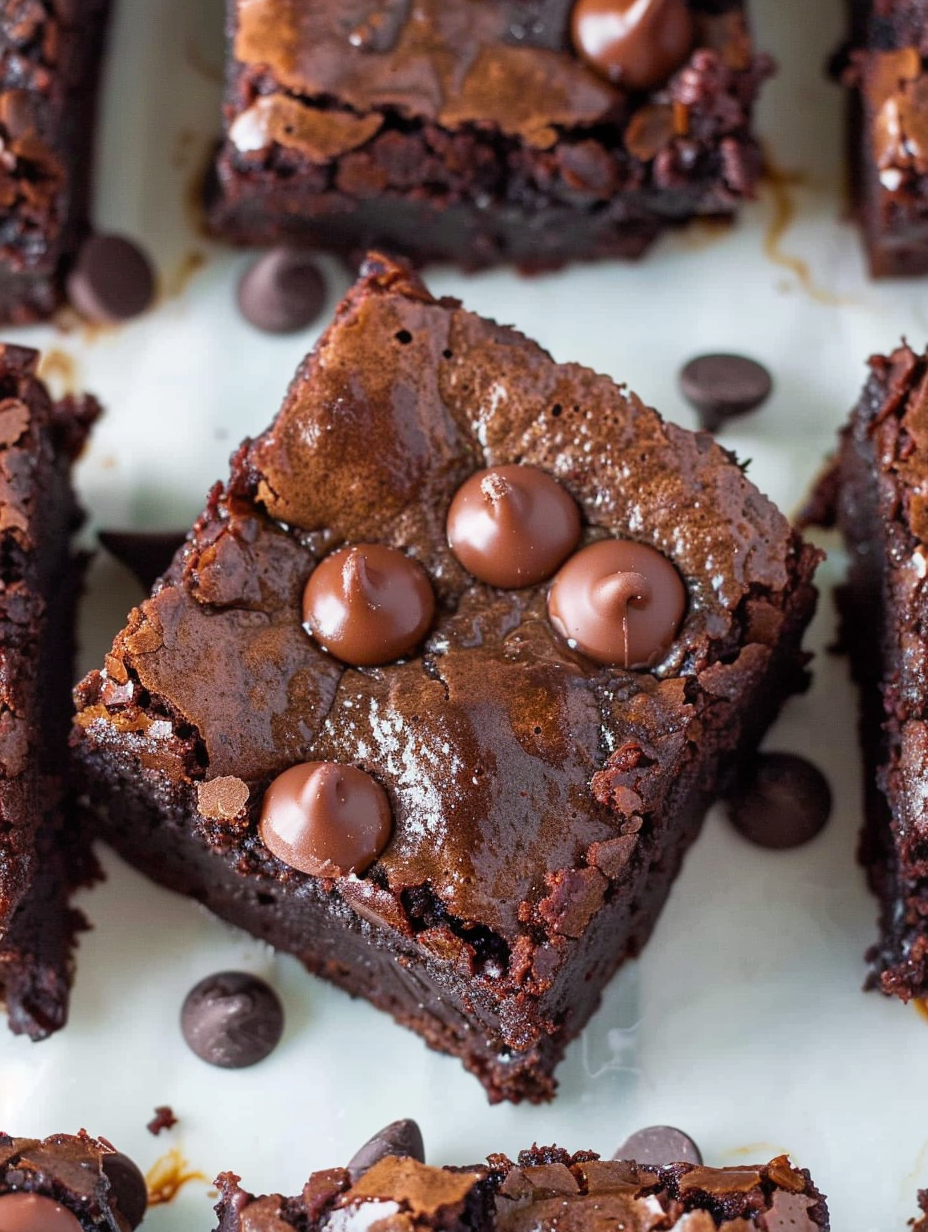
What I love about these brownies is how they bridge occasions: they feel indulgent enough for a celebration yet simple for a weekday treat. Family and guests often comment on the deep chocolate flavor and moist crumb, and they rarely guess the recipe is gluten-free until asked. It’s become my little party trick.
After cooling completely, transfer squares to an airtight container. At room temperature they stay soft for about three days; refrigeration keeps them firmer and extends life to five days. For freezing, separate layers with parchment and use a freezer-safe bag or container; thaw overnight in the refrigerator or at room temperature for a few hours. To revive a slightly firm brownie, microwave a single piece for 8–12 seconds for that warm, gooey texture.
If you want to swap ingredients, you can use light olive oil or grapeseed oil instead of avocado oil in an equal amount. For a lower-sugar version, reduce coconut sugar to 3/4 cup and taste the batter; texture will be slightly firmer. To make these nut-free, try sunflower seed flour as a 1:1 substitute but expect a greenish tint and altered flavor. Egg-free options like Bob's Red Mill Egg Replacer may work — they often yield a slightly cakier texture.
Serve warm with a scoop of vanilla or coconut ice cream, a dollop of whipped cream, or a dusting of powdered sugar. Garnish with flaky sea salt to accentuate the chocolate or chopped toasted almonds for crunch. Pair with a bold coffee or a rich dessert wine for elegant after-dinner service.
Brownies are an American classic dating to the early 20th century, traditionally made with wheat flour and butter. This adaptation preserves the essential brownie spirit — dense, chocolate-forward squares — while swapping in almond flour and oil to accommodate gluten-free and paleo diets. Almond flour has long been used in Mediterranean and Middle Eastern baking and delivers both flavor and moisture in this reinterpretation.
In cooler months add a pinch of cinnamon or 1/2 teaspoon instant espresso to intensify chocolate depth. For spring and summer, fold in 1/2 cup fresh chopped strawberries right before baking for a fruity twist (reduce oven time slightly and watch for added moisture). Holiday adaptations include orange zest and chopped candied peel for festive brightness.
Make a double batch and freeze individual squares for quick desserts or lunchbox treats. Portion them on parchment and flash-freeze before bagging to prevent sticking. Using the parchment overhang, lift the entire slab from the pan for uniform slicing and store cut pieces in layers separated by parchment. This saves time and keeps portions consistent for meal prep days.
These brownies are simple, reliable, and endlessly adaptable. Whether you’re baking for a dietary need or just looking for a chocolatey fiddu, they deliver. Try them once and you’ll find reasons to bake them again and again.
Let the batter rest 5 minutes before pouring into the pan to let almond flour hydrate slightly for a smoother texture.
Use a sharp knife warmed under hot water and wiped dry between cuts for neat slices.
Chill brownies after cooling to firm them up for cleaner portions and easier serving.
Sift the cocoa powder to avoid lumps and ensure even mixing when working with small batches.
This nourishing gluten-free almond flour brownies recipe is sure to be a staple in your kitchen. Enjoy every moist, high protein slice — it is perfect for breakfast or as a wholesome snack any time.
Allow the brownies to cool completely before cutting. Refrigerating after cooling helps produce clean slices.
Room-temperature eggs help the batter emulsify properly, producing a glossy top and consistent texture.
This Gluten-free Almond Flour Brownies recipe makes perfectly juicy, tender, and flavorful steak every time! Serve with potatoes and a side salad for an unforgettable dinner in under 30 minutes.
Preheat oven to 350°F (177°C). Grease an 8x8-inch square pan or line it with parchment paper leaving an overhang for easy removal.
Whisk eggs, coconut sugar, vanilla, and avocado oil in a large bowl until glossy and combined, about 30–60 seconds.
Add cocoa powder, almond flour, sea salt, and baking soda to the wet mixture and stir gently until no dry streaks remain.
Fold in half the chocolate chips, pour batter into the prepared pan, then sprinkle remaining chips on top for a glossy finish.
Bake for 25 minutes. The center should jiggle slightly but not appear wet. If necessary, bake an additional 4–6 minutes. A toothpick near the edge should come out clean.
Cool completely on a rack, then refrigerate 30–60 minutes for cleaner cuts. Use a sharp knife warmed under hot water and wiped dry to slice into 16 squares.
Last Step: Please leave a rating and comment letting us know how you liked this recipe! This helps our business to thrive and continue providing free, high-quality recipes for you.
Leave a comment & rating below or tag
@savoryte on social media!

Flaky pan-seared tilapia topped with a velvety lemon butter sauce. Quick to cook, bright with citrus, and weeknight-easy yet dinner-party special.

Start your morning with veggie-loaded, protein-packed egg muffins at just 50 calories each. Perfect for make-ahead breakfasts, freezer-friendly, and easy to customize.

Crispy, cheesy, and ready in minutes, this viral tortilla fold layers bacon, egg, avocado, and melty cheese into a perfectly portable triangle.
Leave a comment & rating below or tag @savoryte on social media!
Enjoyed this recipe? Share it with friends and family, and don't forget to leave a review!
This recipe looks amazing! Can't wait to try it.
Comments are stored locally in your browser. Server comments are displayed alongside your local comments.

Join to receive our email series which contains a round-up of some of our quick and easy family favorite recipes.
