
>>

Flaky, sweet apple danishes made with store-bought crescent rolls, quick apple pie filling, and a simple vanilla glaze — perfect for breakfast or dessert.
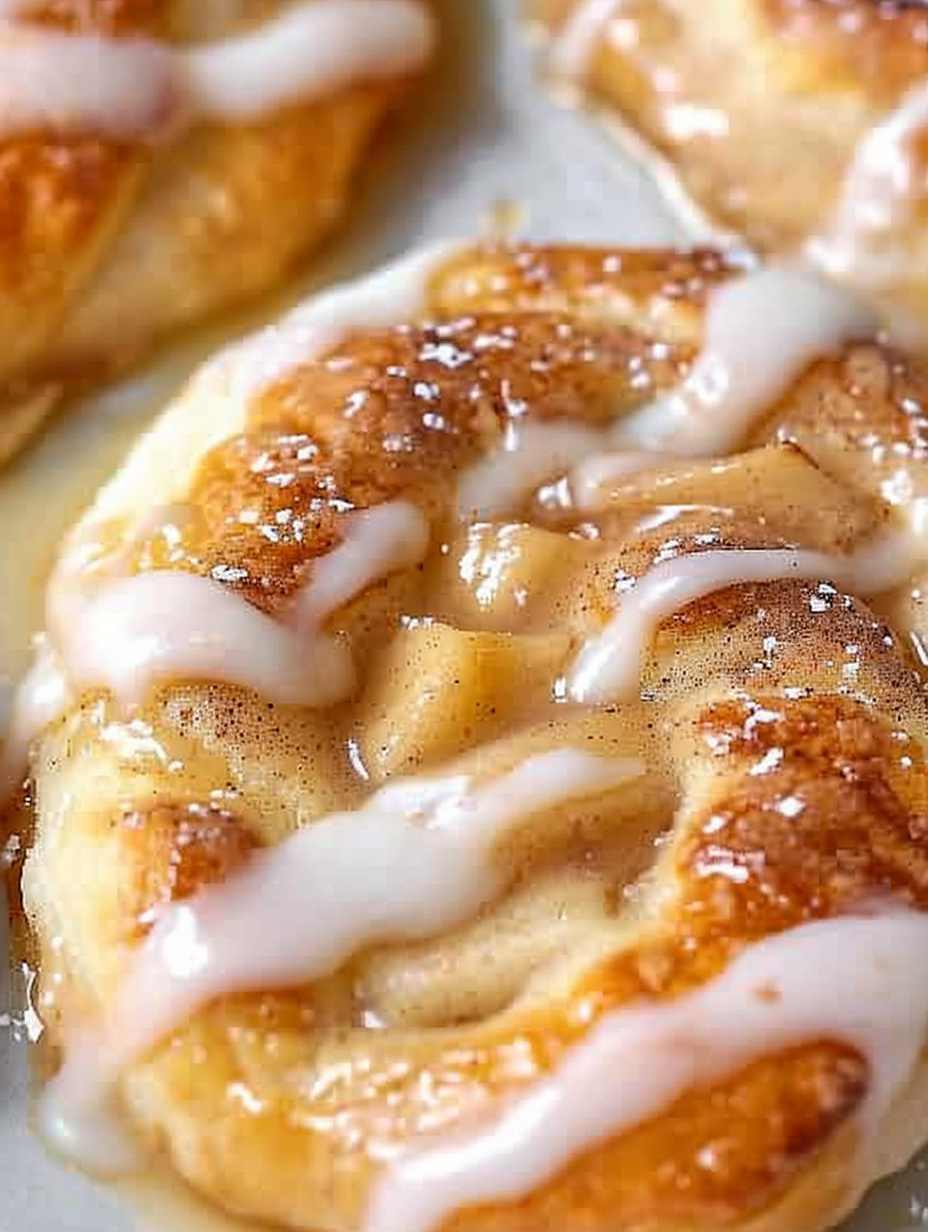
This recipe for Easy Apple Danishes has been a weekday and weekend favorite in my kitchen for years. I discovered this shortcut on a rushed holiday morning when I wanted the warm comfort of pastry without the hours of laminating dough. Using store-bought crescent roll dough keeps things simple, and the swap creates a crisp, buttery base that browns beautifully in 15 to 18 minutes. The finished bites are sweet but balanced, with tender apple pieces and a light vanilla glaze that sets the memory of cinnamon and butter in every mouthful.
I first made these danishes for a small brunch I hosted for close friends; the kitchen smelled like fall within minutes and everyone kept reaching for one more. The texture is where they shine: the crescent dough gives a tender, slightly flaky crumb while the apple pie filling stays moist and full of cinnamon flavor. The combination of convenience and homemade warmth is what keeps me making this again and again — and it’s an easy recipe to adapt when you want to swap flavors or make a larger batch for a gathering.
My family’s reaction the first time I served these was immediate: plates went empty in minutes and my husband asked me to write the recipe down. I love how a simple combination of pantry items turns into something that feels like an indulgence — the cinnamon-sugar and glaze add that bakery finish without extra fuss.
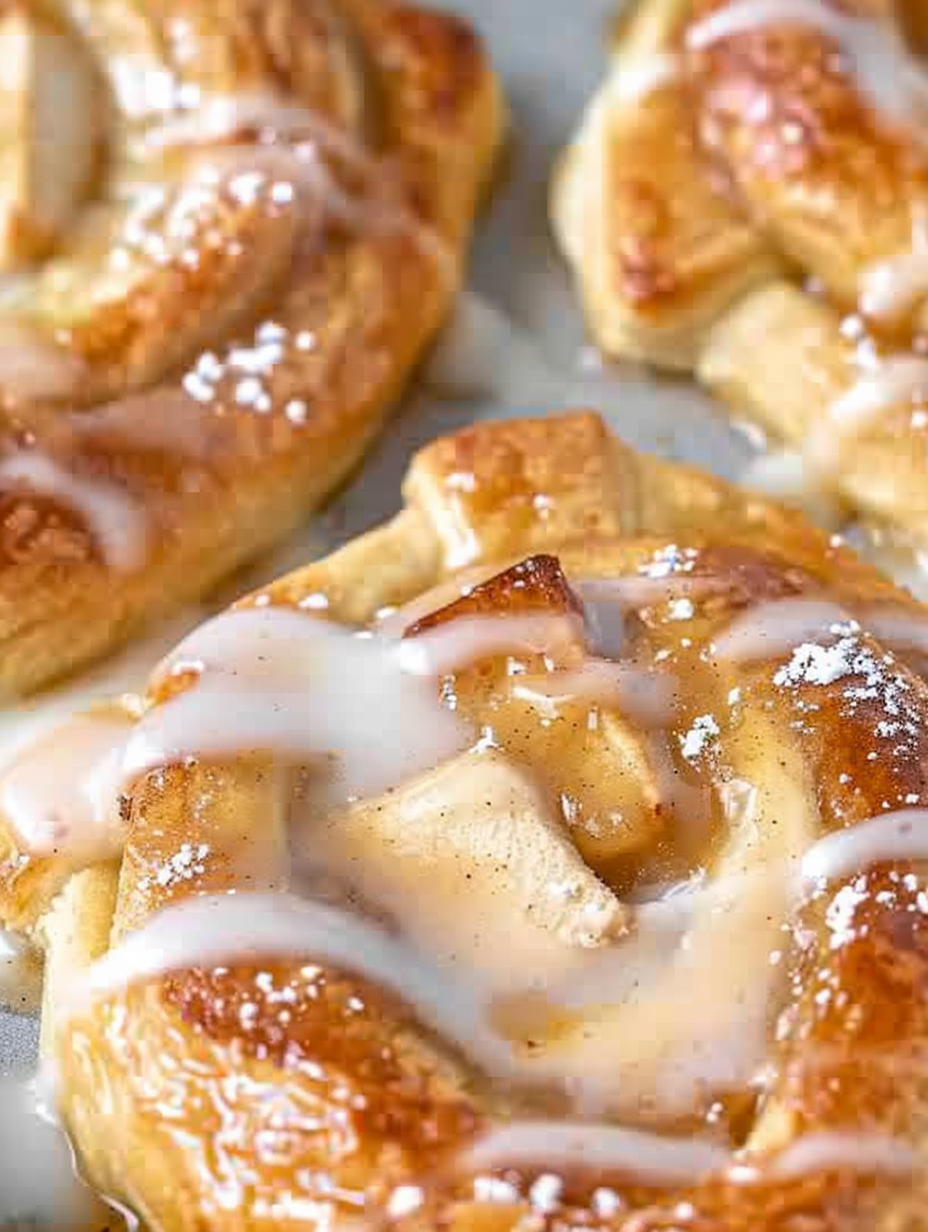
My favorite part of this shortcut is how effortlessly it delivers a pastry-shop taste without the time commitment. Over the years I’ve learned to chop the apple pieces slightly smaller than my instinct tells me — they sit better on the coil and warm through without releasing excess syrup. Friends have told me they enjoy these with coffee on chilly mornings or served with vanilla ice cream as a quick dessert at dinner parties.
For short-term storage, place cooled danishes in a single layer inside an airtight container at room temperature for up to two days. To keep them longer, wrap each unglazed danish in plastic wrap and freeze in a sealed freezer bag for up to three months. Reheat from frozen on a baking sheet at 350 degrees F for 10 to 12 minutes, then drizzle glaze. Avoid refrigerating glazed danishes for long periods as the icing will become sticky and may soften the crust.
If you prefer a richer filling, stir 2 ounces of softened cream cheese into the apple filling before adding it to the coils. For a dairy-free option, use dairy-free margarine and a plant milk in the glaze. Swap canned apple filling with 1 1/2 cups homemade caramelized apples (about 2 medium apples, sautéed with 2 tablespoons sugar and 1/2 teaspoon cinnamon) for a fresher taste — reduce added liquid so the pastry stays crisp.
Serve warm with a dusting of extra powdered sugar or a dollop of whipped cream. These pair beautifully with strong coffee, chai, or a mild-bodied black tea. For brunch, present them alongside savory quiches and a fresh fruit platter. Garnish with thinly sliced apple curls or a pinch of ground cinnamon for a festive look.
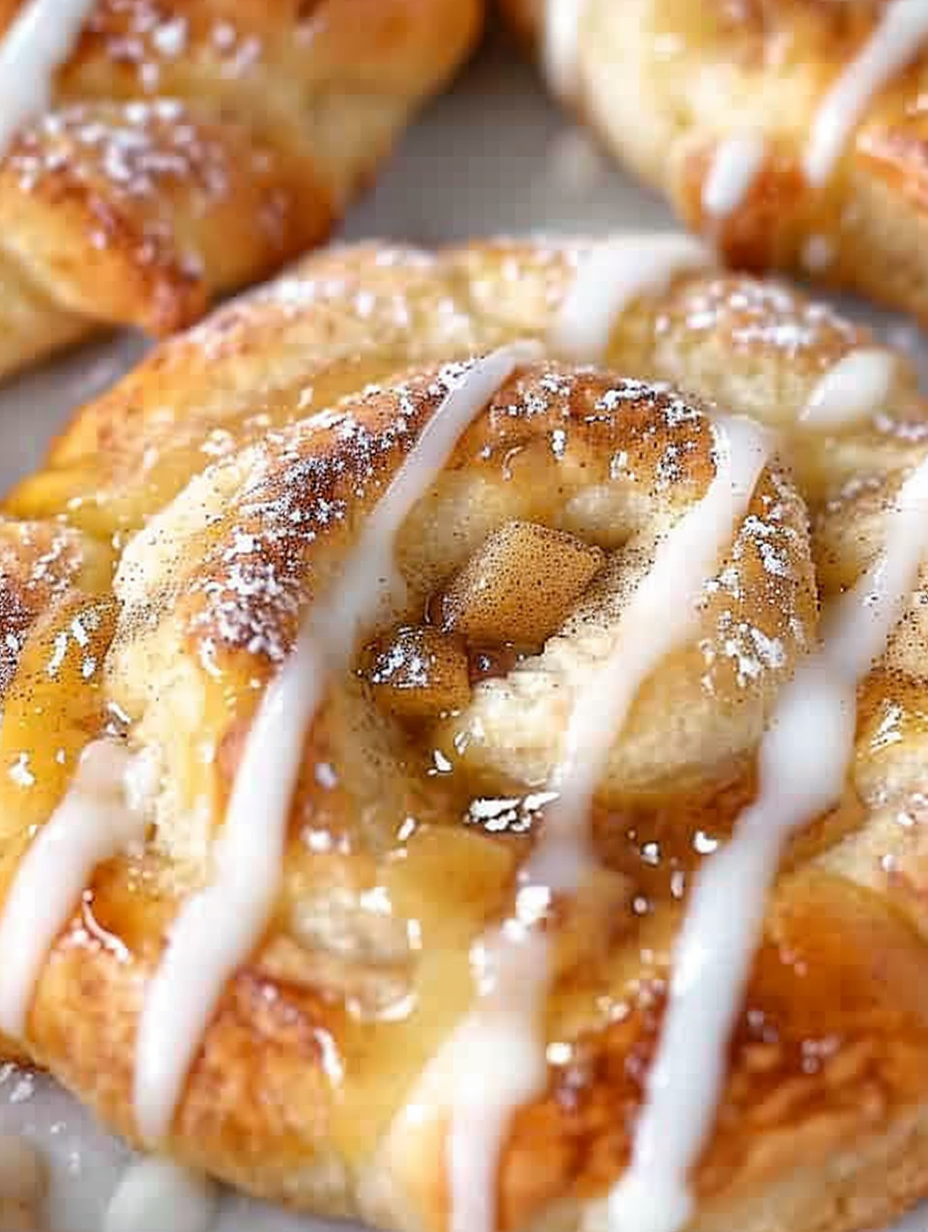
While the classic Danish pastry traces back to Vienna and Scandinavian bakers, this quick version is a modern American adaptation that honors the idea of enriched, laminated dough using accessible ingredients. The apple filling evokes traditional autumn desserts found across Europe and North America, and this simplified approach reflects home cooks’ long-standing habit of taking inspiration from classic techniques while prioritizing convenience.
In fall, use apple pie filling spiced with cloves and nutmeg; top with toasted pecans for crunch. During summer, swap apples for cherry pie filling or fresh berries mixed with a touch of sugar and cornstarch. For holidays, add a splash of brandy or bourbon to the filling for warmth, or fold in orange zest to the glaze for a citrus finish.
Assemble the coiled pastries the night before, cover tightly with plastic wrap, and keep refrigerated. Bake in the morning for fresh, warm danishes. If transporting to a brunch or potluck, cool completely, stack carefully between parchment sheets in a box, and reheat briefly at the venue if possible. Keep glaze in a small jar and drizzle just before serving to maintain a glossy finish.
These Easy Apple Danishes are a delightful shortcut that brings bakery charm to your table with minimal effort. Whether you make them for a holiday morning or a casual weekday treat, they’re reliable, flexible, and always warmly received. Try them with different fillings and glazes — it’s a small recipe with big possibilities.
Seal the crescent roll perforations well to prevent filling seepage during baking.
Chop the apple slices into smaller pieces so they sit neatly in the center and warm through.
Make the glaze last-minute so it stays glossy; add milk a teaspoon at a time to control thickness.
If tops brown too quickly, tent loosely with foil for the final minutes to avoid overbaking.
This nourishing easy apple danishes recipe is sure to be a staple in your kitchen. Enjoy every moist, high protein slice — it is perfect for breakfast or as a wholesome snack any time.
Yes — assemble the danishes, cover, and refrigerate overnight. Bake from cold, adding a couple minutes to the bake time if needed.
Freeze unglazed danishes in a single layer then stack with parchment between layers in a freezer bag for up to 3 months.
This Easy Apple Danishes recipe makes perfectly juicy, tender, and flavorful steak every time! Serve with potatoes and a side salad for an unforgettable dinner in under 30 minutes.
Preheat the oven to 350 degrees F and position a rack in the center for even baking.
Unroll crescent dough and press two adjacent triangles together to form one rectangle; repeat to make eight rectangles, sealing perforations.
Brush each rectangle with melted butter and sprinkle with cinnamon-sugar mixture to coat evenly.
Roll each rectangle from the long side into a log, then loosely coil into a spiral and place on a greased baking sheet.
Chop apple slices from the can into smaller pieces and spoon 2 to 3 tablespoons into the center of each coil; dust lightly with extra cinnamon sugar.
Bake for 15 to 18 minutes or until golden brown, rotating the pan halfway through to ensure even color.
Whisk powdered sugar, vanilla, and 3 to 4 teaspoons milk until smooth and pourable; adjust thickness with milk as needed.
Drizzle glaze over warm danishes and serve immediately for best texture and flavor.
Last Step: Please leave a rating and comment letting us know how you liked this recipe! This helps our business to thrive and continue providing free, high-quality recipes for you.
Leave a comment & rating below or tag
@savoryte on social media!
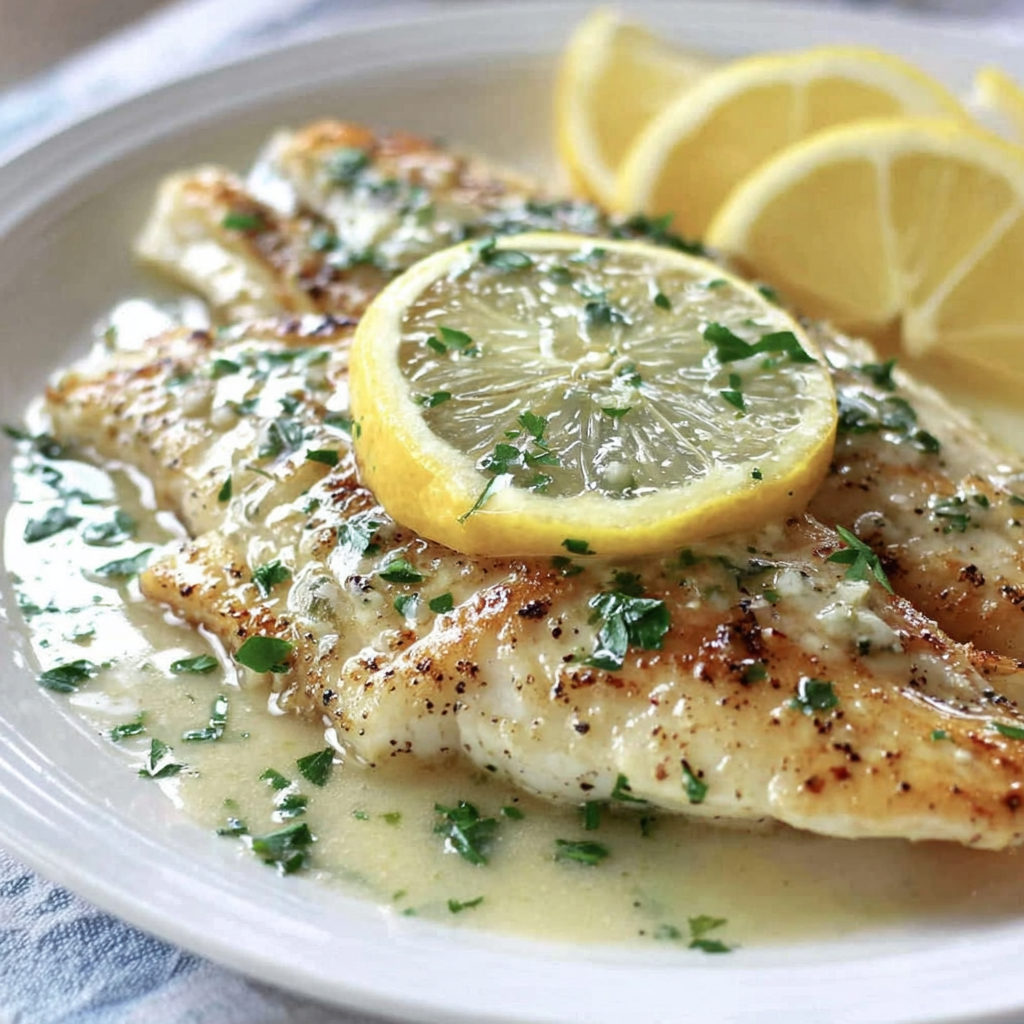
Flaky pan-seared tilapia topped with a velvety lemon butter sauce. Quick to cook, bright with citrus, and weeknight-easy yet dinner-party special.
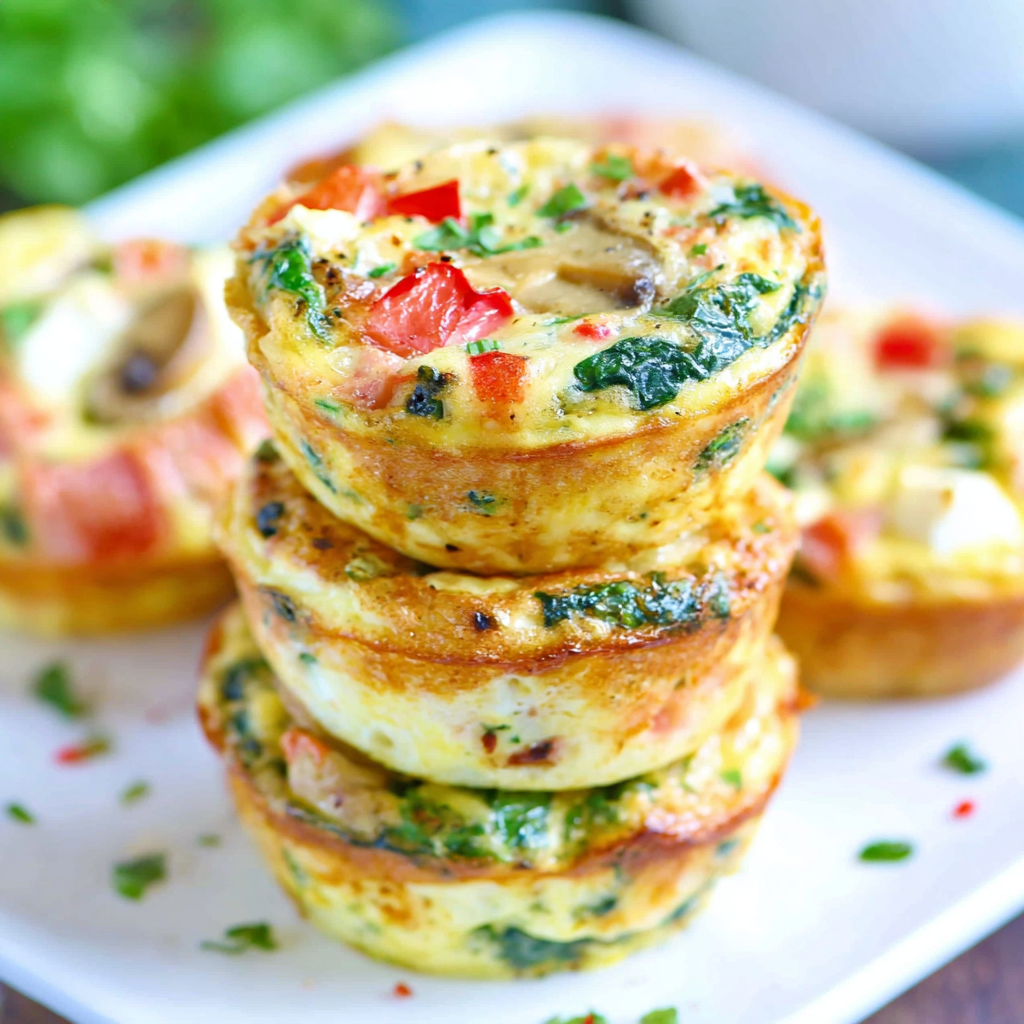
Start your morning with veggie-loaded, protein-packed egg muffins at just 50 calories each. Perfect for make-ahead breakfasts, freezer-friendly, and easy to customize.
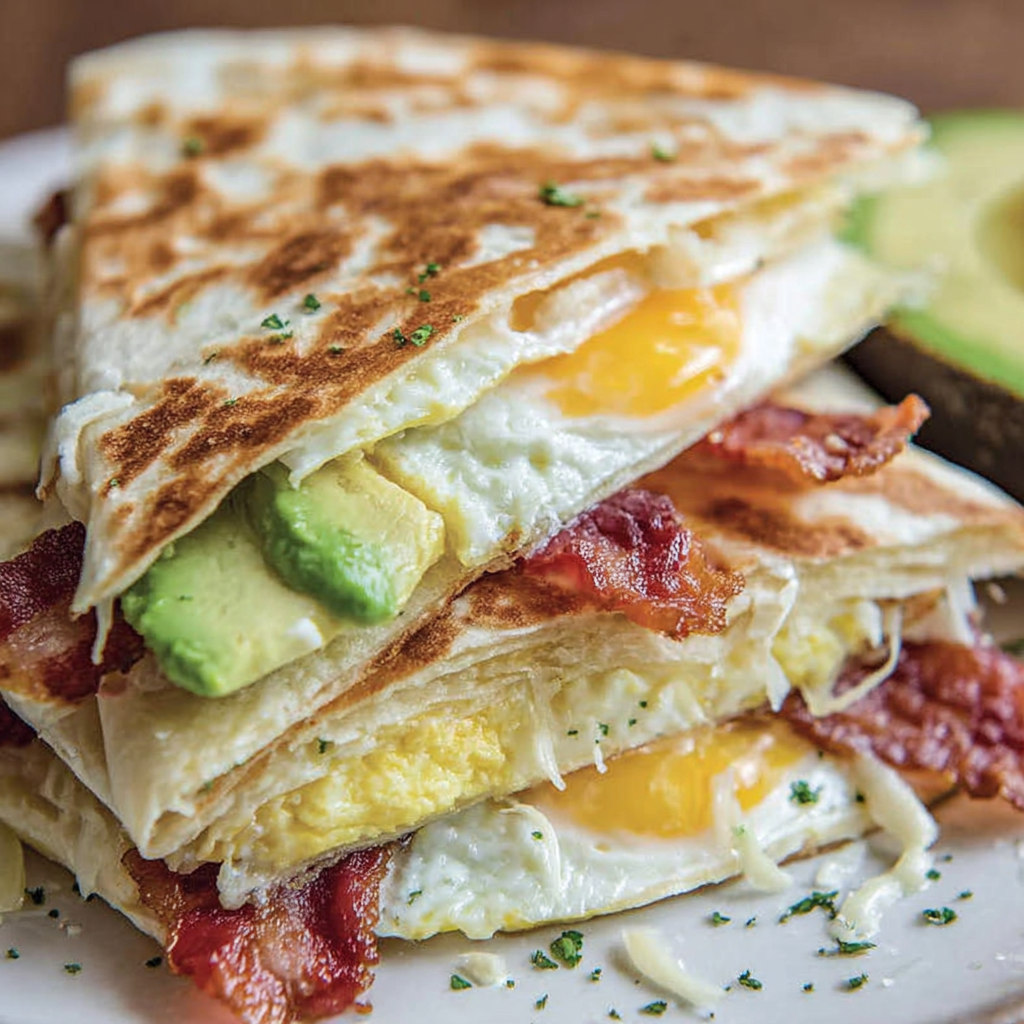
Crispy, cheesy, and ready in minutes, this viral tortilla fold layers bacon, egg, avocado, and melty cheese into a perfectly portable triangle.
Leave a comment & rating below or tag @savoryte on social media!
Enjoyed this recipe? Share it with friends and family, and don't forget to leave a review!
This recipe looks amazing! Can't wait to try it.
Comments are stored locally in your browser. Server comments are displayed alongside your local comments.

Join to receive our email series which contains a round-up of some of our quick and easy family favorite recipes.
