
>>

Crispy, customizable breadsticks that come together quickly and pair perfectly with cheese or charcuterie — yields 16–20 long grissini.
This batch of crispy breadsticks — classic Italian grissini — has been a staple in my kitchen since I first tested the dough back in December 2020. I updated the method today to streamline shaping and to add tips for seeds and herbs so you can make them exactly how your family likes. I discovered this particular combination on a cold afternoon when I wanted something crunchy to serve with a simple platter of cheese and olives. The result was so addictive that my partner and friends reached for them before the cheese even made it to the plate.
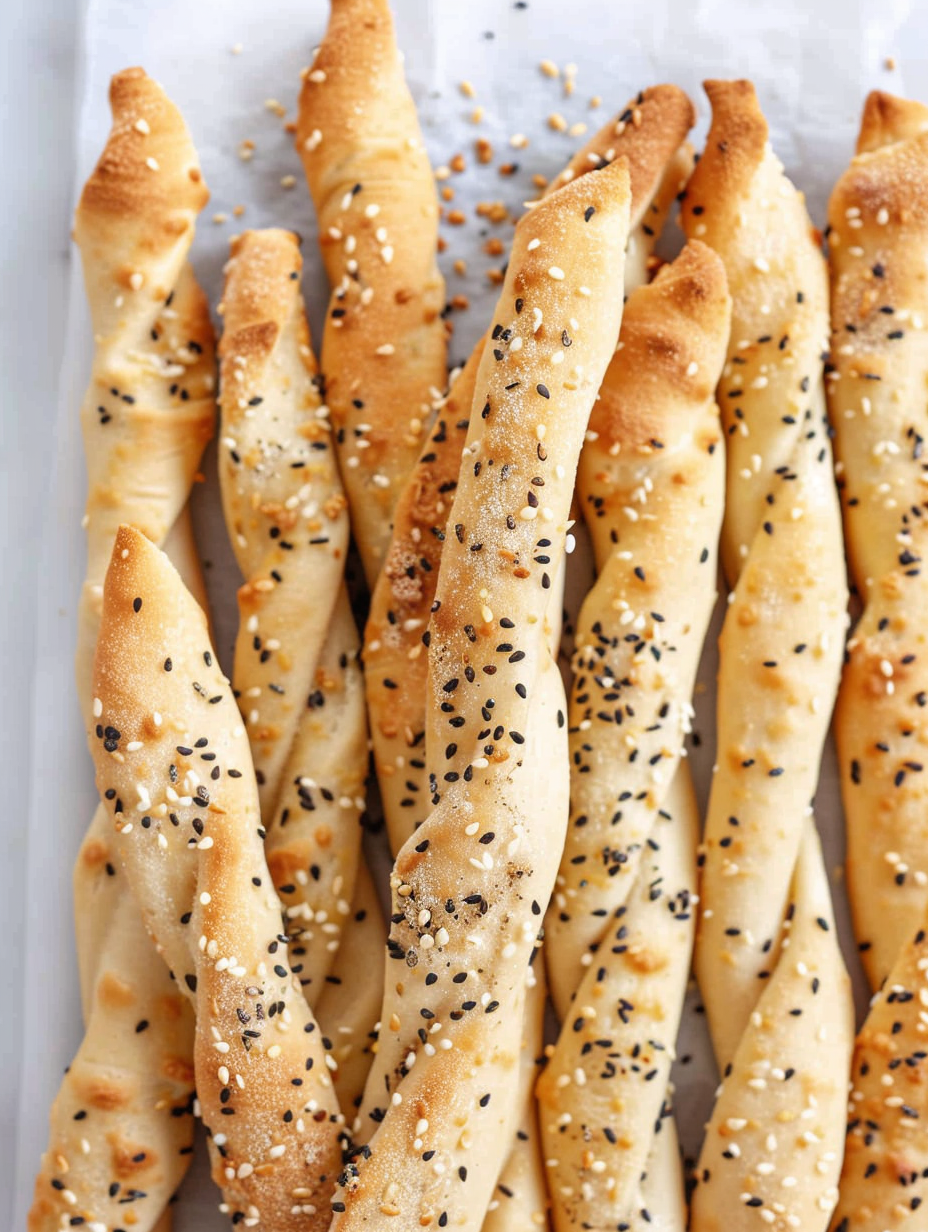
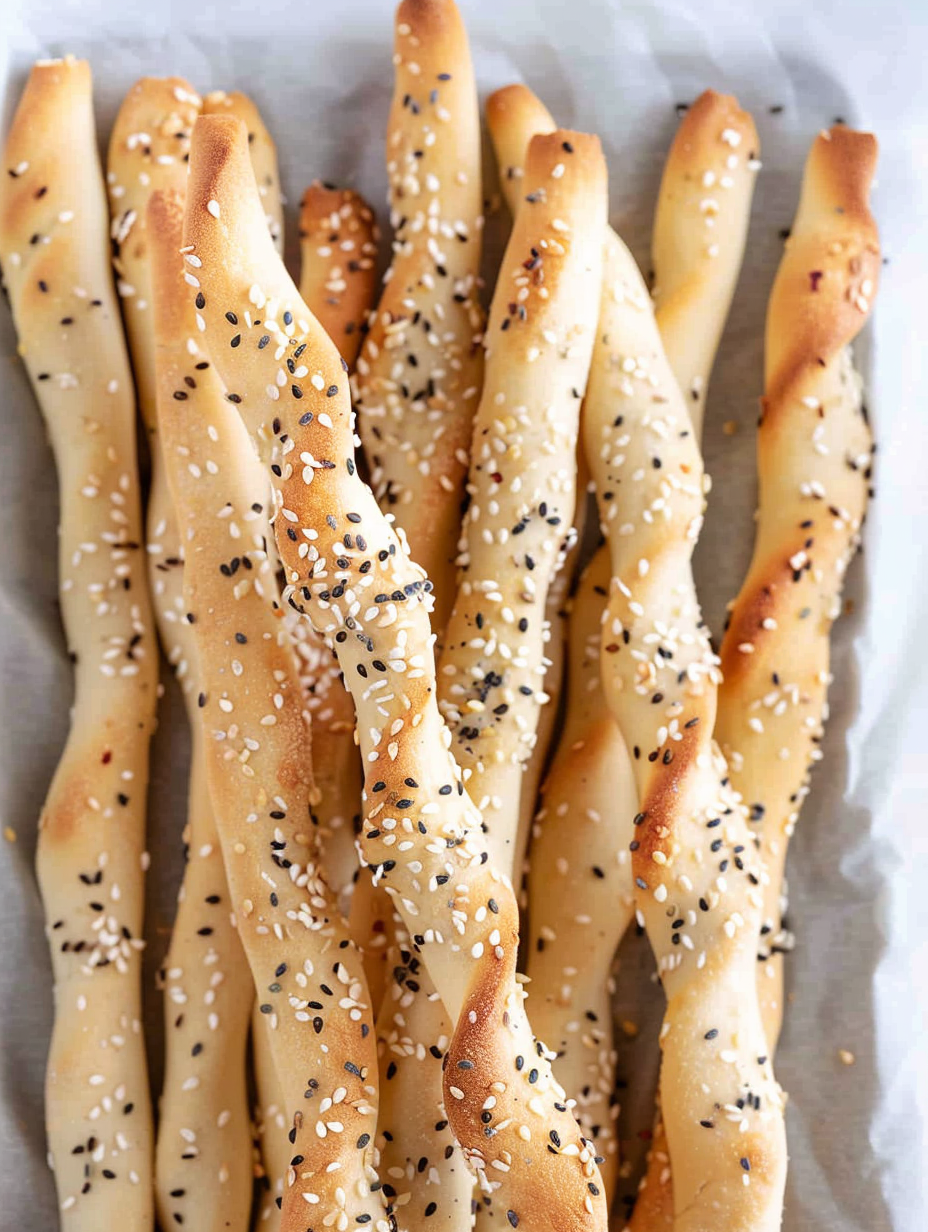
What makes these sticks special is their light, crackly texture and the ability to customize each batch: sesame and poppy seeds for a classic touch, coarse salt and rosemary for a savory finish, or a dusting of grated Parmesan for a richer flavor. They’re quick to mix, require only a short knead, and produce reliably golden, hollow-crisp sticks that are perfect as a snack, an appetizer, or to accompany a charcuterie board. The recipe yields 16–20 long breadsticks — ideal for sharing at gatherings or for keeping in an airtight tin for nibbling over several days.
In my home, these became a go-to whenever friends dropped by. One rainy evening I made a double batch for an impromptu movie night, and they were gone before the credits rolled — a small but satisfying victory for homemade baking.

My favorite part is how adaptable this dough is. I once made one tray with sesame and another with rosemary and sea salt; both disappeared quickly, and the rosemary batch was nominated by my neighbor as “the new staple” for our summer apéritifs.
Cool completely before storing to preserve crunch. Keep in an airtight tin or glass jar at room temperature; avoid refrigerating as humidity will soften them. For longer storage freeze fully baked sticks in a freezer bag for up to 3 months — thaw at room temperature and re-crisp in a 350°F (175°C) oven for a few minutes. If you freeze dough before baking, wrap tightly and thaw in the refrigerator overnight then bring to room temperature and let rise fully before shaping.
Swap bread flour for all-purpose if needed (texture will be slightly less chewy). For a gluten-free option, use a commercial gluten-free flour blend formulated for yeast breads and add a binding agent like xanthan gum — results will vary. Replace olive oil with melted butter for a richer flavor. If you prefer no seeds, sprinkle flaky sea salt or minced rosemary instead. If using active dry yeast, proof it in the lukewarm water with a pinch of sugar for 5–10 minutes until bubbly.
Serve alongside a cheese board with aged Pecorino, creamy goat cheese, and a selection of olives and charcuterie. They’re also excellent with soups: pair with tomato basil or a creamy mushroom bisque. For parties, present a variety of sticks in jars — guests can choose sesame, poppy, or herb-topped. Garnish with a drizzle of flavored oil or a sprinkle of flaky sea salt just after baking for visual appeal.
Grissini originated in northern Italy, historically from the Piedmont region, and were created centuries ago as a long-lasting bread for patients and travelers. The thin, dry shape made grissini ideal for packing and sharing; they became a staple on Italian tables and evolved into a versatile accompaniment appreciated worldwide. Regional variations add seeds, herbs, or cheese for local flavor signatures.
In spring and summer, top with lemon zest and finely chopped thyme for a bright note. In autumn, sprinkle with toasted pumpkin seeds and smoked paprika. For winter gatherings, infuse olive oil with garlic and brush before baking, or add a dusting of grated Parmesan and cracked black pepper for a cozy, savory twist.
Double the dough and freeze half after kneading for quick future bakes. Portion dough into two sheets, shape and freeze; when ready, thaw, proof, and cut into sticks. Bake straight from room temperature once fully thawed and puffed. Store baked sticks in a sealable tin and refresh by warming for a few minutes in the oven to restore crispness.
Whether you’re serving them with a refined cheese board or keeping them in a jar for quick snacking, these breadsticks are a simple, satisfying way to show a little homemade care. Try topping one batch with poppy seeds and another with rosemary to find your favorite — then make them again and again.
Stretch each strip gently to create hollow pockets that crisp beautifully in the oven.
Brush with olive oil and sprinkle toppings before proofing so seeds adhere and flavor infuses during the rise.
If using active dry yeast, bloom it in the lukewarm water with a pinch of sugar for 5–10 minutes until foamy before mixing.
Cool completely before storing to keep the sticks crisp; reheat briefly in a warm oven to refresh.
This nourishing crispy italian breadsticks (grissini) recipe is sure to be a staple in your kitchen. Enjoy every moist, high protein slice — it is perfect for breakfast or as a wholesome snack any time.
Yes — freeze the dough after kneading in an airtight freezer bag. Thaw completely, allow it to proof until puffy, then shape and bake as directed.
Bake for 15–20 minutes at 400°F (205°C). Start checking at 15 minutes; thinner sticks may brown earlier. Aim for an even deep golden color.
Use lukewarm water (about 95–105°F/35–40°C). Too hot will kill the yeast; too cold slows the rise significantly.
This Crispy Italian Breadsticks (Grissini) recipe makes perfectly juicy, tender, and flavorful steak every time! Serve with potatoes and a side salad for an unforgettable dinner in under 30 minutes.
Whisk together the flour, yeast, and salt in a large bowl. Add any dry flavorings like grated Parmesan now so they distribute evenly throughout the dough.
Stir in the lukewarm water and olive oil until a shaggy dough forms. Adjust with a teaspoon of water if the flour seems dry. Mix until combined.
Turn onto a lightly floured surface and knead 1–2 minutes until smooth and elastic. The dough should be soft and easy to handle, not sticky or stiff.
Flatten the dough onto a parchment-lined sheet into an 11 x 7 inch rectangle. Brush with oil, sprinkle toppings, cover loosely and let rise for about 1 hour until puffy.
Preheat oven to 400°F (205°C). Transfer dough to a floured surface, use a pizza cutter to slice into 1/2-inch strips, and gently stretch each strip to lengthen.
Place strips on parchment-lined baking sheets and bake 15–20 minutes. Check at 15 minutes for even golden color; bake longer if needed until crisp and deep golden.
Last Step: Please leave a rating and comment letting us know how you liked this recipe! This helps our business to thrive and continue providing free, high-quality recipes for you.
Leave a comment & rating below or tag
@savoryte on social media!

Flaky pan-seared tilapia topped with a velvety lemon butter sauce. Quick to cook, bright with citrus, and weeknight-easy yet dinner-party special.

Start your morning with veggie-loaded, protein-packed egg muffins at just 50 calories each. Perfect for make-ahead breakfasts, freezer-friendly, and easy to customize.

Crispy, cheesy, and ready in minutes, this viral tortilla fold layers bacon, egg, avocado, and melty cheese into a perfectly portable triangle.
Leave a comment & rating below or tag @savoryte on social media!
Enjoyed this recipe? Share it with friends and family, and don't forget to leave a review!
This recipe looks amazing! Can't wait to try it.
Comments are stored locally in your browser. Server comments are displayed alongside your local comments.

Join to receive our email series which contains a round-up of some of our quick and easy family favorite recipes.
