
>>

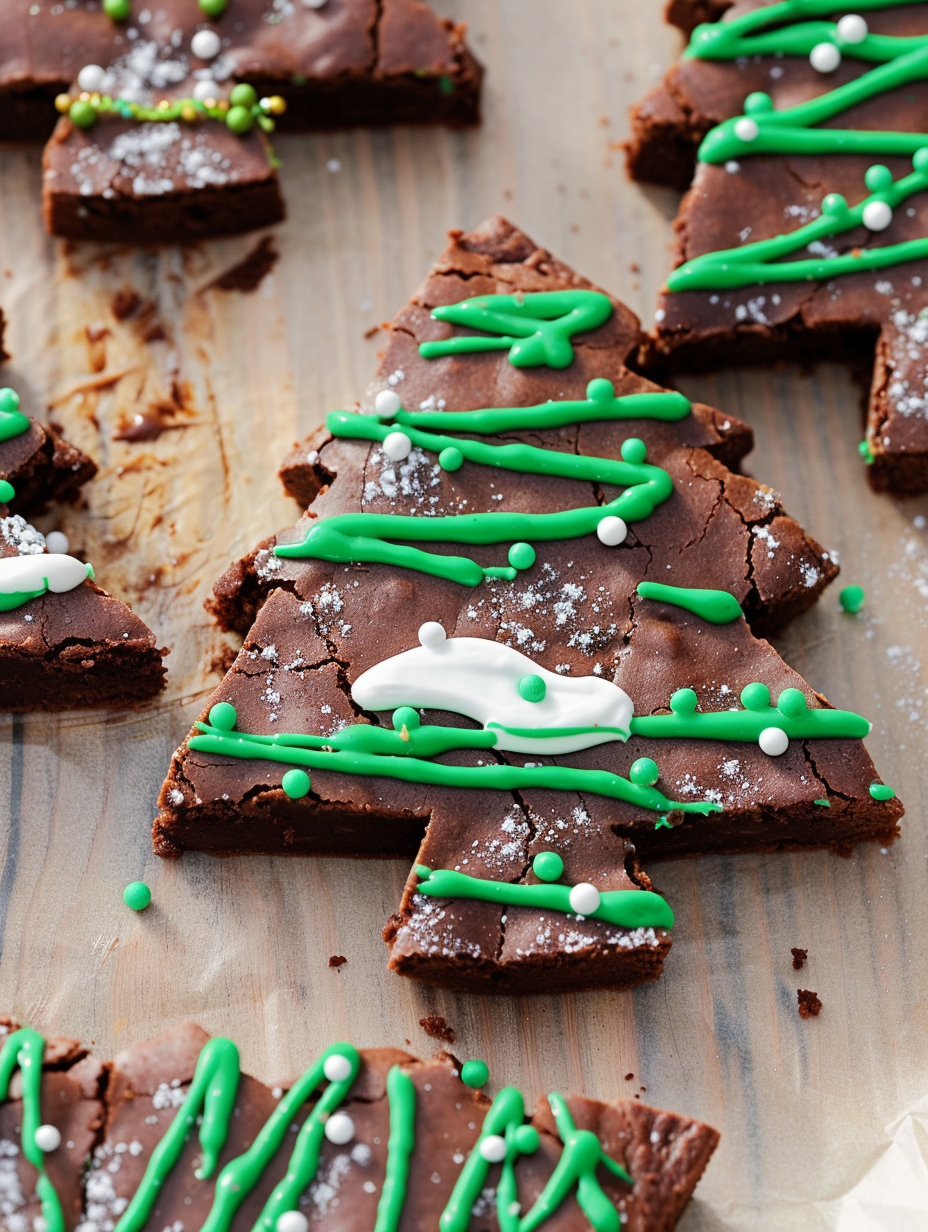
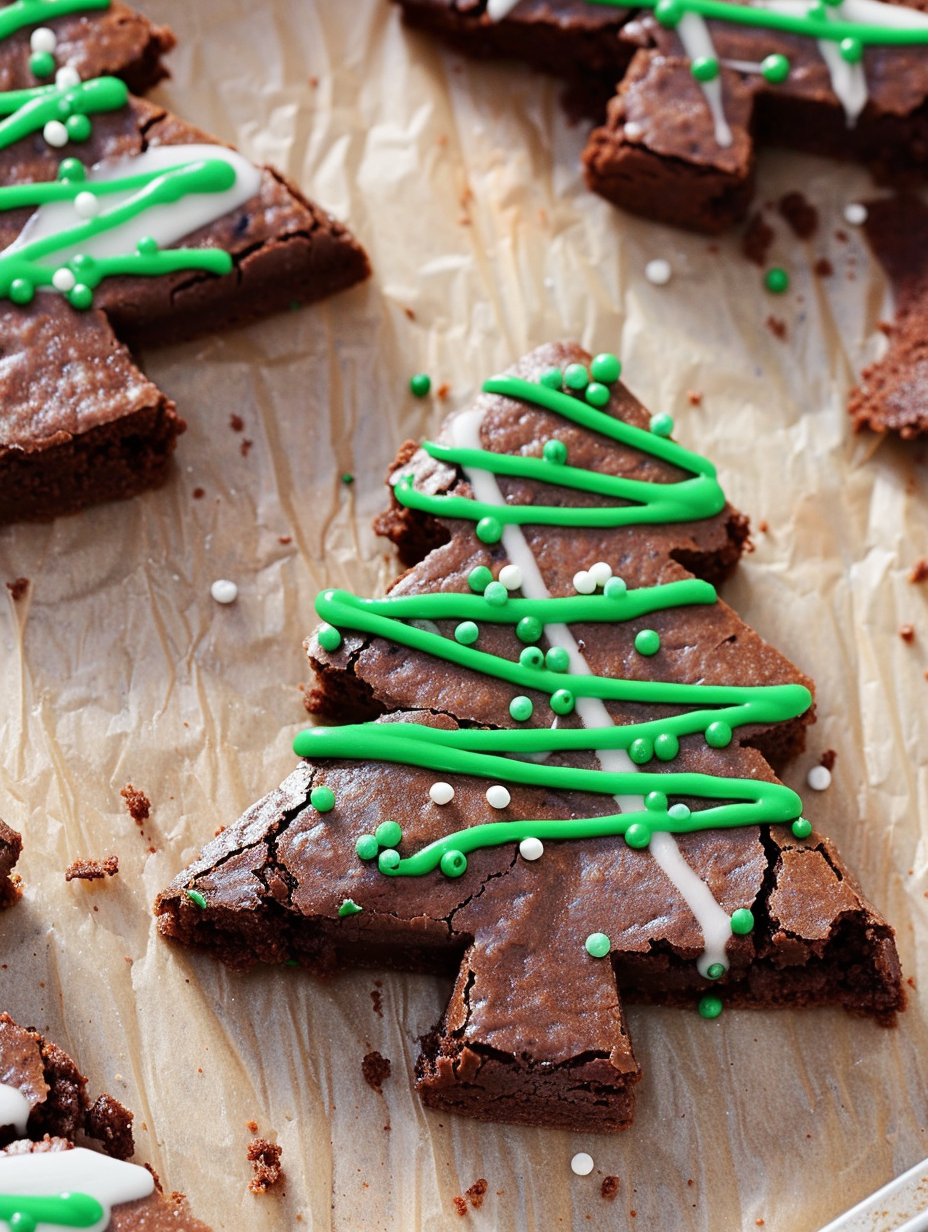
Fudgy chocolate squares cut into festive tree shapes and decorated with green and white icing—perfect for decorating with kids and holiday gatherings.
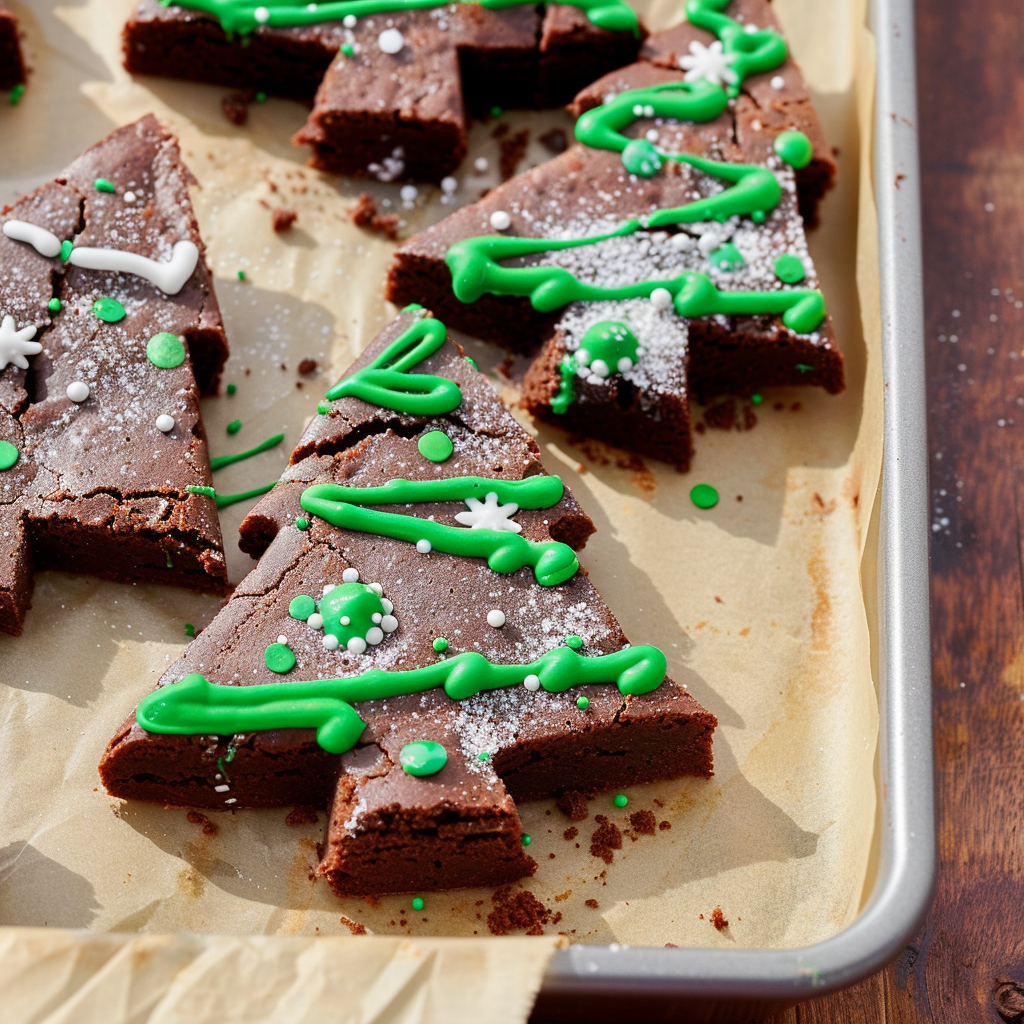
This holiday treat has become a seasonal ritual in my home: Christmas Tree Brownies are fudgy, chocolatey, and just sturdy enough to hold up to enthusiastic decorating sessions with little helpers. I first made these during a December when a snowstorm kept us indoors for days; I wanted something that combined quick baking with a creative activity for my kids. The result was an instant tradition—warm cocoa, a tray of cut-out trees, piping bags (or zip-top bags), and tiny hands adding sprinkles until every tree sparkled. The texture is slightly chewy in the center with a crackly top, and the simple powdered-sugar icing lets the chocolate shine while offering a pop of festive color.
What makes these extras special is how forgiving the method is: the batter is straightforward, the bake time is modest, and the decorating is flexible—use a steady zigzag or let the kids go wild. I prefer using all-purpose flour and a good-quality Dutch-process or natural cocoa powder for depth. The cakes slice neatly when chilled, so plan to bake ahead if you want perfect silhouettes. Every holiday gathering I bring these to, the brownies disappear first—parents love the classic flavor and kids love the decorating. If you like a dessert that turns into an activity, this is it.
In our kitchen these brownies have inspired new decorations every year—from minimalist snowy trees to over-the-top sprinkled spectacles. One year my youngest arranged the sprinkles to spell out their name on a tree; it’s little moments like that which make this dessert more than just something to eat.
My favorite part is the decorating station—one year we set up an assembly line with small bowls of sprinkles, candy pearls, and edible glitter. The kids took their decorating roles seriously; one became the official sprinkle handler while another perfected piping technique. It brought a sense of teamwork to dessert prep and a lot of laughter to the kitchen.
Store decorated brownies in a single layer at room temperature for up to 24 hours in an airtight container; beyond that, refrigeration helps maintain freshness and keeps the icing stable. For longer storage, place undecorated, wrapped slabs in the freezer for up to 3 months. When ready to use, thaw overnight in the refrigerator, then cut and decorate. Use parchment between layers if stacking, and bring refrigerated brownies to room temperature for 20–30 minutes before serving to soften the crumb.
If you need dairy-free options, swap the butter for a vegan baking stick or refined coconut oil (measure by weight for best results). For gluten-free, use a 1-to-1 gluten-free flour blend but expect a slightly different texture—let the slab cool fully before cutting. To reduce sugar, replace up to 1/3 of the granulated sugar with a granulated erythritol blend, though the crackly top may be less pronounced. For richer flavor, replace 2 tablespoons of flour with an additional 2 tablespoons of cocoa and add a teaspoon of espresso powder.
Plate the trees on a large platter dusted with powdered sugar for a snowy effect, or serve alongside hot cocoa or mulled cider. For an adult party, pair a tree with a scoop of vanilla bean ice cream and a drizzle of warm chocolate sauce. Garnish with a mint leaf for contrast or edible gold dust for a luxe holiday touch. These are ideal as party favors—wrap individually in clear cellophane tied with ribbon.
Chocolate squares transformed into seasonal shapes capture a modern American holiday aesthetic—combining classic American brownies with European cookie-cutting traditions. Decorating sweets as a family activity echoes practices found in many cultures during festivals: a communal act that blends food, creativity, and celebration. Though not tied to a single historical origin, these decorated brownies reflect holiday improvisation and the joyful adaptation of familiar treats into festive forms.
Tailor the decorating to seasons—use orange and black icing and candy eyes for Halloween monsters, or pastel icings and sprinkles for spring celebrations. Swap the tree cutter for a heart or star depending on the holiday. For a winter twist, add peppermint extract to half the batter and top with crushed candy cane after piping for a refreshing contrast to the chocolate base.
Bake the slab on a weekend and freeze undecorated portions to pull out during the busy week for a quick party or school treat. Pre-mix dry ingredients and store in a sealed jar for up to a month so you can assemble batter quickly. When preparing multiple batches, cool each slab on wire racks before wrapping to prevent condensation; chilling between steps makes cutting and decorating more efficient during assembly-line style prep.
These brownies are more than dessert—they’re a holiday project that becomes part of the memory. Make a double batch, invite neighbors over, and let everyone decorate their own tree. Happy baking and decorating—may your kitchen be full of chocolate and laughter this season.
Chill the baked slab for at least 30 minutes before cutting to get clean tree shapes.
Start with a very small snip in the corner of the zip-top bag and test on a plate before piping.
Add sprinkles immediately after piping so they stick before the icing sets.
Use parchment overhang to lift the slab from the pan easily and avoid breakage.
This nourishing christmas tree brownies recipe is sure to be a staple in your kitchen. Enjoy every moist, high protein slice — it is perfect for breakfast or as a wholesome snack any time.
This Christmas Tree Brownies recipe makes perfectly juicy, tender, and flavorful steak every time! Serve with potatoes and a side salad for an unforgettable dinner in under 30 minutes.
Preheat oven to 325°F. Grease a 9x13-inch baking dish and line with parchment paper, leaving an overhang for easy removal.
Whisk 3/4 cup flour, 3/4 cup cocoa powder, and 3/4 teaspoon kosher salt in a bowl until even to prevent lumps and ensure consistent texture.
Using a hand mixer or stand mixer, blend 15 tablespoons melted butter with 1 1/2 cups sugar and 2 teaspoons vanilla. Add 3 eggs one at a time, mixing until smooth and glossy.
Slowly incorporate the dry mixture into the wet ingredients until just combined. Pour into prepared pan and bake at 325°F for about 30 minutes until edges are set and a toothpick shows moist crumbs.
Cool completely, then chill for at least 30 minutes to firm up the slab. Use a tree-shaped cookie cutter and cut shapes starting from the edges to maximize yield.
Mix 1 cup powdered sugar with 1–2 tablespoons milk until smooth. Divide and tint half green. Transfer to zip-top bags, snip a small corner, pipe zigzags, and add sprinkles immediately so they adhere.
Last Step: Please leave a rating and comment letting us know how you liked this recipe! This helps our business to thrive and continue providing free, high-quality recipes for you.
Leave a comment & rating below or tag
@savoryte on social media!

Flaky pan-seared tilapia topped with a velvety lemon butter sauce. Quick to cook, bright with citrus, and weeknight-easy yet dinner-party special.

Start your morning with veggie-loaded, protein-packed egg muffins at just 50 calories each. Perfect for make-ahead breakfasts, freezer-friendly, and easy to customize.

Crispy, cheesy, and ready in minutes, this viral tortilla fold layers bacon, egg, avocado, and melty cheese into a perfectly portable triangle.
Leave a comment & rating below or tag @savoryte on social media!
Enjoyed this recipe? Share it with friends and family, and don't forget to leave a review!
This recipe looks amazing! Can't wait to try it.
Comments are stored locally in your browser. Server comments are displayed alongside your local comments.

Join to receive our email series which contains a round-up of some of our quick and easy family favorite recipes.
