
>>

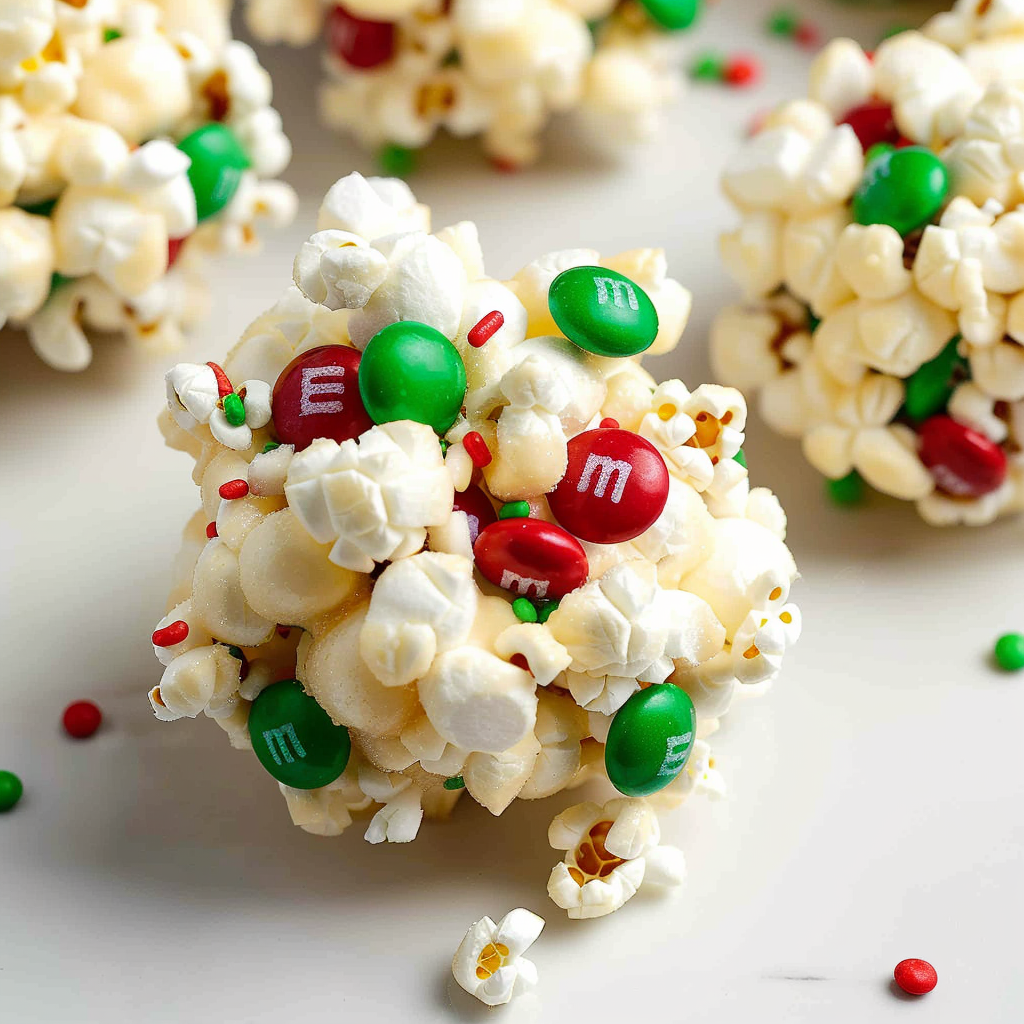
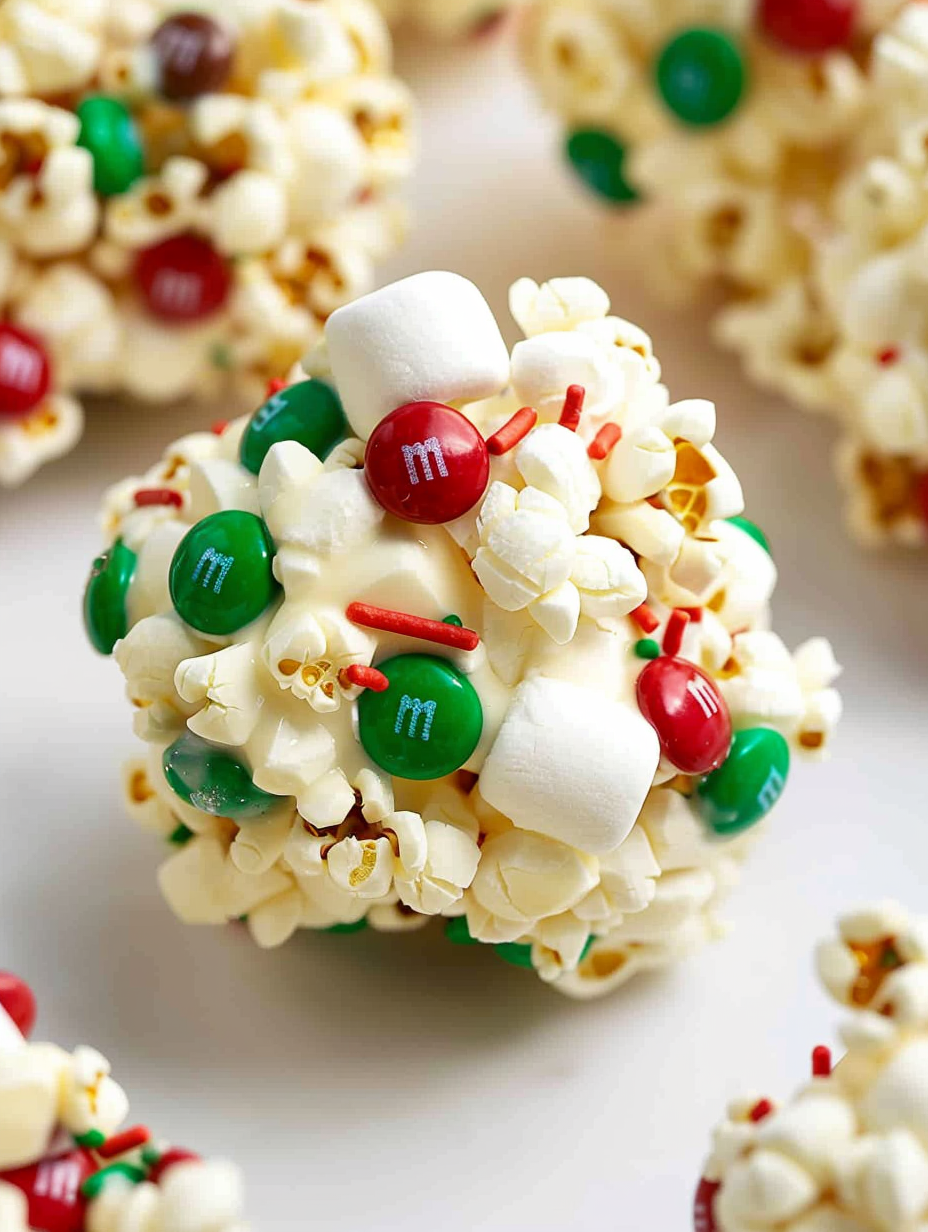
Festive no-bake popcorn balls studded with mini marshmallows, red and green M&Ms, and sprinkles — a playful holiday treat that comes together in 30 minutes.
This batch of Christmas popcorn balls started as a last-minute idea the year I promised homemade treats for our office holiday party and did not want to spend hours in the kitchen. I discovered how forgiving and joyful this combination is the first time I tossed warm, buttery marshmallow with hot popcorn: the marshmallow acts like edible glue, pulling everything into glossy clusters that are easy to shape and impossible to resist. The resulting texture is a playful contrast — crisp, airy popcorn coated in soft, slightly chewy marshmallow with surprise bites of candy and a sparkling finish of sprinkles. Every year since, these have been my go-to edible gift because they travel well and please kids and adults alike.
I tend to make them while playing holiday music and letting my kids help press the candies into the finished spheres — hands-on, fast, and festive. These popcorn balls are special because they require no baking, use pantry staples, and allow a lot of creativity with mix-ins and decorations. They are bright, colorful, and the kind of treat that instantly transforms a snack table into something worth photographing. Whether I’m filling cellophane bags to tie with ribbon or arranging them on a platter for guests, they disappear quickly — a testament to how small touches like using miniature marshmallows and festive candies elevate simple popcorn into something memorable.
My family’s reaction the first time I added M&Ms was instant approval — even our least adventurous eater reached for seconds. Over the years I learned small tricks like spraying hands with non-stick spray and waiting a minute after coating the popcorn to fold in candies so they don’t immediately melt. These little discoveries keep the appearance bright and the texture just right.
My favorite part is the moment when friends bite in and the popcorn gives a subtle crunch before the marshmallow melts on the tongue. One year I made a batch for a winter picnic and watched them become the unofficial dessert — it’s the kind of nostalgic treat that sparks conversations and smiles.

Keep finished spheres in a single layer or separated by parchment to prevent sticking, stored in an airtight container at room temperature for up to five days. If your environment is humid, add a piece of parchment between layers and place a small packet of food-safe desiccant in the container to reduce moisture. Do not refrigerate unless you plan to serve them cold; refrigeration causes condensation and makes the coating tacky. For longer storage, wrap individually in plastic wrap or wax paper and place in a freezer bag; they freeze well for up to three months. Thaw on the counter for 15 to 30 minutes.
Make dairy-free by substituting vegan buttery spread or coconut oil for the butter and using vegan marshmallows that do not contain gelatin. For nutty flavor, fold in 1/2 cup of toasted chopped pecans or almonds, keeping an eye on added oils that can make the mixture greasy. Replace M&Ms with chocolate chips (wait until slightly cooled to fold in) or dried cranberries for a tart contrast. If you need gluten-free assurance, confirm your candy and marshmallows are labeled gluten-free; popcorn itself is naturally gluten-free.
Serve on a holiday platter lined with festive paper doilies or wrap individually in cellophane tied with ribbon as edible favors. They pair well with hot cocoa, mulled cider, or coffee for a seasonal snack station. For a more adult twist, drizzle lightly with dark chocolate and a sprinkle of flaky sea salt or add a pinch of ground cinnamon to the marshmallow mixture for warm spice notes. Garnish with a sprig of rosemary for a rustic, aromatic touch that doubles as presentation.
Popcorn confections have been enjoyed in North America for decades, evolving from simple kettle corn to creative festival treats. The idea of binding popcorn with a sweet syrup or melted marshmallow traces back to early carnival foods; these no-bake balls became particularly popular around holidays because they’re quick to assemble and visually festive. Adapting the concept with colorful candies and sprinkles gives a contemporary, family-friendly holiday twist that captures modern seasonal aesthetics while honoring a long tradition of popcorn-based treats.
Switch colors and candies to suit other holidays — pastel candies and edible flowers for spring, orange and black sprinkles for Halloween, or red and white peppermint pieces for a winter peppermint version. For Thanksgiving, fold in toasted raisins and chopped pecans with a light maple glaze. During summer gatherings, add mini chocolate chips and freeze briefly to give them a firmer texture. Small tweaks to mix-ins change the flavor profile dramatically while keeping the same easy method.
Make a double batch and form half into small bite-size balls for snacking while keeping larger gift-size balls on hand for presents. Assemble everything on a parchment-lined baking sheet to speed up cleanup, and prepare a small station with a non-stick spray, measuring cups for consistent sizing, and extra candies for pressing on the exterior. If preparing for a party, form the balls the day before and store in a single layer in a covered box; add fresh candies on the surface right before serving for a crisp look.
These popcorn balls combine nostalgia with convenience — a festive, shareable treat you can make in a single afternoon. Try them with friends and tweak the mix-ins to make the recipe your own; I guarantee they’ll become a holiday tradition.
Spray your hands lightly with non-stick cooking spray before forming balls to prevent sticking and to keep the candies intact.
Let the marshmallow mixture cool for 30–60 seconds before folding in candies to reduce melting and maintain color.
Use a large mixing bowl to coat popcorn so you can fold without crushing the popped kernels.
To refresh appearance after storing, press a few fresh M&Ms onto the outside immediately before serving.
This nourishing christmas popcorn balls recipe is sure to be a staple in your kitchen. Enjoy every moist, high protein slice — it is perfect for breakfast or as a wholesome snack any time.
This Christmas Popcorn Balls recipe makes perfectly juicy, tender, and flavorful steak every time! Serve with potatoes and a side salad for an unforgettable dinner in under 30 minutes.
Pop 1/2 cup of kernels using your preferred method. Transfer popped corn to a large bowl and remove unpopped kernels. Aim for 12–14 cups of popped corn for optimal coating.
In a large pot over medium-low heat, melt 1/2 cup butter. Add the full 10-ounce bag of miniature marshmallows and stir constantly until fully melted and smooth, about 3–5 minutes. Avoid browning.
Pour melted marshmallow mixture over the popped corn and fold gently with a rubber spatula to coat without crushing the popcorn. Work quickly while warm.
Let the coated popcorn cool for 30–60 seconds, then gently fold in 1 cup M&Ms and 1/3 cup sprinkles. If candies begin to melt, stop and add extras after forming balls.
Spray hands lightly with non-stick spray. Scoop about 1 cup of mixture and press gently into balls, avoiding overpacking. Place on parchment to set.
Allow to cool at room temperature until set, about 30 minutes. Store in an airtight container at room temperature for up to 5 days or wrap and freeze for up to 3 months.
Last Step: Please leave a rating and comment letting us know how you liked this recipe! This helps our business to thrive and continue providing free, high-quality recipes for you.
Leave a comment & rating below or tag
@savoryte on social media!

Flaky pan-seared tilapia topped with a velvety lemon butter sauce. Quick to cook, bright with citrus, and weeknight-easy yet dinner-party special.

Start your morning with veggie-loaded, protein-packed egg muffins at just 50 calories each. Perfect for make-ahead breakfasts, freezer-friendly, and easy to customize.

Crispy, cheesy, and ready in minutes, this viral tortilla fold layers bacon, egg, avocado, and melty cheese into a perfectly portable triangle.
Leave a comment & rating below or tag @savoryte on social media!
Enjoyed this recipe? Share it with friends and family, and don't forget to leave a review!
This recipe looks amazing! Can't wait to try it.
Comments are stored locally in your browser. Server comments are displayed alongside your local comments.

Join to receive our email series which contains a round-up of some of our quick and easy family favorite recipes.
