
>>

A no-cook, colorful holiday treat that tastes like red velvet cake. Easy to make, perfect for gifting or a festive dessert table.
This Christmas Cake Batter Fudge is one of those recipes that turned a simple holiday craving into a family tradition. I first discovered the winning combination of white chocolate, sweetened condensed milk, and boxed cake mixes one December afternoon while trying to create a colorful, no-bake treat for a cookie exchange. The result was so rich, creamy, and unexpectedly like red velvet cake that I began making it every year. The texture is silky and dense, with a pleasant melt-in-your-mouth quality that keeps everyone reaching for another square.
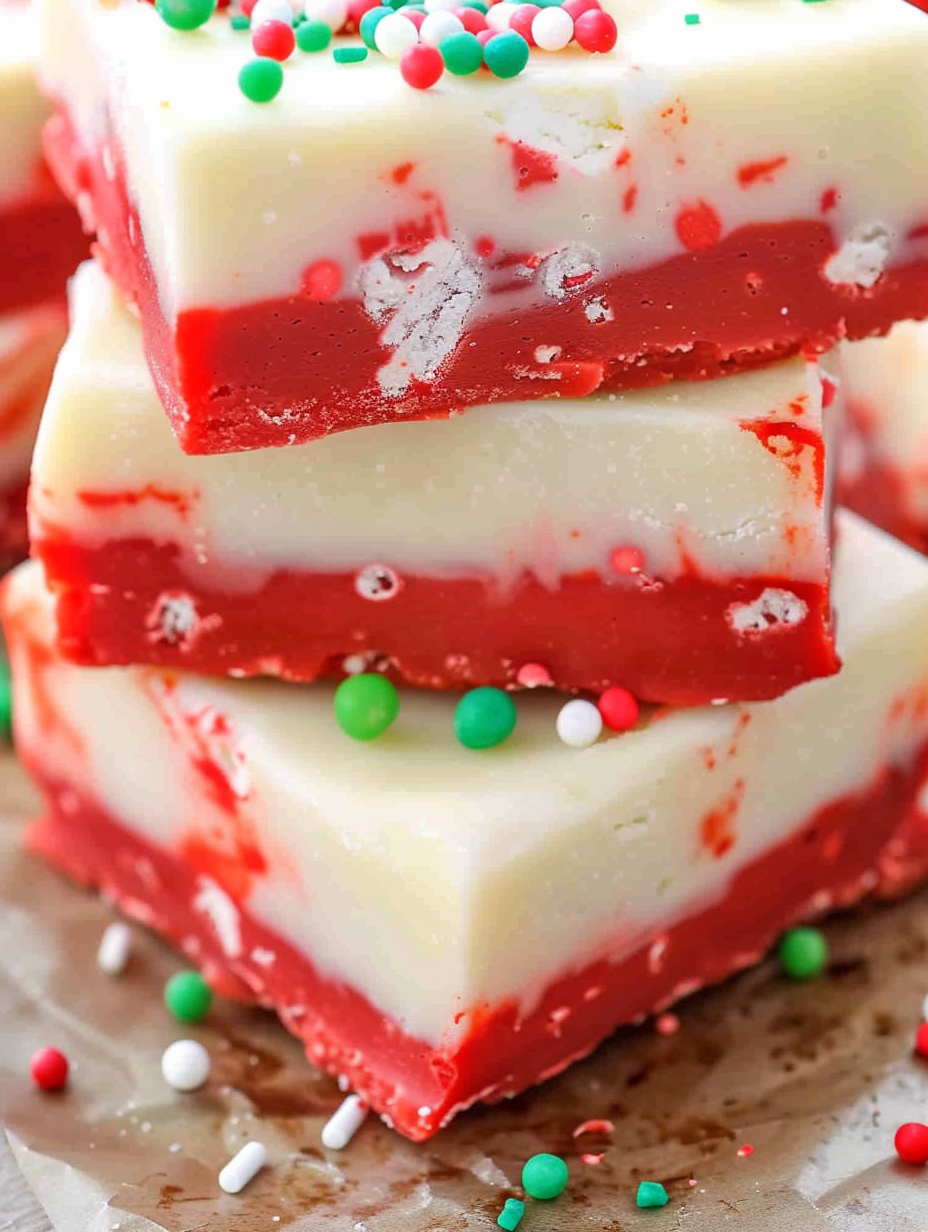
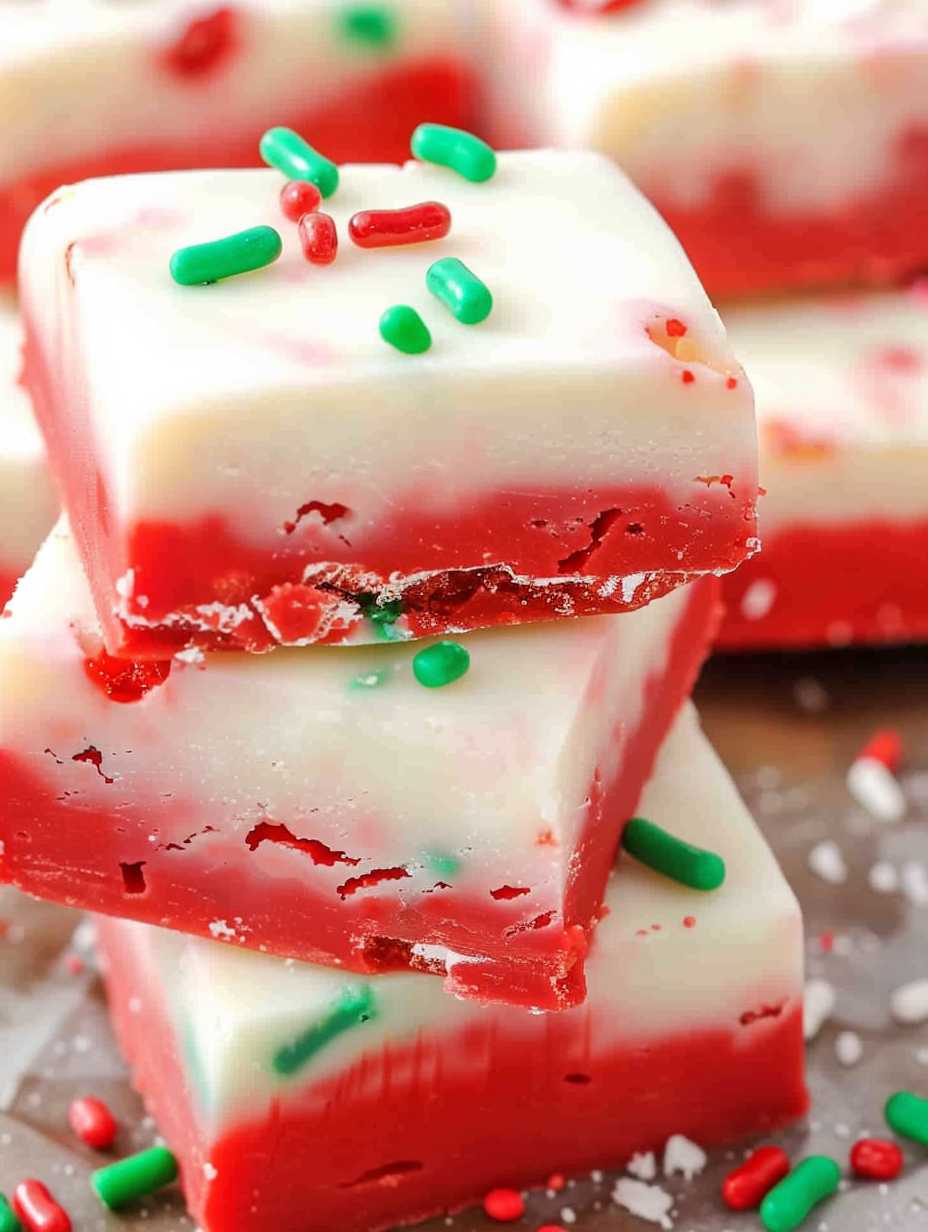
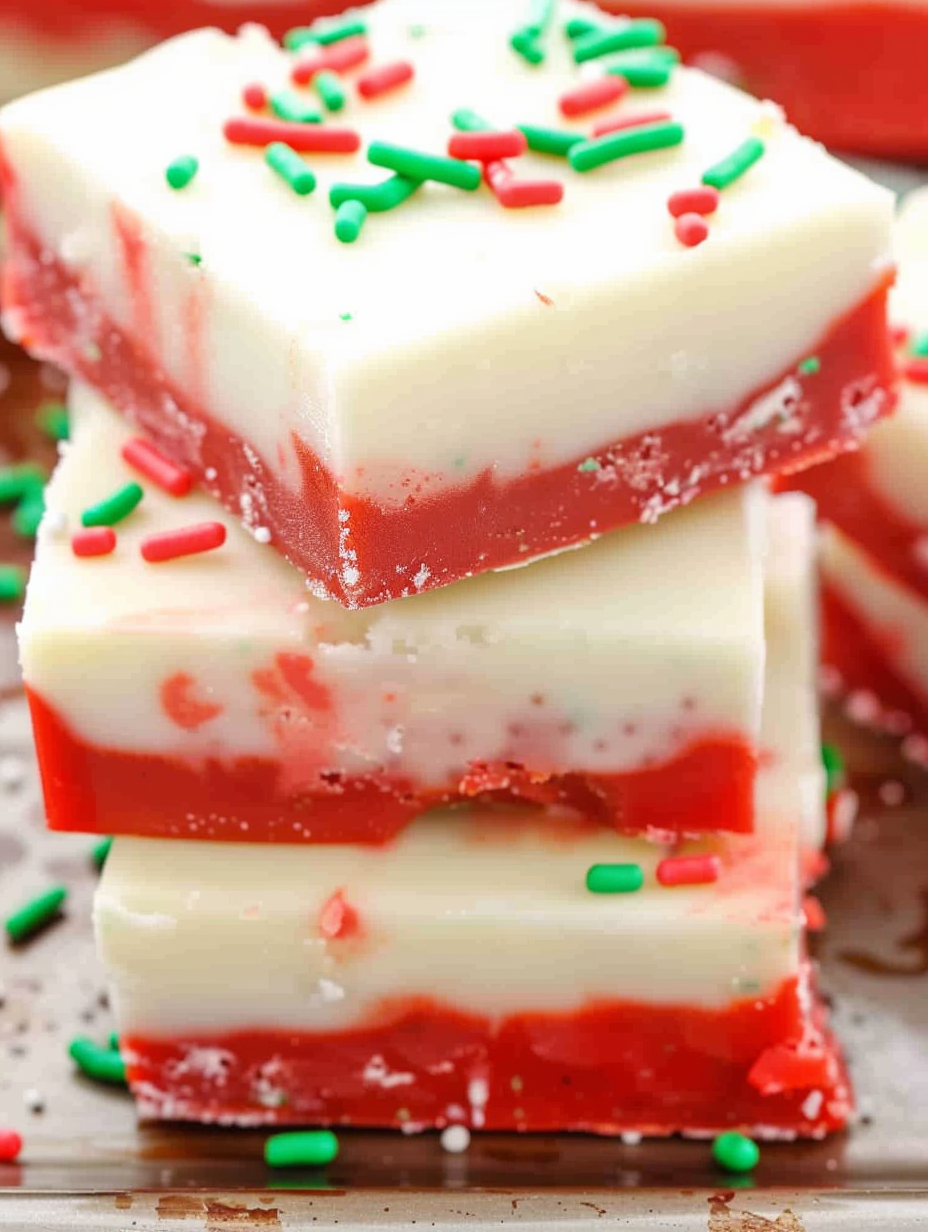
What makes this version special is the two-tone presentation. A red velvet layer paired with a white cake layer creates a festive contrast that looks lovely on a holiday platter. The sprinkles on top add crunch and nostalgia, evoking school bake sale treats and childhood celebrations. I love that this requires no oven time, making it perfect for busy holidays when oven space is at a premium. It also travels well, which is why I bring trays to neighbor visits and family potlucks.
When I first served this to my extended family, the reaction was immediate. My niece declared it the ‘‘best fudge ever, even better than Grandma's recipe,’’ and my brother asked for the recipe link before he finished his second piece. It has become my go-to for holiday gift tins because it keeps its shape and looks festive without extra decoration.
My favorite part of making this is how it travels. I have taken pans to neighbor parties and almost always come home with an empty tin. The color contrast and sprinkles make it feel celebratory, and it is a recipe that both kids and adults admit they love. It has been requested several times as a potluck contribution and once became the centerpiece of a holiday dessert board.
Keep the squares in a single layer or separated by parchment paper to avoid sticking. Store in an airtight container in the refrigerator for up to 10 days; for longer storage, freeze the squares on a tray until firm and then transfer to a freezer-safe container for up to 3 months. To thaw, place in the refrigerator overnight. If you need to speed up thawing, bring to room temperature for 20 to 30 minutes before serving, but avoid leaving them out for multiple hours to prevent sweating.
If you prefer a different flavor profile, swap the red velvet cake mix for a chocolate cake mix to get a deeper cocoa note. For a vanilla-forward top layer, use yellow cake mix instead of white. Sugar-free white chocolate chips exist but can alter texture; reduce the amount slightly and expect a firmer set. Gluten-free cake mixes work as well if you need a gluten-free option, but check that your sprinkles are also certified gluten-free.
Serve small squares on a decorative platter alongside cookies and candies for a holiday dessert table. Garnish with extra sprinkles or a dusting of cocoa near the red velvet pieces. These squares pair nicely with strong coffee, espresso, or a cup of black tea. For a festive platter, alternate red and white squares and include fresh berries for brightness.
This style of no-bake fudge is an American adaptation of classic fudge, combining confectionery techniques with boxed cake mixes popularized in mid-20th century home baking. Using cake mixes to flavor no-bake candies is a modern convenience adaptation that captures nostalgic cake flavors without oven time. The layered presentation echoes traditional layered desserts served at holiday gatherings, offering both visual and textural contrast.
Change sprinkles and cake mix colors to match other holidays: pink and white for Valentine gatherings, orange and chocolate for autumnal parties, or green and white for St. Patrick’s Day. For a winter spice note, add a quarter teaspoon of ground cinnamon to the white layer or a drop of peppermint extract for minty variation. Warm spice blends can make the fudge feel cozier for winter celebrations.
For gifting, cut into squares and place in small boxes or treat bags lined with parchment. If preparing ahead for an event, make the fudge up to five days before serving and keep refrigerated. When travelling, pack the container with a small cold pack to keep the fudge firm. To speed assembly for multiple pans, melt the chocolate base once and split it evenly among bowls to add different flavorings.
Every holiday season I look forward to making this because it is fast, forgiving, and universally loved. It transforms simple pantry items into a festive treat that feels homemade and special. Try it at your next holiday gathering and make it your own with different cake mixes and sprinkles.
When melting white chocolate, use 30 second bursts in the microwave and stir thoroughly between each burst to prevent scorching.
Line the pan with foil or parchment with an overhang to lift the fudge out easily for clean slicing.
Chill the pan for at least 1 hour; if the top is still tacky after 1 hour, chill another 30 minutes before slicing.
Wipe your knife between cuts or warm the blade under hot water and dry it for cleaner edges.
This nourishing christmas cake batter fudge recipe is sure to be a staple in your kitchen. Enjoy every moist, high protein slice — it is perfect for breakfast or as a wholesome snack any time.
This Christmas Cake Batter Fudge recipe makes perfectly juicy, tender, and flavorful steak every time! Serve with potatoes and a side salad for an unforgettable dinner in under 30 minutes.
Line an 8 by 8 inch pan with aluminum foil or parchment paper and lightly spray with non-stick cooking spray. Leave an overhang to lift out the set confection.
Combine 12 ounces white chocolate chips with the 14 ounce can of sweetened condensed milk in a microwave-safe bowl. Microwave in 30 second intervals, stirring often, until glossy and smooth. Alternatively use a double boiler over gently simmering water.
Divide the melted mixture evenly into two bowls for separate flavoring and coloring of the layers.
Stir 1/3 cup red velvet cake mix into one bowl and 1/3 cup white cake mix into the other until fully incorporated and smooth.
Pour the red velvet layer into the prepared pan and level gently. Pour the white layer on top and smooth carefully. Sprinkle holiday sprinkles across the surface immediately.
Refrigerate the pan for at least 1 hour or until firm to the touch. For cleaner slicing, chill longer as needed.
Lift the fudge from the pan using the overhanging foil and cut into 25 squares with a sharp knife. Serve chilled or at cool room temperature.
Last Step: Please leave a rating and comment letting us know how you liked this recipe! This helps our business to thrive and continue providing free, high-quality recipes for you.
Leave a comment & rating below or tag
@savoryte on social media!

Flaky pan-seared tilapia topped with a velvety lemon butter sauce. Quick to cook, bright with citrus, and weeknight-easy yet dinner-party special.

Start your morning with veggie-loaded, protein-packed egg muffins at just 50 calories each. Perfect for make-ahead breakfasts, freezer-friendly, and easy to customize.

Crispy, cheesy, and ready in minutes, this viral tortilla fold layers bacon, egg, avocado, and melty cheese into a perfectly portable triangle.
Leave a comment & rating below or tag @savoryte on social media!
Enjoyed this recipe? Share it with friends and family, and don't forget to leave a review!
This recipe looks amazing! Can't wait to try it.
Comments are stored locally in your browser. Server comments are displayed alongside your local comments.

Join to receive our email series which contains a round-up of some of our quick and easy family favorite recipes.
