
Chocolate Cherry Brownie Dessert Pizza

A decadent 12-inch brownie 'pizza' layered with a silky cream cheese frosting and bright cherry pie filling — perfect for parties and weeknight treats.
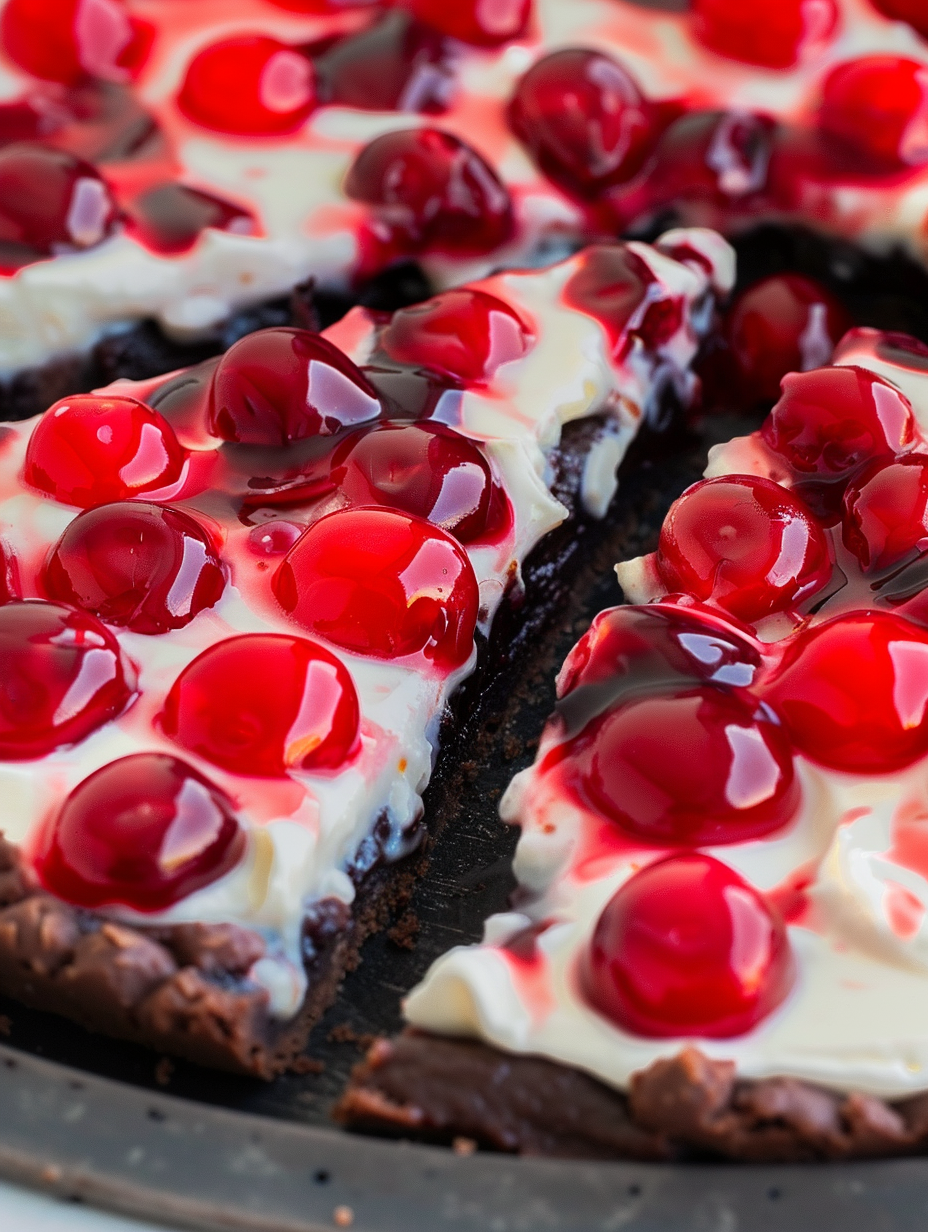
This Chocolate Cherry Brownie Dessert Pizza is the ultimate mashup of two irresistible desserts: a fudgy brownie base and a creamy, slightly tangy cheesecake layer topped with sweet-tart cherry pie filling. I first made this for a summer potluck when I wanted something everyone could grab and eat without plates — and it disappeared within half an hour. The brownie bakes onto a 12-inch rimmed pizza pan so you get thin, chewy edges and a slightly fudgy center that holds up to the creamy topping and glossy cherries.
I discovered this combination after experimenting with leftover boxed brownie batter and a can of cherry pie filling; the texture contrast surprised me. The chocolate base is deep and slightly bitter (I recommend dark cocoa), the cream layer cuts the sweetness with a silky tang, and the cherries add freshness and a bright pop of color. It’s a crowd-pleaser for birthdays, casual gatherings, or a cozy movie night. Serve slices at room temperature to let the layers shine — each bite is a little chewy, a little creamy, and wholly memorable.
Why You'll Love This Recipe
- This comes together in about 45 minutes from start to finish — 15 minutes active prep and a 25–30 minute bake — perfect for last-minute entertaining.
- It uses pantry staples and one canned item, so you can assemble without a long shopping list; dark cocoa makes the chocolate flavor pop, but regular cocoa works too.
- The 12-inch pizza pan creates thin, crispy edges and a fudgy center so slices are easy to pick up and share; no special pans required.
- Make-ahead friendly: you can assemble and chill up to 24 hours in advance, making it ideal for parties or potlucks.
- Crowd-pleasing: the combination of rich chocolate, creamy cheese frosting, and bright cherry topping appeals to all ages and pairs well with coffee or vanilla ice cream.
- Flexible: swap the cherry topping for another fruit compote or preserve to adapt to seasonal fruit or dietary needs.
I remember taking this to my neighborhood block party the first time and watching neighbors’ faces light up at the first bite. One friend said it tasted nostalgic — like birthday cake and cherry pie at once — and asked for the recipe the same evening. Since then it’s become my go-to for casual celebrations where people want something a little more playful than a sheet cake.
Ingredients
- Unsalted butter (10 tablespoons): Use high-quality butter for full flavor; melt slowly to avoid scorching. I often use Kerrygold or a good local creamery butter.
- Granulated sugar (1 1/4 cups): Provides sweetness and structure to the base. Measure by spooning into the cup and leveling for accuracy.
- Large eggs (2): Room temperature eggs emulsify better and give a glossy texture to the batter; leave them on the counter 20 minutes before using.
- Vanilla extract (1 teaspoon): Pure vanilla adds depth; avoid imitation if you can for a cleaner flavor.
- Unsweetened cocoa powder (3/4 cup): Dark cocoa delivers an intense chocolate note; if using Dutch-processed cocoa, reduce leavening slightly or expect a deeper color.
- All-purpose flour (1/2 cup): Gives structure but keeps the base fudgy — don’t overmeasure. Spoon into the cup and level off.
- Salt (1/2 teaspoon) and baking powder (1/4 teaspoon): The salt balances sweetness; a small lift from baking powder keeps the texture tender without making it cakey.
- Cream cheese (8 ounces, softened): Full-fat cream cheese is best for texture and flavor; soften at room temperature for easier mixing.
- Powdered sugar (1 1/2 cups): Whipped into the cream cheese for a silky, sweet layer — sift if you want the smoothest finish.
- Cherry pie filling (1 can): A classic canned filling works well; look for one without gelatin for the best spreadable texture. Reserve until the cream layer is set.
Instructions
Preheat and prepare pan: Preheat the oven to 350°F. Grease a 12-inch round rimmed pizza pan with nonstick spray or butter and lightly flour the surface to ensure easy removal. A rimmed pan keeps the batter from spilling and creates those signature thin edges. Melt butter and mix wet ingredients: In a microwave-safe bowl, melt 10 tablespoons unsalted butter in 20-second bursts, stirring between intervals. Let it cool slightly so it won’t cook the eggs. Add 1 1/4 cups granulated sugar, 2 large eggs, and 1 teaspoon vanilla. Whisk for about 1 minute until combined and slightly glossy. Add dry ingredients: Sift or whisk together 3/4 cup cocoa, 1/2 cup all-purpose flour, 1/2 teaspoon salt, and 1/4 teaspoon baking powder. Fold the dry mix into the wet ingredients with about 40–50 strokes — just until no streaks remain. Overmixing will make the texture cakier; you want a fudgy bite. Spread batter and bake: Spread the batter evenly onto the prepared pan using an offset spatula to get a uniform thickness. Bake in the preheated oven for 25 to 30 minutes. Check at 25 minutes: the center should be set but still slightly soft — a toothpick should come out with a few moist crumbs, not wet batter. Avoid overbaking to keep a chewy center. Cool the base: Remove the pan from the oven and transfer to a cooling rack. Let the brownie base cool completely in the pan; warm brownies will cause the cream cheese layer to melt and slide. Prepare the cream layer: While the base cools, beat 1 package (8 ounces) softened cream cheese with 1 1/2 cups powdered sugar until smooth and light, about 2 minutes with a hand mixer. Scrape down the bowl to ensure even sweetness and a silky texture. Assemble: Spread the cream cheese mixture evenly over the cooled brownie base, leaving the rim slightly exposed for a clean presentation. Spoon the canned cherry pie filling over the cream layer, spreading to cover the surface. Chill in the refrigerator until set, at least 30 minutes to 1 hour. Serve: Let sit at room temperature for 10–15 minutes before slicing into 12 wedges. Use a sharp knife dipped in hot water for clean cuts between slices.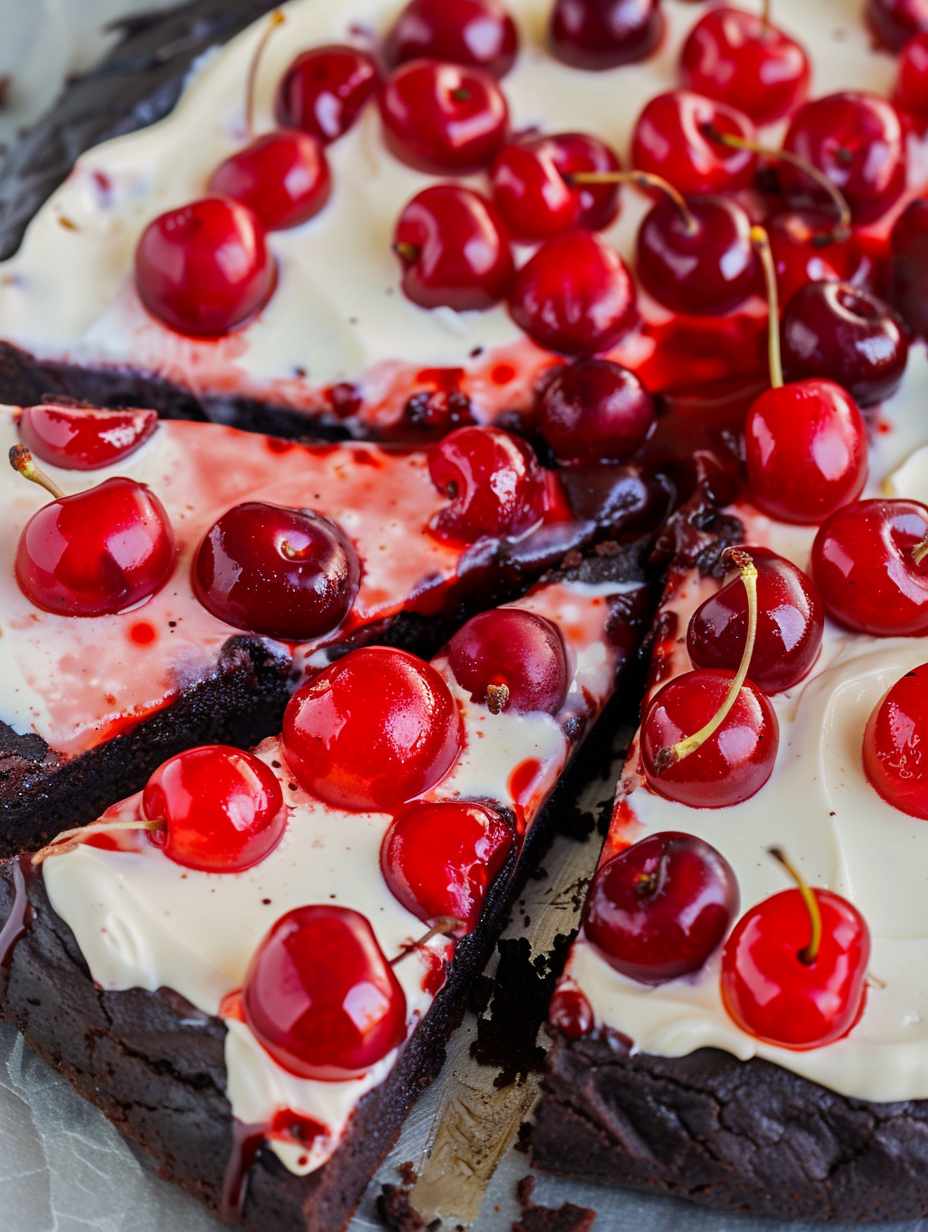
You Must Know
- This keeps well in the fridge for up to 3 days; for longer storage wrap tightly and freeze for up to 3 months.
- Allow chilling time so the cream layer firms; slicing cold can crack the cream, so bring to room temperature for 10–15 minutes before serving.
- High in energy — each of 12 slices is roughly 350–400 calories depending on the cherry filling used, and is rich in carbohydrates and fat.
- Best served slightly chilled to fully enjoy the texture contrast between the fudgy base and the creamy topping.
My favorite thing about this dessert is its versatility: I’ve swapped the cherries for preserved raspberries and even a lemon curd for a bright twist. Every time I change the topping, the family discovers a new favorite. Once, at a small dinner where I brought this, my usually picky cousin asked for the recipe and made it the next weekend — that’s always the best compliment to me.
Storage Tips
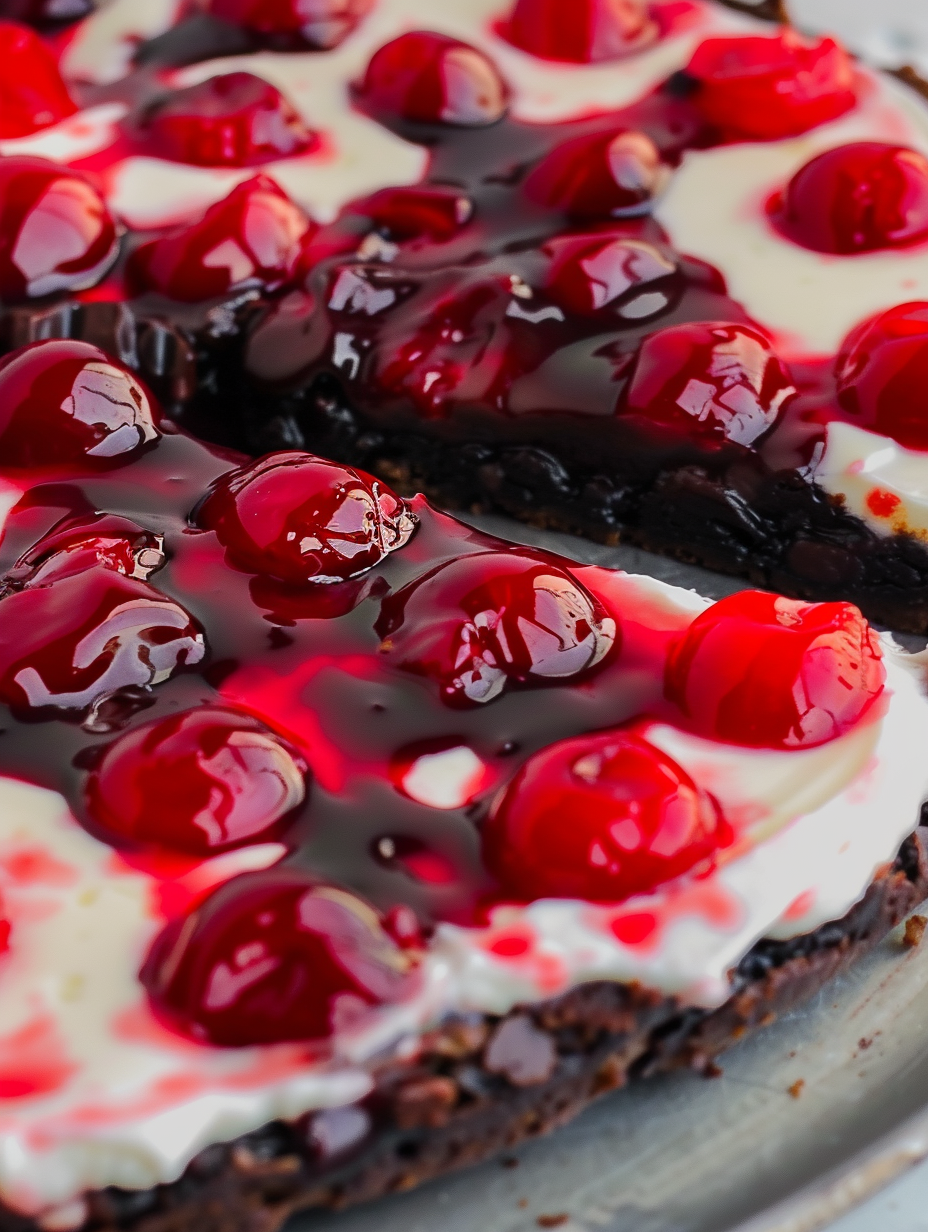
Store the assembled dessert covered in the refrigerator for up to 3 days. Use an airtight container or cling film pressed gently against the cherry surface to prevent drying or smell absorption from the fridge. For longer storage, slice into individual wedges, wrap each in plastic wrap and a layer of foil, then freeze for up to 3 months. Thaw overnight in the refrigerator and bring to room temperature for 10–15 minutes before serving to restore cream cheese texture. If you prefer softer slices, allow slices to sit 20–30 minutes at room temperature.
Ingredient Substitutions
If you need to adapt, swap the cherry pie filling with any canned fruit pie filling such as blueberry or strawberry for similar results; use equal volume. For a lighter cream layer, use 8 ounces of Neufchâtel cheese or reduce powdered sugar by 1/4 cup — expect a tangier finish. To make this gluten-free, replace the all-purpose flour with a 1:1 gluten-free blend and bake a few minutes less, checking for a moist center. For a dairy-free option, use a vegan cream cheese and dairy-free butter alternative; texture will be slightly different but still delicious.
Serving Suggestions
Serve slices with a dollop of whipped cream or a scoop of vanilla ice cream for a dessert that feels extra festive. For a coffee pairing, choose medium-dark roast to balance the sweetness; black tea or a cherry soda also complements the flavors. Garnish with fresh cherries, shaved dark chocolate, or a sprinkle of powdered sugar before serving for added visual appeal. This is great for birthdays, potlucks, and casual gatherings — cut into more pieces for a dessert buffet.
Cultural Background
This creation is a modern American mashup inspired by the classic brown-butter-brownie and the cheesecake-with-fruit tradition. Layered desserts like this echo the indulgent, make-ahead trays of American baking where texture contrasts are prized. The cherry topping nods to pie culture, particularly red fruit pies popular in summer festivals. It’s less about strict heritage and more about combining comforting flavors in an approachable, shareable format.
Seasonal Adaptations
In summer, replace canned cherries with a homemade macerated cherry compote (about 2 cups fresh cherries simmered with 1/4 cup sugar and 1 tablespoon lemon juice) for brighter, fresher flavor. In winter, use spiced plum or apple compote with a pinch of cinnamon and clove. Holiday versions work well with cranberry-orange topping and a touch of orange zest in the cream layer to brighten the profile. Swapping dark cocoa for Dutch-processed cocoa gives a richer, less acidic chocolate note for cool-weather comfort.
Meal Prep Tips
For make-ahead convenience, bake the base a day in advance and cool completely. Store wrapped at room temperature if you’ll assemble the next day, or refrigerate if you’re keeping it longer. The cream layer whips up in minutes and benefits from being chilled before spreading; assembly 2–24 hours ahead saves same-day stress. Transport assembled dessert on a flat tray with a fridge pack beneath to keep it cool for outdoor events. Use a serrated knife warmed under hot water for clean slices when serving.
This dessert turned simple pantry ingredients into something people remember — the kind of sweet that invites company back to your kitchen for seconds. Give it a try, adapt the toppings to your season, and make it your own.
Pro Tips
Allow the brownie base to cool completely before spreading the cream cheese layer to prevent melting and sliding.
Use an offset spatula for an even cream layer and a hot-dipped knife (run under hot water and dry) for clean slices.
If using Dutch-process cocoa, the batter may rise slightly less; watch baking time closely and avoid overbaking.
This nourishing chocolate cherry brownie dessert pizza recipe is sure to be a staple in your kitchen. Enjoy every moist, high protein slice — it is perfect for breakfast or as a wholesome snack any time.
Tags
Chocolate Cherry Brownie Dessert Pizza
This Chocolate Cherry Brownie Dessert Pizza recipe makes perfectly juicy, tender, and flavorful steak every time! Serve with potatoes and a side salad for an unforgettable dinner in under 30 minutes.
Ingredients
Brownies
Cream Layer
Cherry Layer
Instructions
Preheat and prepare pan
Preheat oven to 350°F. Grease a 12-inch rimmed pizza pan with nonstick spray or butter and lightly flour the surface to prevent sticking.
Melt butter and combine wet ingredients
Melt 10 tablespoons unsalted butter in a microwave-safe bowl, let cool slightly, then whisk in 1 1/4 cups granulated sugar, 2 large eggs, and 1 teaspoon vanilla until glossy.
Add dry ingredients
Whisk together 3/4 cup cocoa, 1/2 cup all-purpose flour, 1/2 teaspoon salt, and 1/4 teaspoon baking powder. Fold into wet ingredients with about 40–50 strokes until just combined.
Spread batter and bake
Spread batter evenly onto the prepared pan and bake for 25–30 minutes. Look for a set center with a few moist crumbs; avoid overbaking to keep a fudgy texture.
Cool the base
Remove from oven and cool completely on a rack in the pan to ensure the cream layer will not melt when applied.
Prepare cream layer
Beat 8 ounces softened cream cheese with 1 1/2 cups powdered sugar until smooth and light, about 2 minutes, scraping down the bowl as needed.
Assemble and chill
Spread the cream cheese mixture over the cooled brownie base, top with the cherry pie filling, and refrigerate until set, at least 30 minutes to 1 hour.
Slice and serve
Let sit at room temperature for 10–15 minutes before slicing into 12 wedges. Use a hot-dipped knife for clean slices and serve with whipped cream or ice cream if desired.
Last Step: Please leave a rating and comment letting us know how you liked this recipe! This helps our business to thrive and continue providing free, high-quality recipes for you.
Nutrition
Did You Make This?
Leave a comment & rating below or tag
@savoryte on social media!
Categories:
You might also like...

Tilapia with Lemon Butter
Flaky pan-seared tilapia topped with a velvety lemon butter sauce. Quick to cook, bright with citrus, and weeknight-easy yet dinner-party special.

Healthy Egg Muffin Cups
Start your morning with veggie-loaded, protein-packed egg muffins at just 50 calories each. Perfect for make-ahead breakfasts, freezer-friendly, and easy to customize.

TikTok Breakfast Tortilla Fold
Crispy, cheesy, and ready in minutes, this viral tortilla fold layers bacon, egg, avocado, and melty cheese into a perfectly portable triangle.
Did You Make This?
Leave a comment & rating below or tag @savoryte on social media!
Rate This Recipe
Share This Recipe
Enjoyed this recipe? Share it with friends and family, and don't forget to leave a review!
Comments (1)
This recipe looks amazing! Can't wait to try it.
Comments are stored locally in your browser. Server comments are displayed alongside your local comments.

Hi, I'm Sophia!
What's Popular

30-Minute Meals!
Join to receive our email series which contains a round-up of some of our quick and easy family favorite recipes.