
>>

Ultra-moist chocolate bars studded with cherry pie filling and finished with a glossy chocolate frosting — an easy potluck favorite inspired by Christy Denney.
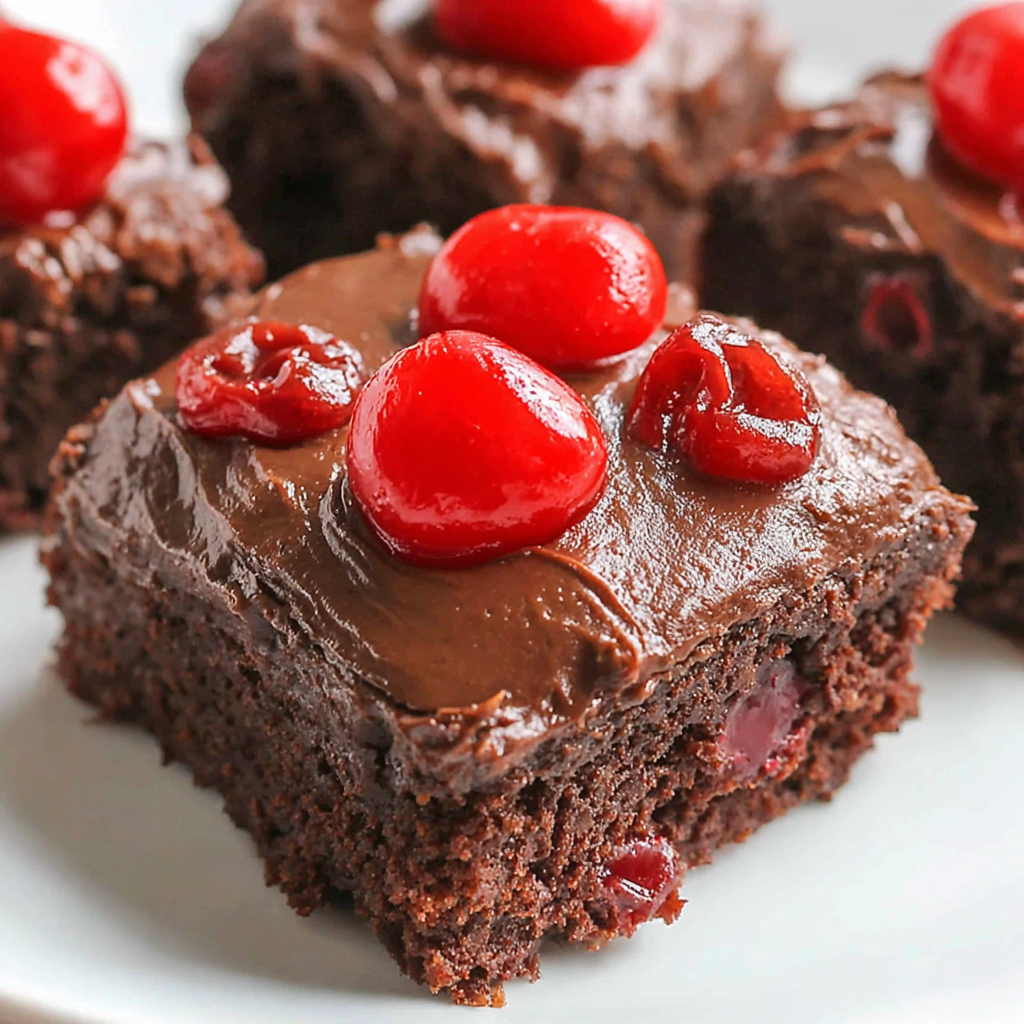
These Chocolate Cherry Bars have been a potluck lifesaver in my family for years. I first made them after seeing Christy Denney's version and adapted a few small details to suit my crowd: a slightly thicker frosting, a gentle stir so the cherries stay chunky, and baking in a 13x9-inch dish when I need straight edges for neat squares. The result is a tender, cocoa-rich base punctuated by sweet-tart cherries and finished with a shiny, fudgy topping. They’re the kind of dessert that disappears fast — neighbors bring their own containers for leftovers and children always ask for the corner pieces.
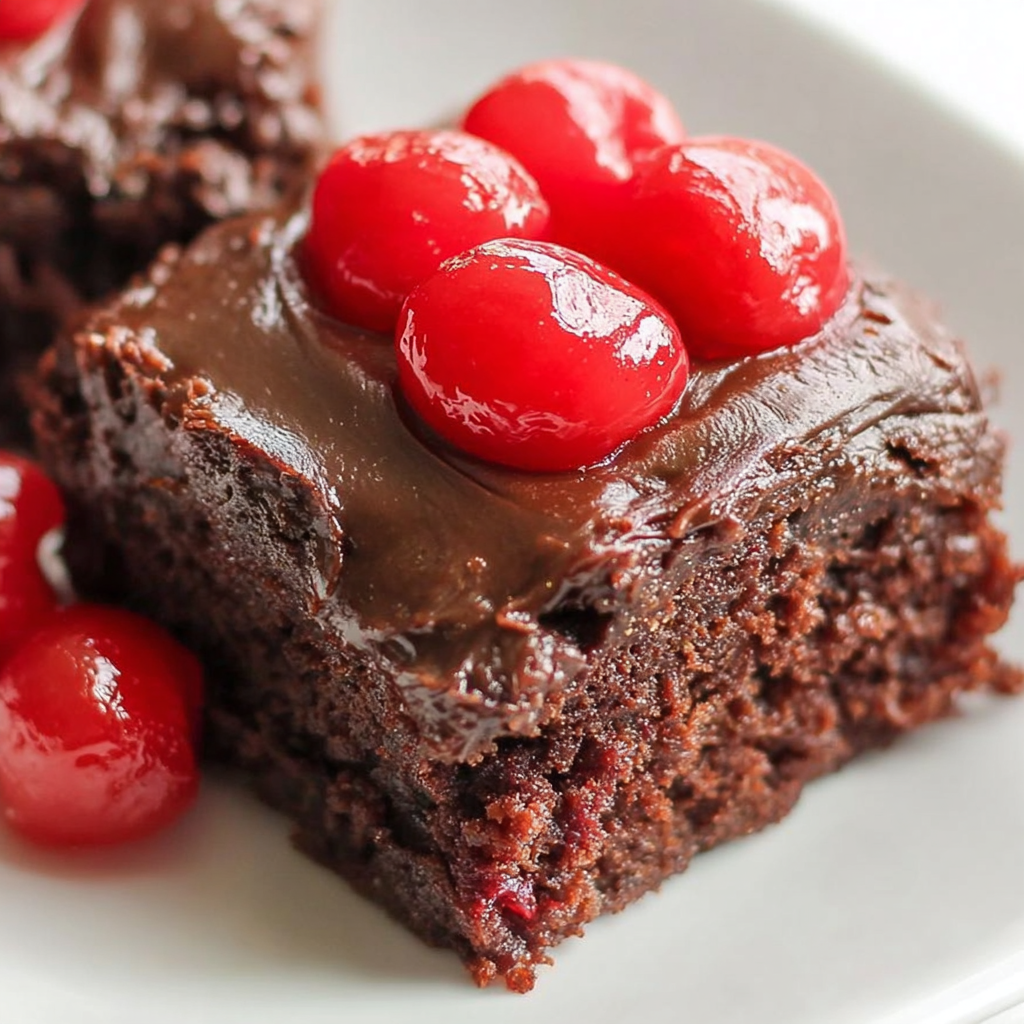
I discovered this combination on a busy weekend when I needed a dessert that was fast, transportable, and could be made without pulling out a stand mixer. Using a packaged Devil’s Food cake mix keeps the base reliably moist and chocolate-forward, while a can of cherry pie filling adds an effortless burst of fruit and texture. The frosting is cooked like a simple chocolate glaze, which sets firm enough to stack bars for a bake sale yet remains tender when you bite into it. Serve warm or at room temperature — both work beautifully and each evokes different memories in my house. Warm, it’s gooey and decadent; cooled, it becomes a neat, portable square ideal for gatherings.
Personally, I love how this recipe taught me to trust convenience products without sacrificing flavor. A few times I’ve doubled the cherries and used an offset spatula to coax the frosting into every corner; friends still ask when I’ll bring these again. The recipe is forgiving — if your oven runs hot, simply check a little earlier; if the glaze stiffens too much, warm it briefly to re-smooth.
One of my favorite things about these is how many people ask for the recipe after a single bite. I once brought a pan to a block party and returned with an empty container and a dozen requests for the directions. The simplicity is deceptive — a few quality ingredients and precise timing on the glaze produce a dessert that feels much fancier than the effort involved.
Store bars in a single or double layer in an airtight container. At room temperature they keep for up to 48 hours in a cool kitchen; after that refrigerate to maintain texture and freshness. To freeze, slice into individual bars, wrap each in plastic wrap, then place in a freezer-safe bag and freeze up to 3 months. Thaw in the refrigerator overnight and bring to room temperature before serving, or microwave for 10–15 seconds to warm gently. Avoid stacking unfrosted warm bars — condensation can soften the glaze.
If you need to modify ingredients, try these swaps: replace almond extract with an equal amount of pure vanilla extract for a milder flavor; use cherry pie filling reduced-sugar if available to cut sweetness slightly; swap semisweet chips for dark chocolate chips for deeper chocolate notes. For a dairy-free version, use a dairy-free butter and plant-based milk and confirm dairy-free chocolate chips. Note that changing fat or liquid can alter set time and texture; when using lower-fat milk, reduce boiling time by a few seconds and check the glaze consistency before pouring.
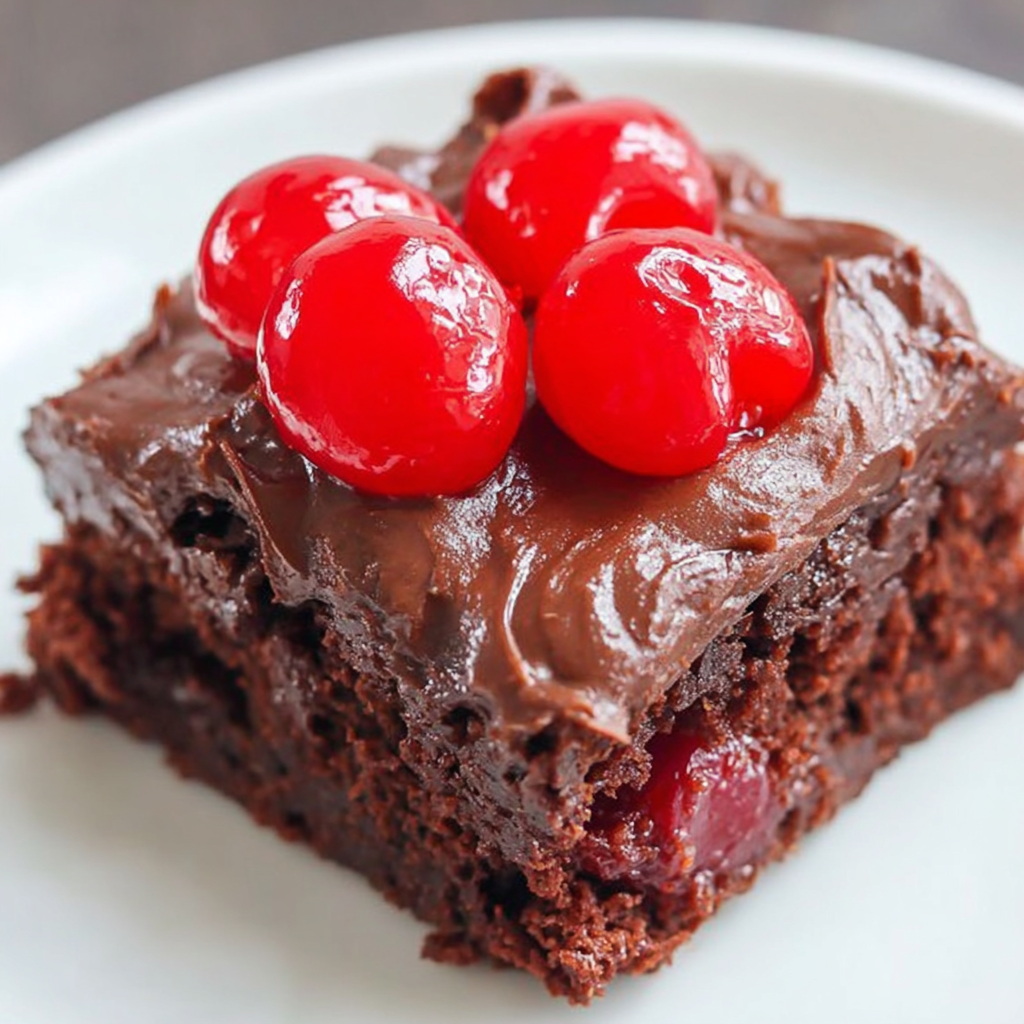
Serve bars plain or dust lightly with powdered sugar for a pretty finish. They pair beautifully with whipped cream or a scoop of vanilla ice cream for a dessert plate, and a hot cup of coffee or black tea balances the sweetness. For a party, arrange on a platter with garnished cherries or a drizzle of extra melted chocolate. Cut smaller bites for dessert buffets or larger pieces for an after-dinner treat.
These bars are a modern American potluck staple built around convenience baking: boxed mixes and canned pie fillings rose to prominence in mid-20th century home baking culture. The combination of chocolate and cherry echoes classic pairings like Black Forest cake, where the sweet-tart cherry complements rich chocolate. The technique of boiling a sugar-milk-butter base to make a glossy glaze is an old-school finishing method that yields a stable and attractive shine without complicated tempering.
In summer, swap the cherry pie filling for fresh cherry compote (about 2 cups cooked down with 1/4 cup sugar) to brighten the flavor. For winter holidays, incorporate 1/4 teaspoon cinnamon and a pinch of nutmeg into the base or top with crushed amaretti biscuits for a festive crunch. Use frozen dark cherries straight from the freezer when fresh aren’t available; thaw lightly and drain excess juice before stirring into the batter.
To prep ahead, bake the bars and keep the glaze separate in an airtight container in the refrigerator for up to 48 hours; rewarm the glaze gently and spread over room-temperature bars just before serving to maintain a glossy finish. For large events, bake two full batches and freeze extras before glazing; thaw and glaze the day of the event for a fresh appearance. Use parchment for quick lift-out and neater slicing when assembling trays.
Whether you need a fast dessert for a potluck or a reliable crowd-pleaser for weekend guests, these Chocolate Cherry Bars deliver. They’re forgiving, adaptable, and always remind me of neighborhood gatherings where everyone leaves a little happier — and usually with a second helping.
Use room-temperature eggs for smoother incorporation and a more even crumb.
If the glaze begins to set before spreading, warm it briefly over very low heat and stir until glossy again.
Line the pan with parchment overhang for easy removal and cleaner cutting.
Check bars 5 minutes before the minimum bake time listed — ovens vary and you want a moist interior.
This nourishing chocolate cherry bars recipe is sure to be a staple in your kitchen. Enjoy every moist, high protein slice — it is perfect for breakfast or as a wholesome snack any time.
Yes. For thicker bars use a 13x9-inch pan and bake 25–35 minutes; for thinner bars use a 15x10x1-inch pan and bake 20–30 minutes.
Refrigerate in an airtight container up to 5 days; freeze for 2–3 months (wrap individually).
This Chocolate Cherry Bars recipe makes perfectly juicy, tender, and flavorful steak every time! Serve with potatoes and a side salad for an unforgettable dinner in under 30 minutes.
Preheat oven to 350°F. Grease and lightly flour a 15x10x1-inch pan or a 13x9-inch baking dish. Optionally line with parchment for easier removal.
In a large bowl, combine cake mix, cherry pie filling, 1 teaspoon almond extract, and the beaten eggs. Stir until just blended; use a stand mixer briefly if you prefer broken cherries.
Spread batter evenly in the prepared pan. Bake at 350°F until a toothpick inserted near the center comes out clean: 20–30 minutes for 15x10 pan, 25–35 minutes for 13x9 pan. Allow to cool slightly before glazing.
In a small saucepan combine 1 cup sugar, 1/3 cup milk, and 5 tablespoons butter. Bring to a boil, stir constantly, and boil 1 minute. Remove from heat and stir in 1 cup chocolate chips and 1/4 teaspoon almond extract until smooth.
Pour warm glaze over warm bars and spread to edges. Cool at room temperature until set (about 2 hours) or chill to set faster. Once fully cooled, slice into approximately 36 bars.
Last Step: Please leave a rating and comment letting us know how you liked this recipe! This helps our business to thrive and continue providing free, high-quality recipes for you.
Leave a comment & rating below or tag
@savoryte on social media!

Flaky pan-seared tilapia topped with a velvety lemon butter sauce. Quick to cook, bright with citrus, and weeknight-easy yet dinner-party special.

Start your morning with veggie-loaded, protein-packed egg muffins at just 50 calories each. Perfect for make-ahead breakfasts, freezer-friendly, and easy to customize.

Crispy, cheesy, and ready in minutes, this viral tortilla fold layers bacon, egg, avocado, and melty cheese into a perfectly portable triangle.
Leave a comment & rating below or tag @savoryte on social media!
Enjoyed this recipe? Share it with friends and family, and don't forget to leave a review!
This recipe looks amazing! Can't wait to try it.
Comments are stored locally in your browser. Server comments are displayed alongside your local comments.

Join to receive our email series which contains a round-up of some of our quick and easy family favorite recipes.
