
Chicken Stuffed Peppers

Bell peppers stuffed with seasoned ground chicken, rice, salsa, and melted Colby Jack — an easy, weeknight-friendly main that’s cheesy, bright, and comforting.
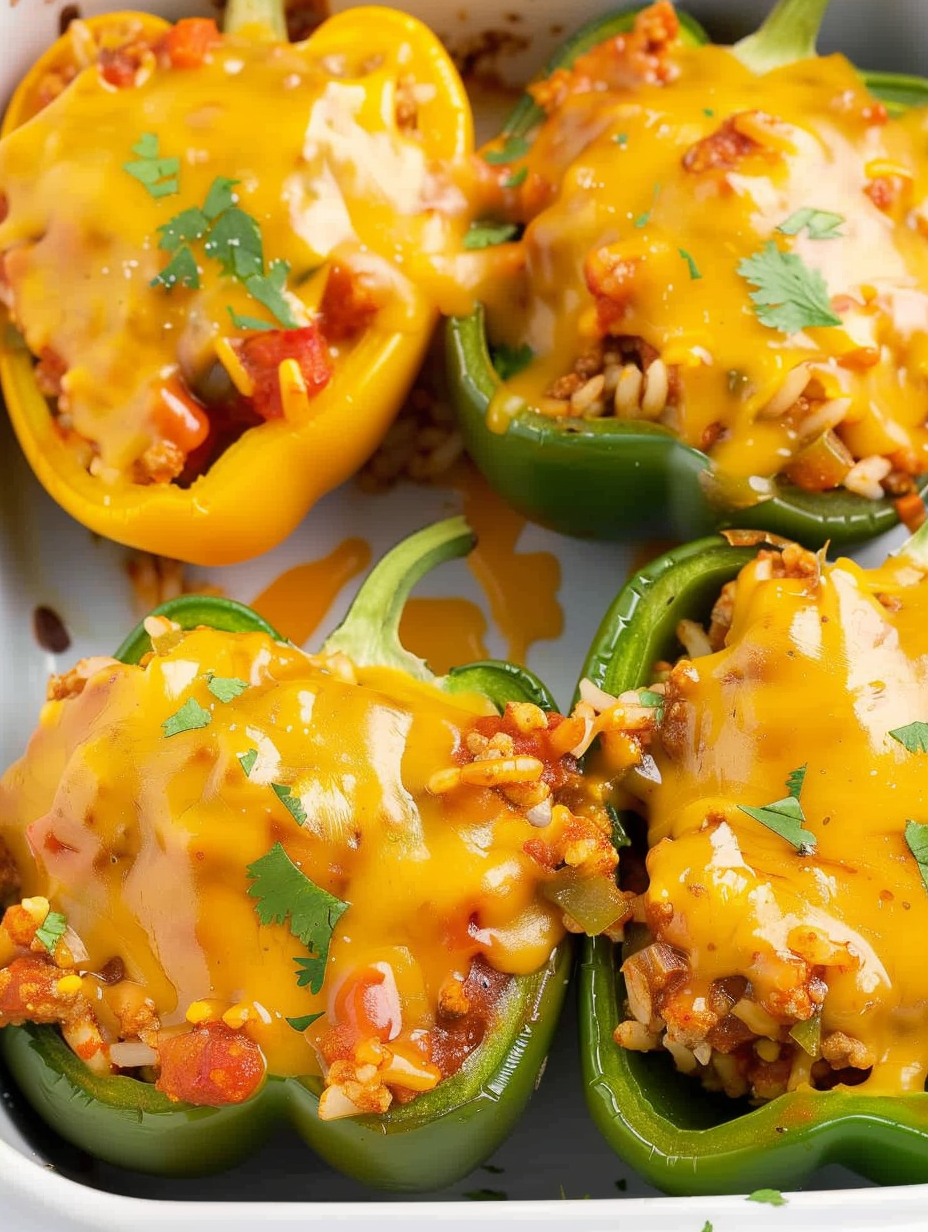
This skillet-to-oven dish is one of those weekday winners I always keep in my repertoire. I first developed this version of stuffed peppers during a week when the fridge offered little more than ground chicken, a jar of salsa, and a few lonely bell peppers. The result was unexpectedly satisfying: warm roasted pepper walls cradling a juicy, spiced chicken-and-rice filling with a gooey blanket of Colby Jack. It’s simple but layered—mild heat from taco seasoning, the bright acidity of salsa, and the rich, creamy note of shredded cheese.
What makes this version special is how approachable it is. You don’t need to brown and simmer for hours; a quick stovetop sauté combines the flavors and then the oven finishes the peppers until they’re tender. I’ve served these for casual family dinners, weeknight lunches, and even for guests who ask for the recipe afterward. The peppers hold up well, the filling stays moist, and every bite balances protein, carbs, and vegetables. It’s the kind of dish that feels designed to make everyone at the table comfortable and impressed without fuss.
Why You'll Love This Recipe
- Ready in about 45 minutes from start to finish—perfect for weeknights when time is short but you want something homey and satisfying.
- Uses pantry-friendly ingredients like jarred salsa and prepared white rice, so it’s easy to pull together without a long shopping list.
- Highly adaptable: swap the rice for cauliflower rice, use a different cheese, or change the seasoning packet to match your pantry and dietary needs.
- Make-ahead friendly: you can prep the filling a day ahead, stuff peppers just before baking, and finish in the oven when you’re ready to eat.
- Crowd-pleasing and portable—great for potlucks, lunches, or meal prep containers that reheat beautifully in the oven or microwave.
- Balanced nutrition: lean ground chicken provides protein, peppers add vitamins and color, and rice keeps it comforting without being heavy.
I remember the first time my teenager declared them "restaurant-level"—a big compliment in our house. Over time I learned which peppers roast best, how long to sauté the chicken so it stays juicy, and when to pull the dish so cheese browns but doesn’t dry out. Those small adjustments make this version dependable and polite enough for guests yet forgiving for busy nights.
Ingredients
- Water (1/2 cup): Poured into the baking dish to create steam during roasting; it helps the pepper walls soften evenly without drying the filling.
- Bell peppers (3 large): Choose bright red, yellow, or orange for sweeter flavor and attractive presentation—cut in half lengthwise and remove stem, veins, and seeds.
- Olive oil (2 tablespoons): Use extra-virgin for flavor when sautéeing the chicken and onions; it tolerates medium-high heat well for this short cook time.
- Ground chicken (1 lb): Lean but not overly dry—if your ground poultry is very lean, a touch of oil keeps the filling tender; I prefer 85–90% lean.
- Yellow onion (1/2 cup, small diced): Small dice blends into the filling so you notice sweetness but not large chunks; Vidalia or sweet onions work nicely.
- Salt (1/2 teaspoon) and black pepper (1/4 teaspoon): Simple seasoning to make the filling savory—adjust to taste based on the sodium in your taco seasoning.
- Chicken taco seasoning (0.85 oz packet): A single packet is convenient; choose a mild or spicy blend depending on your preference.
- Jarred mild salsa (1/2 cup): Adds acidity, moisture, and tomato flavor—salsa verde or pico de gallo can be used for variation.
- Prepared white rice (1 cup, Minute Rice): Quick-cook rice keeps the recipe fast; leftover long-grain rice also works and adds texture.
- Colby Jack cheese (8 oz, shredded): Melts into the filling and gives a creamy, slightly tangy finish—Monterey Jack or sharp cheddar are good alternatives.
- Fresh parsley or cilantro (1 tablespoon, chopped): Optional garnish that brightens the finished plate and adds a little herbal lift.
Instructions
Preheat and prepare the pan: Preheat your oven to 375°F. Pour 1/2 cup of water into a 9x13-inch baking dish—this creates steam during baking so the peppers gently soften without shriveling. Set the dish aside while you prepare the filling. Prepare the peppers: Trim the tops of the bell peppers and remove stems, membranes, and seeds. Slice each pepper lengthwise into halves and place the halves cut-side up in a single layer in the baking dish so they sit upright and stable. Sauté the aromatics and chicken: Heat 2 tablespoons olive oil in a large skillet over medium-high heat. Add 1 pound ground chicken, 1/2 cup small-diced yellow onion, 1/2 teaspoon salt and 1/4 teaspoon black pepper. Cook, breaking the meat into small pieces, for 5–6 minutes or until no pink remains and onions are translucent. Look for light browning at the edges—this builds flavor. Add seasoning and salsa: Stir in the 0.85-ounce packet of chicken taco seasoning and 1/2 cup jarred mild salsa. Cook for 1–2 more minutes so the flavors marry and the salsa reduces slightly. Taste and adjust seasoning if your taco packet is low-sodium. Finish the filling with rice: Turn off the heat and fold 1 cup prepared white rice into the chicken mixture until evenly incorporated. Aim for a slightly moist filling that holds together; if it seems dry add a tablespoon of water or salsa. Stuff the peppers: Fill each pepper half with about 1/2 cup of the chicken-and-rice mixture, pressing lightly so the filling is compact and reaches the edges. Each half should be generously filled but not overpacked. Top with cheese and bake: Sprinkle shredded Colby Jack evenly over each filled pepper half. Tent the dish with aluminum foil (lightly sprayed with cooking spray on the underside so the cheese doesn't stick), and bake covered for 20 minutes. Finish uncovered: Remove foil and return the dish to the oven for an additional 10–12 minutes, or until the peppers are tender when pierced with a fork and cheese is melted and starting to brown. Let cool for a few minutes before garnishing with chopped parsley or cilantro and serving warm.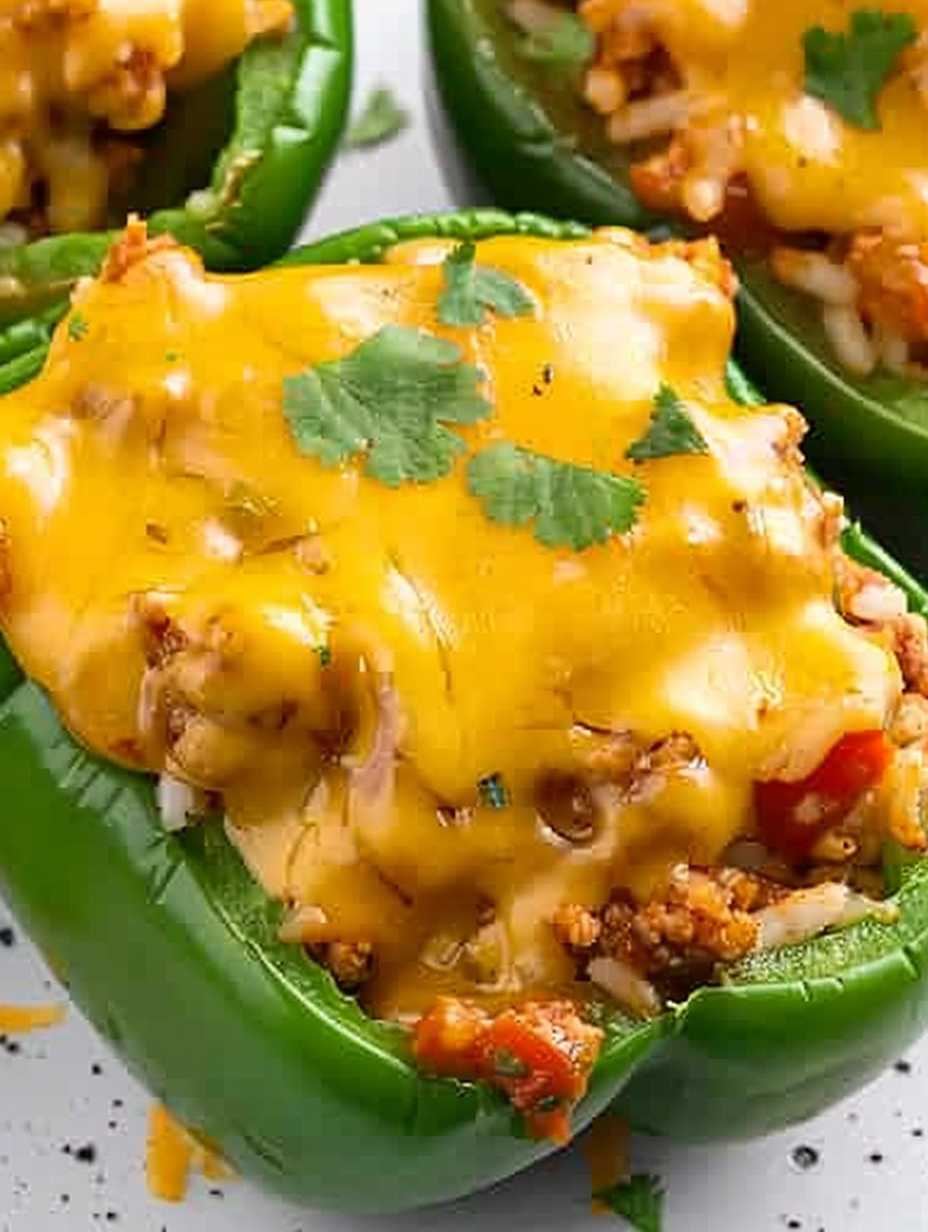
You Must Know
- These keep well refrigerated for up to 4 days; store in an airtight container and reheat gently so the peppers don’t become mushy.
- They freeze well for up to 3 months—freeze uncooked after stuffing, then bake from frozen adding 10–15 minutes to the covered bake time.
- Swap Minute Rice for leftover cooked rice at a 1:1 ratio; if using frozen rice, be sure it’s thawed and drained of excess moisture.
- Nutrition note: one serving contains about 373 calories with a balanced protein-to-fat ratio thanks to lean chicken and melted cheese.
What I love most about this version is the happy compromise between speed and flavor. The stovetop step builds savory depth while the oven adds gentle steaming—resulting in peppers that are tender without falling apart. Family members routinely request these for dinner because they reheat well and make pleasing leftovers for lunches. Little touches—like spraying foil so cheese doesn’t stick and using bright-colored peppers—turn a simple weeknight dish into something that looks and tastes intentional.
Storage Tips
Refrigerate leftover stuffed halves in an airtight container for up to four days. To freeze, arrange stuffed but unbaked pepper halves on a baking sheet and flash-freeze until solid, then transfer to a freezer-safe container for up to three months. Bake from frozen at 375°F covered for 30–35 minutes, then uncover and finish for 12–15 minutes until peppers are tender and cheese is golden. Reheat refrigerated portions in a 350°F oven for 12–15 minutes, or microwave covered for 90–120 seconds, checking that the center reaches a safe temperature.
Ingredient Substitutions
Short on Colby Jack? Use Monterey Jack, mild cheddar, or a Mexican blend for similar melt and flavor. For lower carbs, swap prepared white rice for riced cauliflower (use 1 1/2 cups cooked cauliflower rice for 1 cup white rice) but expect a softer texture and less chew. If you prefer more heat, use a medium or hot salsa and a spicy taco seasoning packet. You can also substitute ground turkey or lean beef, though beef will yield a richer profile. For a dairy-free option, omit cheese or use a plant-based melting shreds.
Serving Suggestions
Serve these stuffed halves on a platter with fresh lime wedges, extra salsa, and a simple side salad of crisp greens and avocado. They also pair nicely with black beans and corn salad, roasted sweet potatoes, or a crisp slaw for contrast. For a crowd, arrange on a baking sheet and keep warm in a low oven. Garnish with chopped cilantro, green onions, or a drizzle of crema for added color and brightness.
Cultural Background
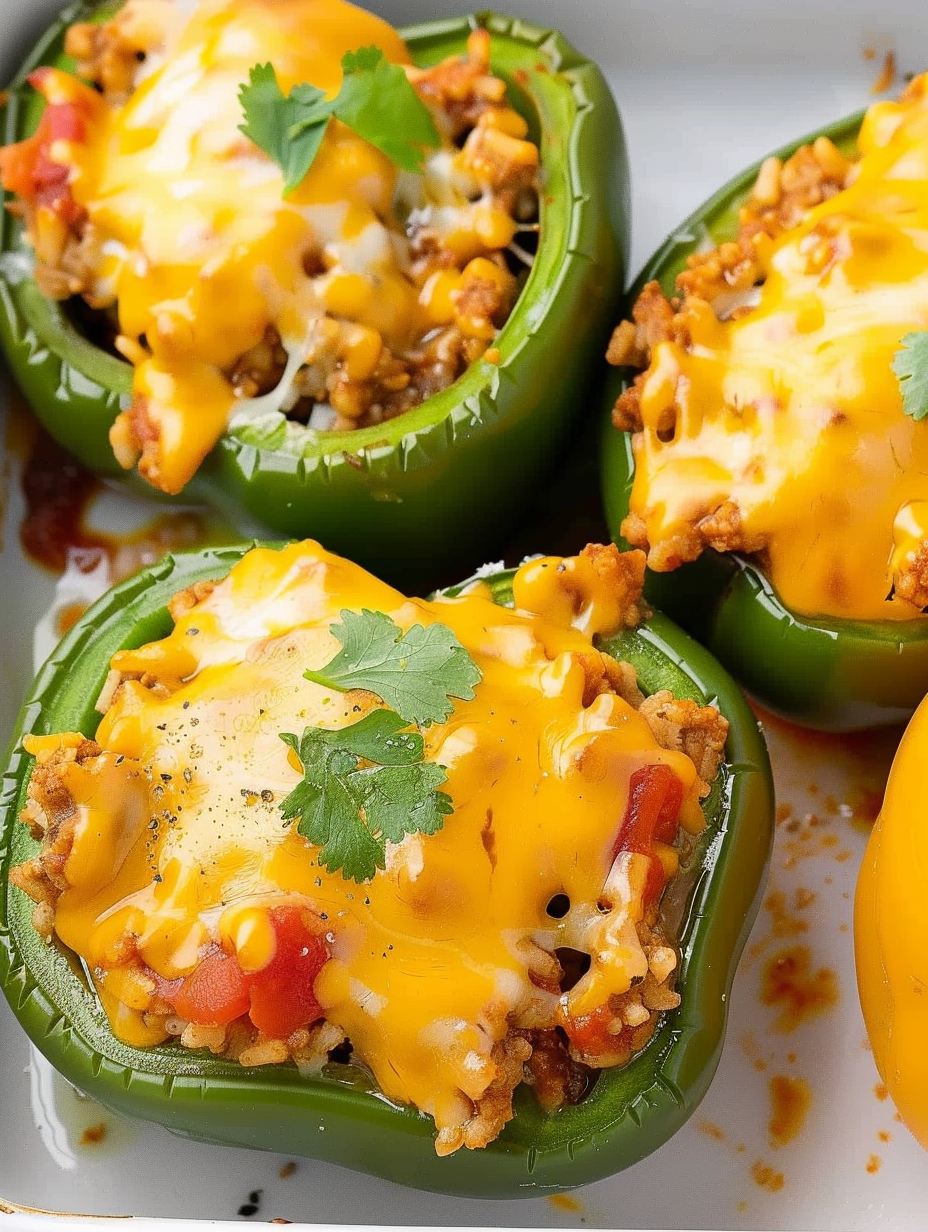
Stuffed peppers are a global comfort food, with roots in Central and Eastern Europe as well as adaptations throughout Latin America. This particular version blends American convenience—using a prepackaged seasoning and quick rice—with Mexican-inspired flavors from salsa and taco spice. The result is a hybrid that feels familiar in many households: the bell pepper used as an edible vessel is a classic technique that turns humble ingredients into a composed main course.
Seasonal Adaptations
In summer, use peak-season bell peppers for maximum sweetness and color; add charred corn kernels to the filling for sweetness and texture. In colder months, opt for poblano peppers for a smokier, earthier flavor and mix in cooked wild rice for more bite. Holiday variations can include fresh herbs like chopped parsley or a dollop of cranberry-infused salsa for a festive touch.
Meal Prep Tips
Double the filling, refrigerate in a sealed container, and stuff peppers the day you plan to bake. Prepping the filling ahead saves 10–15 minutes on busy evenings. Use stackable meal prep containers for refrigerated leftovers and include a small container of fresh salsa or avocado to add right before eating to keep textures bright. Label containers with bake-from-frozen instructions to simplify reheating later.
These stuffed halves strike the balance between ease and flavor—comforting enough for family dinners, flexible enough to adapt to what you have on hand. Give them a try on a busy weeknight and you’ll likely find, like I did, that a few pantry staples can transform into a meal you want to make again and again.
Pro Tips
Spray the underside of aluminum foil with cooking spray to prevent melted cheese from sticking when you remove it.
Use a small dice for onion so it blends into the filling and doesn’t create large crunch points.
If filling feels dry, add a tablespoon of salsa or water before stuffing to keep it moist during baking.
This nourishing chicken stuffed peppers recipe is sure to be a staple in your kitchen. Enjoy every moist, high protein slice — it is perfect for breakfast or as a wholesome snack any time.
FAQs about Recipes
Can I freeze these for later?
Yes. To freeze, stuff the peppers but do not bake. Flash-freeze on a tray until solid, then transfer to a freezer bag for up to 3 months. Bake from frozen adding about 10–15 minutes to covered cook time.
How long should I bake them?
Baked covered for 20 minutes then uncovered for 10–12 minutes at 375°F. Check peppers are tender with a fork and cheese is melted.
Tags
Chicken Stuffed Peppers
This Chicken Stuffed Peppers recipe makes perfectly juicy, tender, and flavorful steak every time! Serve with potatoes and a side salad for an unforgettable dinner in under 30 minutes.
Ingredients
Liquids
Produce & Veg
Protein & Pantry
Dairy
Instructions
Preheat and prepare pan
Preheat oven to 375°F and pour 1/2 cup water into a 9x13-inch baking dish to create steam during roasting. Arrange pepper halves cut-side up.
Sauté chicken and onion
Heat 2 tablespoons olive oil in a large skillet over medium-high heat. Add 1 pound ground chicken, 1/2 cup small diced onion, 1/2 teaspoon salt, and 1/4 teaspoon black pepper. Cook 5–6 minutes until no pink remains.
Add seasoning and salsa
Stir in 0.85-ounce chicken taco seasoning and 1/2 cup mild salsa. Cook 1–2 minutes for flavors to combine, then turn off the heat.
Combine with rice and stuff
Add 1 cup prepared white rice to the skillet, stir to combine. Fill each pepper half with about 1/2 cup of the filling and top evenly with 8 ounces shredded Colby Jack.
Bake covered then uncovered
Cover the dish with foil and bake 20 minutes at 375°F. Remove foil and bake another 10–12 minutes until peppers are tender and cheese is melted and slightly browned.
Garnish and serve
Let cool slightly, garnish with chopped parsley or cilantro if desired, and serve warm.
Last Step: Please leave a rating and comment letting us know how you liked this recipe! This helps our business to thrive and continue providing free, high-quality recipes for you.
Nutrition
Did You Make This?
Leave a comment & rating below or tag
@savoryte on social media!
Categories:
You might also like...
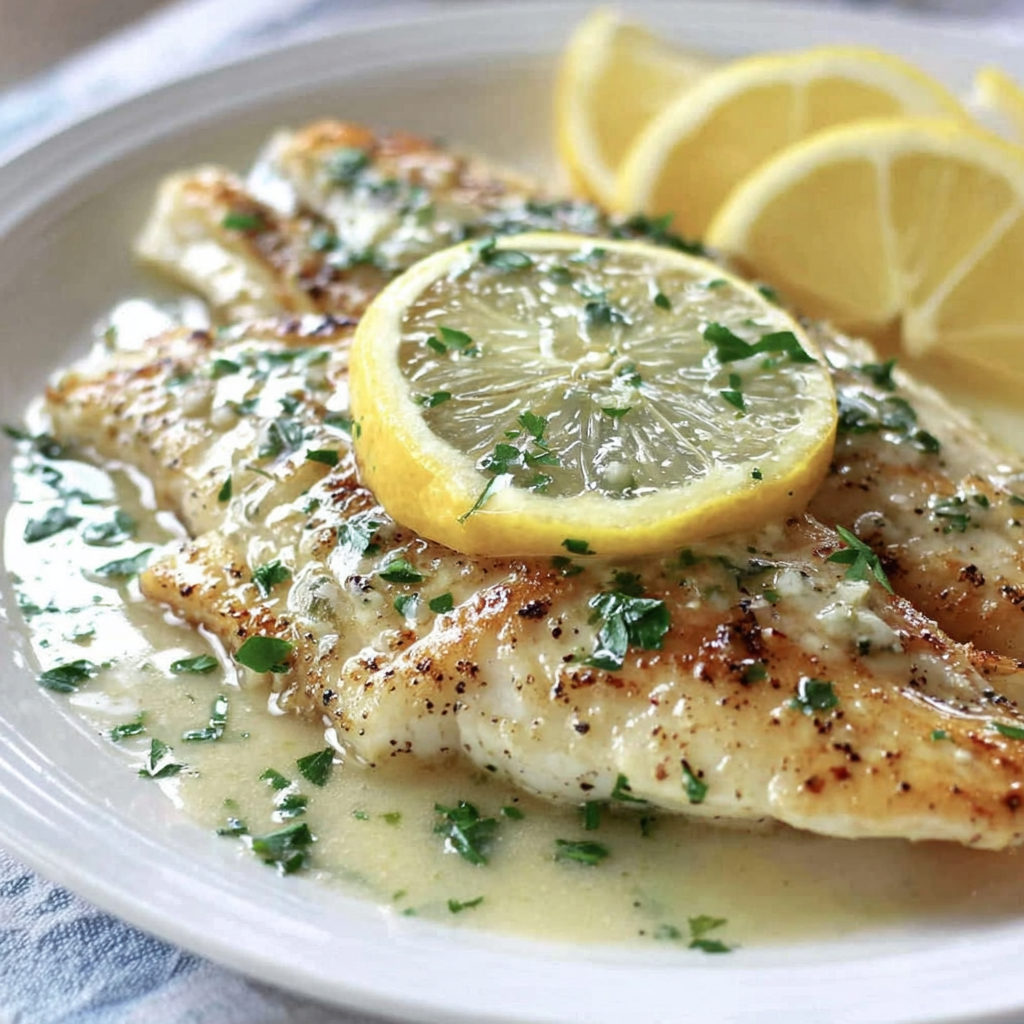
Tilapia with Lemon Butter
Flaky pan-seared tilapia topped with a velvety lemon butter sauce. Quick to cook, bright with citrus, and weeknight-easy yet dinner-party special.
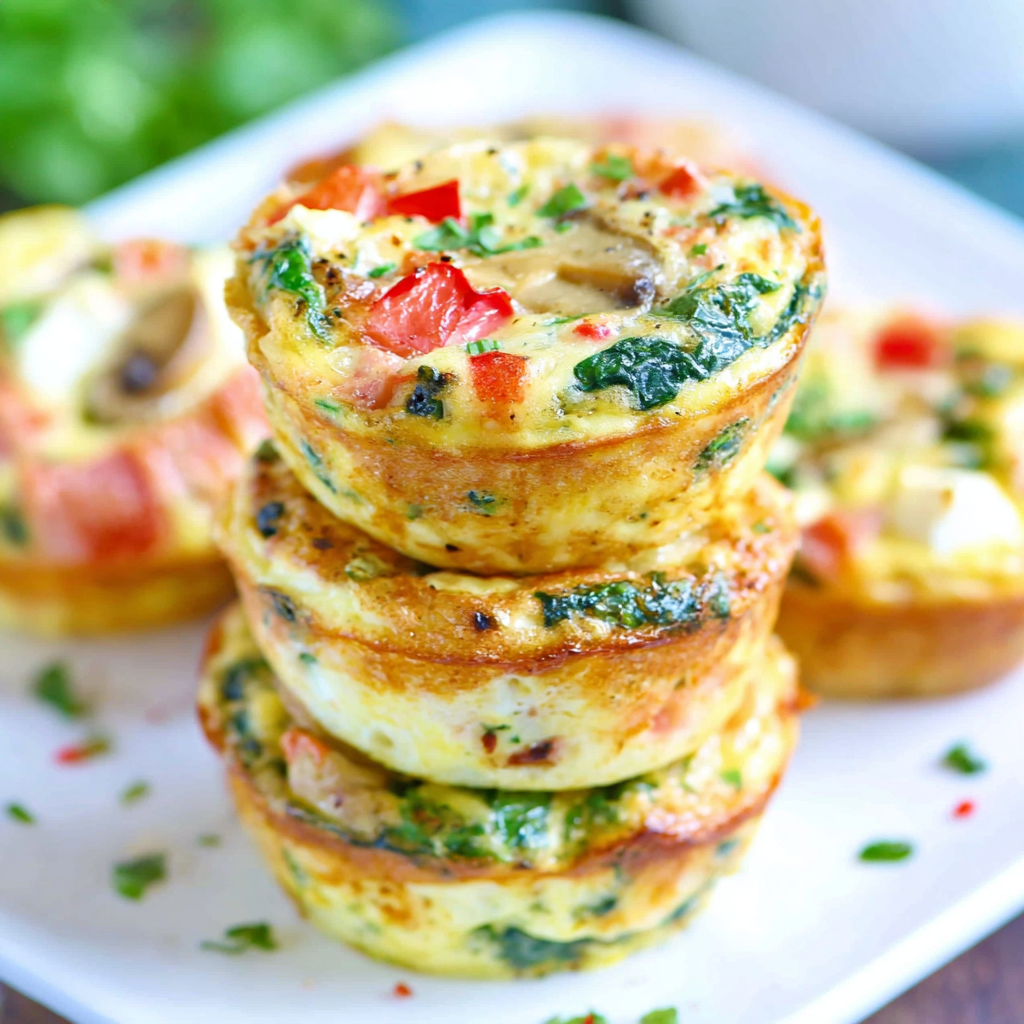
Healthy Egg Muffin Cups
Start your morning with veggie-loaded, protein-packed egg muffins at just 50 calories each. Perfect for make-ahead breakfasts, freezer-friendly, and easy to customize.
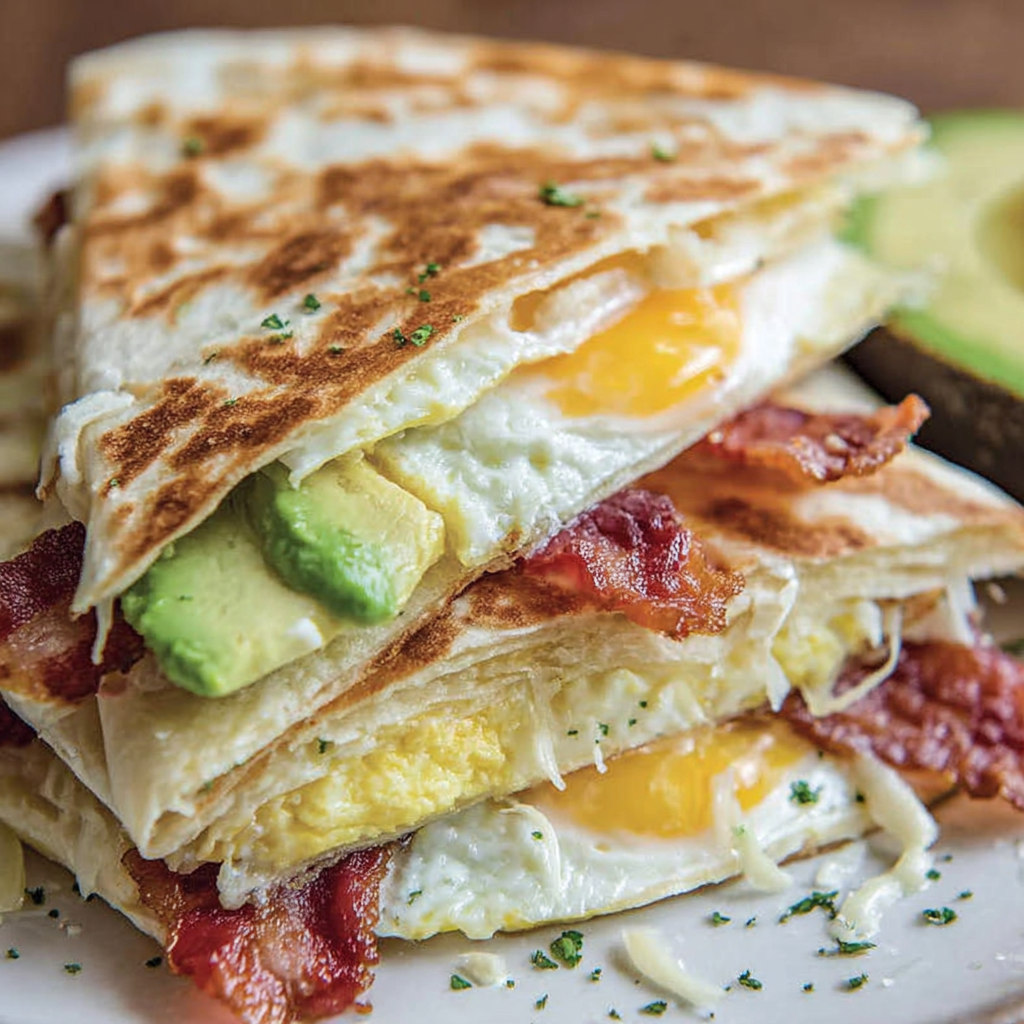
TikTok Breakfast Tortilla Fold
Crispy, cheesy, and ready in minutes, this viral tortilla fold layers bacon, egg, avocado, and melty cheese into a perfectly portable triangle.
Did You Make This?
Leave a comment & rating below or tag @savoryte on social media!
Rate This Recipe
Share This Recipe
Enjoyed this recipe? Share it with friends and family, and don't forget to leave a review!
Comments (1)
This recipe looks amazing! Can't wait to try it.
Comments are stored locally in your browser. Server comments are displayed alongside your local comments.

Hi, I'm Sophia!
What's Popular

30-Minute Meals!
Join to receive our email series which contains a round-up of some of our quick and easy family favorite recipes.