
>>

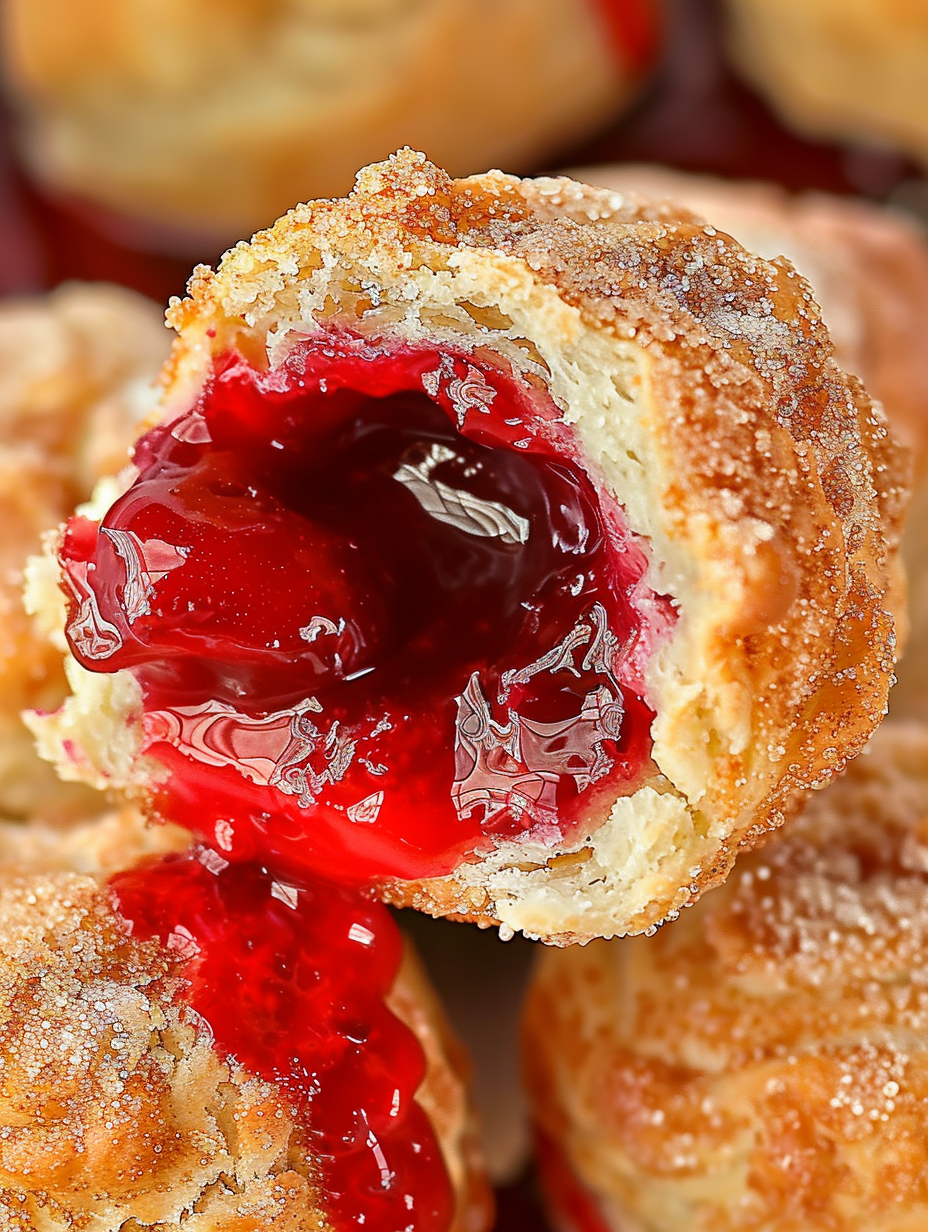
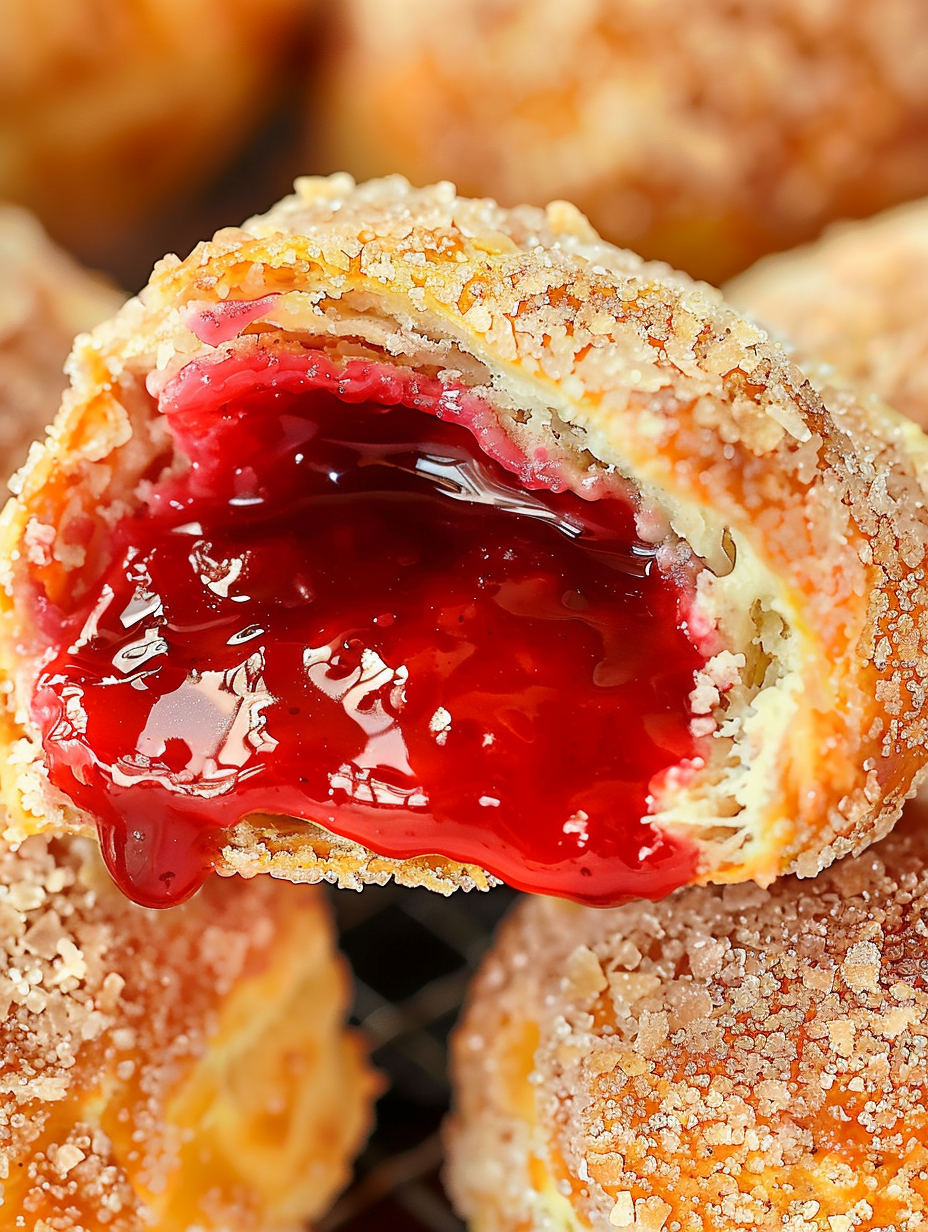
Sweet cherry pie filling wrapped in biscuit dough, rolled in cinnamon sugar, and cooked until golden — made quickly in an air fryer or baked in the oven for parties and picnics.

This recipe for Cherry Pie Bombs began one spring when I wanted a nostalgic handheld dessert that felt both playful and timeless. I discovered the idea while digging through a drawer of party recipes and realized that the combination of warm cherry filling, buttery biscuit dough, and a crunchy cinnamon-sugar shell would be perfect for backyard gatherings. The first time I made them, my neighbors arrived early because they smelled the cinnamon from the porch; the bite of warm cherry syrup in the center surprised everyone and turned a simple snack into the highlight of the evening.
What makes these bombs special is the contrast between the soft, slightly tender biscuit exterior and the molten, jammy interior. They are fast — the active prep takes about 10 minutes — and flexible: use store-bought cherry pie filling for speed or make a quick homemade filling if you want full control over sweetness and texture. I love serving these warm from the air fryer during spring and summer parties because they travel well, are easy for guests to pick up, and the cinnamon-sugar coating gives them that irresistible festival-fair charm.
My family treats these as a seasonal favorite. At last summer’s block party, a neighbor asked for the recipe and then brought them to a potluck the next week. Small changes — like using extra tart cherries or adding a splash of lemon — created delightful variations I now keep in rotation. These little treats always spark the same reaction: someone says, "This tastes like a carnival in my mouth."
I love that these are forgiving to make. When a few seals weren’t perfect the first time, I simply tucked and pinched again before coating. Over the years I discovered that spacing in the air fryer is crucial; crowding causes uneven browning and can trap steam, leaving the exterior soft instead of crisp. My favorite moment is the first bite — that burst of warm cherry and sugar takes me back to summer fairs and cozy family breakfasts.
Store cooled bombs in an airtight container in the refrigerator for up to 3 days. For longer storage, freeze on a sheet tray until solid, then transfer to a freezer-safe bag and keep up to 3 months. To reheat refrigerated or frozen bombs, use the air fryer at 330°F for 3–5 minutes (longer if frozen) until warmed through and crisp. Avoid microwaving for reheating; it can make the coating soggy and the dough rubbery. If you do microwave for speed, finish one minute in the air fryer or oven to restore crunch.
Swap the canned biscuits for a refrigerated biscuit tube from another brand, but avoid flaky or crescent-style dough that separates into thin layers. For the cherry filling, try using cherry preserves for a thicker center or fresh cherry compote for a brighter, less sweet interior. Replace butter with melted coconut oil for a subtle tropical note and to make the coating dairy-free, but expect a slightly different mouthfeel and flavor. If you want less sugar, reduce the cinnamon-sugar coating or use a coarse sugar alternative.
Serve warm on a platter with a small bowl of vanilla glaze or a scoop of vanilla ice cream for an indulgent treat. Garnish with a dusting of powdered sugar or a light drizzle of warmed jam for extra gloss. For brunch, pair with strong coffee or a sparkling beverage; for parties, offer on a board alongside other handheld sweets like mini eclairs or chocolate-dipped strawberries. They also work well served with a citrus whipped cream to cut the sweetness.
These handheld pastries echo classic American carnival and fair foods that marry fried or baked dough with fruity fillings. The idea of enclosing sweet fillings in dough is global — think dumplings, empanadas, and turnovers — but the use of canned biscuit dough and pie filling gives this version a distinctly modern, convenience-driven American twist. Over the years, home cooks have adapted similar concepts into bite-sized party foods that celebrate seasonal fruit in a portable format.
Spring calls for tart cherry filling or a mix of strawberry and rhubarb; summer is the perfect time for fresh cherry compote or blueberry-lavender versions. For fall, swap the filling for spiced apple or pear and use a ginger-sugar coating in place of cinnamon-sugar. Holiday gatherings are a great opportunity to drizzle them with spiced caramel or serve with a warm custard dip. Small changes in fruit and spices keep the format fresh across seasons.
For easy entertaining, prepare and seal the bombs a day ahead and refrigerate them on a tray covered with plastic. Dust with cinnamon sugar and store in a single layer so they don’t stick together. When guests arrive, air fry or bake until golden; this keeps the filling warm and the crust crisp. To scale up for larger groups, freeze batches on trays and reheat directly from frozen, adding a few minutes to the cook time for consistent results.
Whether you prefer the convenience of canned filling or the control of making your own, these Cherry Pie Bombs are a delightful, shareable treat. They bring together speed, nostalgia, and bright cherry flavor in every bite — a small pastry that makes a big impression.
Work with chilled dough to make sealing easier and reduce stickiness.
Don’t overcrowd the air fryer basket; leave about 2 inches between bombs for even browning.
Cool homemade filling to room temperature before filling so it doesn’t make the dough soggy.
Use a gentle pinch and roll motion to ensure the seams are fully sealed.
If using frozen cherries, thaw and drain excess liquid before cooking into filling.
This nourishing cherry pie bombs recipe is sure to be a staple in your kitchen. Enjoy every moist, high protein slice — it is perfect for breakfast or as a wholesome snack any time.
Yes. Prepare them sealed on a tray, freeze until firm, then transfer to a freezer bag. Air fry from frozen, adding a couple of extra minutes to the cook time.
Use a thicker filling like cherry preserves or a homemade compote for a less runny center; cool your filling to room temperature before filling the dough.
This Cherry Pie Bombs recipe makes perfectly juicy, tender, and flavorful steak every time! Serve with potatoes and a side salad for an unforgettable dinner in under 30 minutes.
Open the can and separate each biscuit into two layers. Flatten each layer to about 4 inches in diameter using a rolling pin or your hands, creating 16 circles.
Place about 1 tablespoon of cherry pie filling in the center of each circle. Pinch the edges together securely and roll into smooth balls so the seams are sealed.
Brush each ball all over with melted unsalted butter, then roll in the cinnamon-sugar blend until evenly coated. Press gently to adhere the sugar.
Preheat air fryer to 330°F. Spray basket or racks with oil. Place bombs about 2 inches apart in a single layer. Air fry 6–7 minutes, wiggle to loosen, then 1–2 more minutes until golden.
Preheat oven to 375°F and line a sheet with parchment. Arrange bombs 2 inches apart and bake 12–15 minutes until golden brown. Serve warm.
Allow bombs to rest 2–3 minutes after cooking so the filling settles. Serve warm alone or with a scoop of vanilla ice cream or a simple glaze.
Last Step: Please leave a rating and comment letting us know how you liked this recipe! This helps our business to thrive and continue providing free, high-quality recipes for you.
Leave a comment & rating below or tag
@savoryte on social media!

Flaky pan-seared tilapia topped with a velvety lemon butter sauce. Quick to cook, bright with citrus, and weeknight-easy yet dinner-party special.

Start your morning with veggie-loaded, protein-packed egg muffins at just 50 calories each. Perfect for make-ahead breakfasts, freezer-friendly, and easy to customize.

Crispy, cheesy, and ready in minutes, this viral tortilla fold layers bacon, egg, avocado, and melty cheese into a perfectly portable triangle.
Leave a comment & rating below or tag @savoryte on social media!
Enjoyed this recipe? Share it with friends and family, and don't forget to leave a review!
This recipe looks amazing! Can't wait to try it.
Comments are stored locally in your browser. Server comments are displayed alongside your local comments.

Join to receive our email series which contains a round-up of some of our quick and easy family favorite recipes.
