
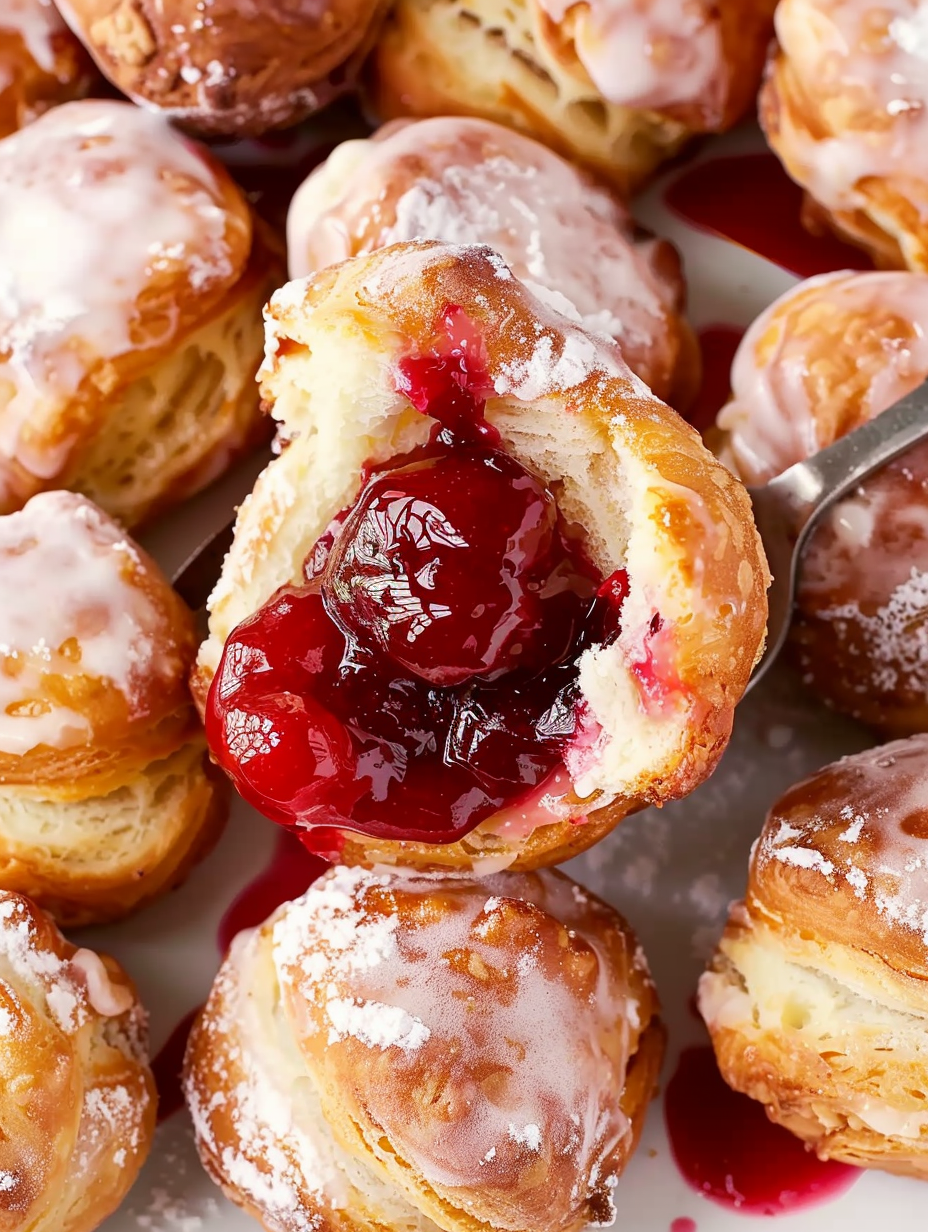
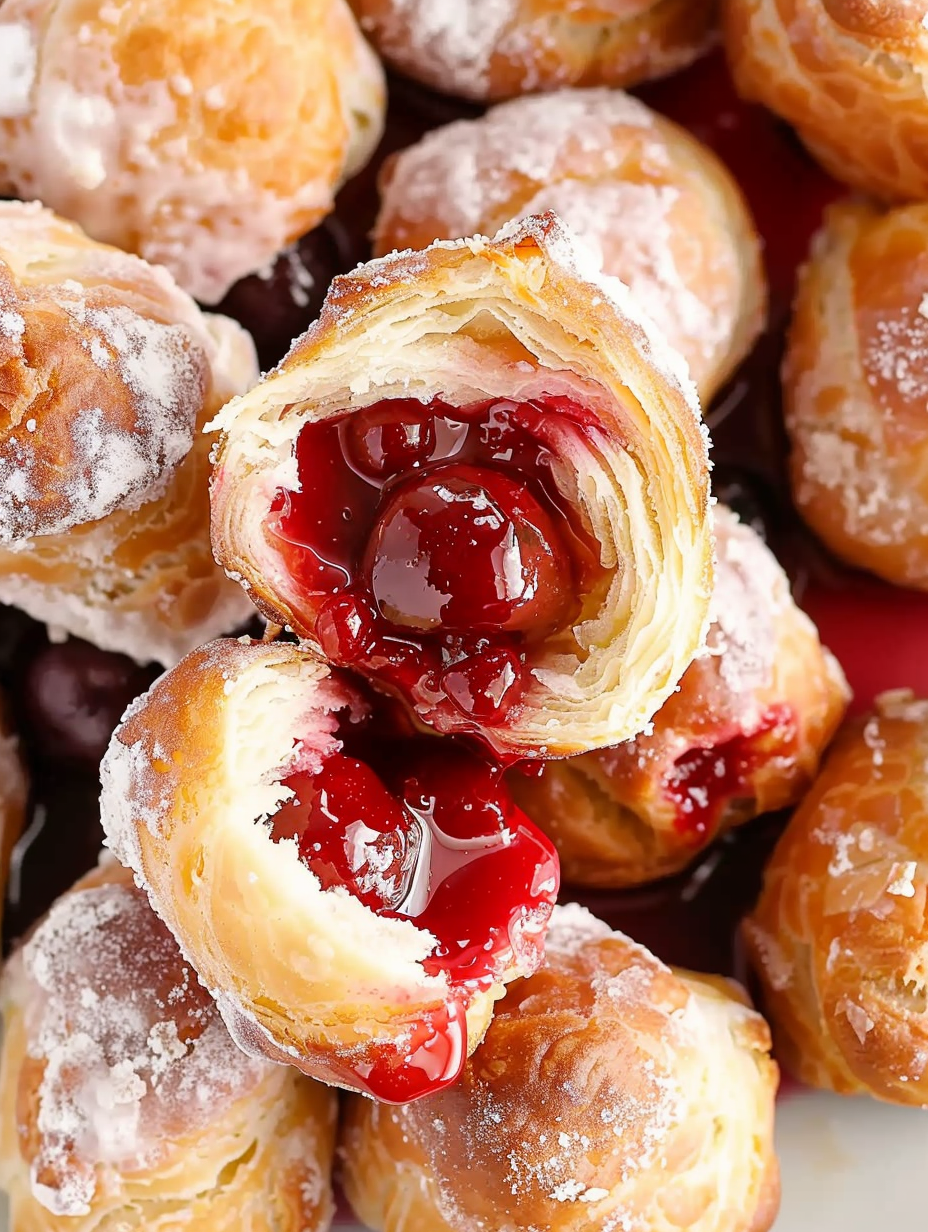
Cherry Pie Bombs

Bite-sized fried dough pockets filled with sweet cherry pie filling, glazed with a simple powdered sugar icing — all the flavor of cherry pie in a fun, quick treat.
This recipe transforms the classic cherry pie into playful, bite-sized treats that are surprisingly simple to make and impossible to resist. I first fell for these cherry pie bombs on a blustery afternoon when I wanted something warm and nostalgic but didn’t have the patience for a full pie. Using store-bought flaky biscuits and canned cherry pie filling, I discovered you could recreate that syrupy cherry center and golden, tender crust in minutes. They quickly became our weekend ritual: hot from the fryer, sticky with glaze, and best enjoyed with a mug of strong coffee or a scoop of vanilla ice cream.
The texture is part of the charm — a light, pillowy exterior that crisps to a warm golden brown while the center becomes jammy and fragrant. Each bite gives you that classic cherry-flavored pop with a sugary glaze that sets up into a shine. Because they’re assembled rather than rolled and crimped like a pie, these bombs are forgiving for home cooks of every skill level and perfect for feeding a crowd or making ahead and freezing for a busy weeknight dessert.
Why You'll Love This Recipe
- Ready in under 30 minutes from start to finish, these are a quick answer when you want a classic dessert without a long bake time.
- Uses pantry-friendly staples like canned biscuits and pie filling so you can assemble them anytime without special shopping.
- Kid-friendly activity for assembly: flatten, fill, seal — simple steps that make a great weekend project.
- Make-ahead friendly: you can freeze assembled bombs and fry straight from the freezer for an easy party treat.
- Customizable filling and glaze variations let you adapt to seasonal fruit or dietary needs, keeping the technique the same.
- Perfect for gatherings — small, shareable portions that travel well and appeal to kids and adults alike.
My family’s reaction the first time I made a double batch was immediate: every plate returned empty and requests for seconds followed within minutes. What began as a shortcut on a busy day turned into one of those recipes that everyone asks for at potlucks, holidays, and impromptu celebrations. I love how approachable the method is: no rolling pin skills required and very little cleanup.
Ingredients
- Flaky biscuit dough: One 16.3-ounce can Grands "Big" flaky biscuits (about 8 biscuits). Look for the flaky layered version which separates easily; this gives a tender interior and enough dough to encase the filling without being too thick.
- Cherry pie filling: One 21-ounce can of cherry pie filling. Choose a high-quality brand with whole cherries if possible for texture and flavor; the thick syrup keeps the center juicy after frying.
- Powdered sugar: 2 cups for the glaze. Powdered sugar dissolves easily and creates a smooth coating; measure by gently spooning into the cup and leveling rather than packing.
- Milk: 1/4 cup to thin the glaze. Use whole milk for a richer finish or any milk alternative if desired, but note that flavor and sheen will vary.
- Light corn syrup: 1 tablespoon adds shine and helps the glaze set up; optional but recommended for professional-looking results.
- Vegetable oil: Enough for deep frying (about 2 to 3 quarts). Neutral oils with a high smoke point like canola, peanut, or vegetable oil work best.
Instructions
Prepare the frying oil and workstation: Fill a heavy-bottomed 2 to 3 quart saucepan a little over halfway with vegetable oil — you want enough to fully submerge the dough balls. Set up a plate lined with several sheets of paper towels and a cooling rack over another sheet of parchment for glazed bombs. Have a slotted spoon and a candy or deep-fry thermometer ready. Heat the oil to precisely 325°F and maintain this temperature throughout frying to ensure a golden exterior without overbrowning. Prepare the biscuit dough: Open the can of biscuits and separate each biscuit into the flakey layers by gently pulling apart at the center. Use your fingers or a rolling pin to gently flatten each layer into a small circle about 3 inches across — do not roll paper-thin; keep some loft so the dough puffs while frying. Fill and seal: Place roughly 1 tablespoon of cherry pie filling in the center of each dough circle. Fold the edges up and pinch tightly to seal. Then roll the sealed dough gently between your palms to form a smooth ball, tucking any seams under. A good seal prevents the filling from leaking and ensures even frying. Fry the bombs: Carefully lower 2 to 3 dough balls at a time into the oil using the slotted spoon; don’t overcrowd the pot. Maintain oil at 325°F. Turn the bombs periodically so all sides brown evenly and the interior heats through, about 4 to 6 minutes per batch until golden brown. Drain and cool: Remove bombs to the paper towel-lined plate to drain excess oil. Allow them to rest for a couple of minutes before glazing so they are hot but not sizzling — this helps the glaze adhere without dissolving completely. Make the glaze and coat: Whisk together 2 cups powdered sugar, 1/4 cup milk, and 1 tablespoon light corn syrup until smooth. Toss each warm bomb in the glaze to coat, lift to let excess drip off, then place on parchment or a wire rack to set. Allow glaze to firm about 10 minutes before serving; for a thicker coat, dip twice once the first layer sets.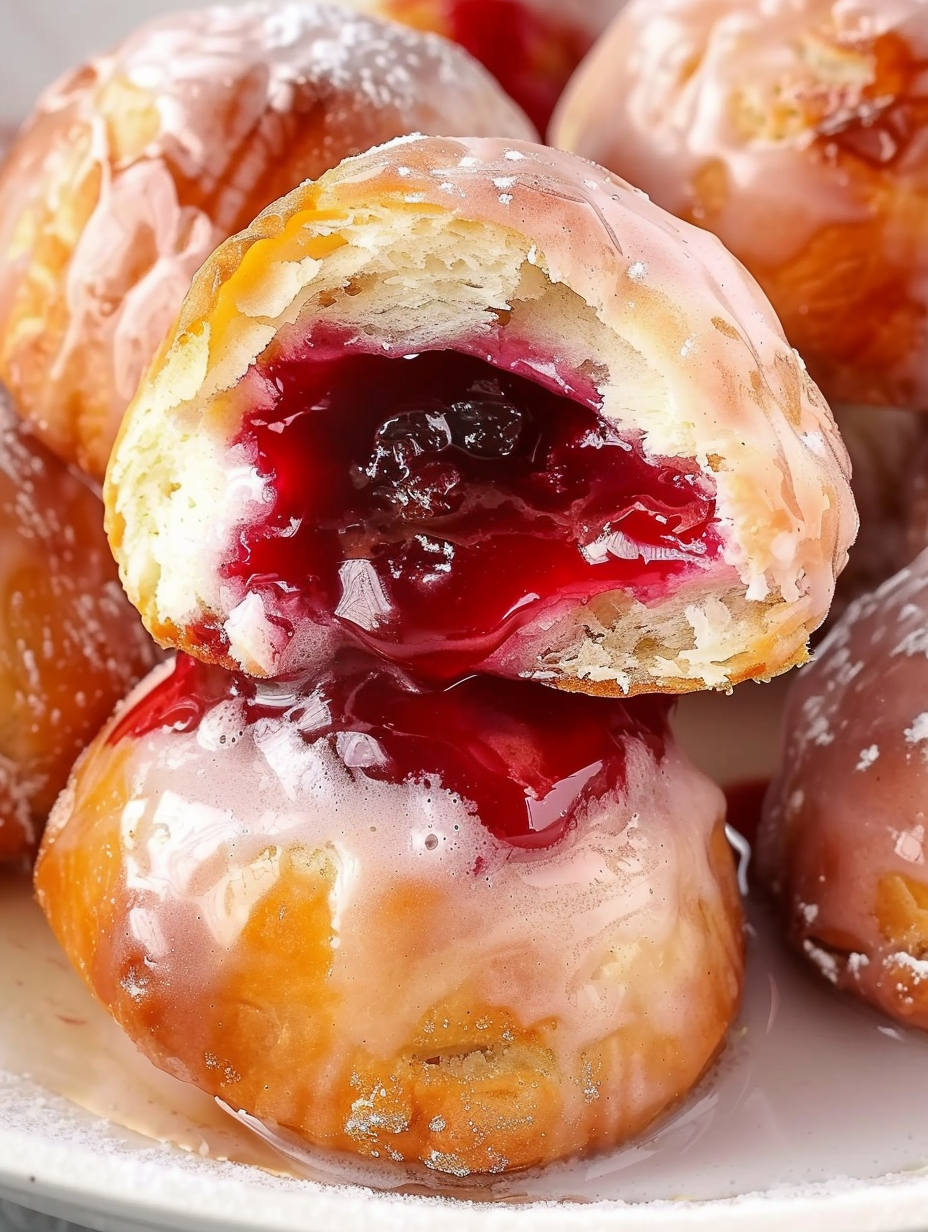
You Must Know
- These bite-sized treats are best eaten fresh; store in an airtight container at room temperature for up to 2 days or freeze assembled bombs for up to 3 months.
- Keep the oil temperature steady at 325°F to avoid a raw center or an overbrowned exterior; use a thermometer for accuracy and adjust heat as needed.
- If freezing, fry directly from frozen when ready — they will need an extra minute or two in the oil, and glaze as usual after frying.
- They are relatively high in fat and sugar, so enjoy as an occasional treat; a single bomb is roughly 190 calories depending on oil absorption and glaze thickness.
My favorite part of making these is watching how excited people get taking that first bite — kids especially love the little surprise of a warm cherry center. Over the years I’ve learned to seal the seams twice and keep batches small while frying. That small attention makes a big difference: fewer leaks, evenly browned surfaces, and perfectly jammy centers every time.
Storage Tips
For short-term storage, place cooled bombs in a single layer in an airtight container at room temperature for up to 48 hours. If glazed, place parchment between layers to prevent sticking. To freeze, assemble and flash-freeze on a tray until firm, then transfer to a freezer bag for up to 3 months. Fry straight from frozen; cooking time increases slightly. Reheat fried bombs in a 325°F oven for 5 to 7 minutes to refresh the exterior if needed, then re-glaze or dust with powdered sugar.
Ingredient Substitutions
If you prefer a different base, puff pastry or pre-made pie dough can replace biscuit dough — roll slightly thinner and expect a faster cook time; fry at 350°F for pie dough to get the interior cooked through. For a lower-sugar glaze, reduce powdered sugar and add more milk until the desired consistency is reached. Swap cherry pie filling with apple, blueberry, or a thick jam; for fresh fruit, macerate berries with a tablespoon of sugar and a squeeze of lemon and thicken briefly on the stove before filling.
Serving Suggestions
Serve warm with a dusting of extra powdered sugar, a scoop of vanilla ice cream, or a drizzle of chocolate sauce for a decadent touch. For brunch, place bombs on a platter with coffee and tea. For parties, arrange on tiered stands for a festive display and provide small tongs for easy serving. Garnish with a few fresh cherries or mint leaves for color contrast.
Cultural Background
These bombs are an American-inspired riff on classic fried dough and hand pies, combining the convenience of canned biscuits with the flavors of a fruit pie. Handheld filled pastries have roots in many cultures, from British turnovers to American deep-fried fair food. This modern version borrows the concept of quick convenience foods and elevates them with a made-from-scratch glaze and careful frying technique.
Seasonal Adaptations
In summer, use canned or fresh peach pie filling for a seasonal twist. During the holidays, swap filling for spiced cranberry-apple mixture and finish with a warm caramel glaze. For spring celebrations, lemon curd or rhubarb compote offers a bright, tangy alternative — just be sure to use a thicker filling so it stays contained during frying.
Meal Prep Tips
Assemble bombs up to the sealing step and freeze on a tray for easy frying later. Label the freezer bag with the date and fill used. When planning a party, fry in small batches and keep warm in a 200°F oven on a wire rack set over a sheet pan so they remain crisp. Make the glaze right before serving for the best shine and texture.
There’s joy in turning a full pie experience into a playful, shareable snack — they’re easy enough for a spontaneous dessert and special enough for company. Make the technique your own by experimenting with fillings and glazes, and enjoy the smiles these little pockets bring to the table.
Pro Tips
Use a candy thermometer to maintain the oil at 325°F for consistent browning and a fully cooked center.
Seal the dough seams tightly and roll the seam under the ball to prevent filling leaks while frying.
Fry in small batches and turn the bombs frequently for even color and cooking.
If the glaze starts to run off, let the bombs cool a minute longer so the surface sets slightly before dipping.
This nourishing cherry pie bombs recipe is sure to be a staple in your kitchen. Enjoy every moist, high protein slice — it is perfect for breakfast or as a wholesome snack any time.
FAQs about Recipes
Can I make these ahead and freeze them?
Yes, you can freeze assembled bombs on a tray then transfer to a freezer bag. Fry directly from frozen; expect a slightly longer cook time.
What temperature should the oil be and how many should I fry at once?
Keep the oil at 325°F and fry in small batches of 2 to 3 bombs to prevent overcrowding and uneven cooking.
How do I fix a glaze that is too thick?
If the glaze is too thick, whisk in a teaspoon of milk at a time until the desired consistency is reached. For a shinier glaze, add the optional corn syrup.
Tags
Cherry Pie Bombs
This Cherry Pie Bombs recipe makes perfectly juicy, tender, and flavorful steak every time! Serve with potatoes and a side salad for an unforgettable dinner in under 30 minutes.
Ingredients
Main
Glaze
Frying
Instructions
Prepare oil and tools
Fill a heavy-bottomed saucepan 1/2 to 2/3 full with oil, set up a paper towel-lined plate and cooling rack, and heat oil to 325°F using a candy thermometer.
Flatten biscuit layers
Open the biscuit can and separate the flakey layers. Flatten each layer gently into a circle about 3 inches across without rolling too thin.
Fill and seal
Place 1 tablespoon of cherry filling in the center of each dough circle, pinch the edges to seal, then roll into a smooth ball with seams tucked under.
Fry the bombs
Carefully lower 2 to 3 bombs at a time into oil at 325°F. Turn frequently so they brown evenly, about 4 to 6 minutes until golden on all sides.
Drain and cool
Transfer fried bombs to paper towels to drain excess oil and let rest briefly so they are still hot but not steaming before glazing.
Glaze and serve
Whisk powdered sugar, milk, and corn syrup until smooth. Toss warm bombs in glaze, lift to drain excess, and set on parchment to let glaze set about 10 minutes before serving.
Last Step: Please leave a rating and comment letting us know how you liked this recipe! This helps our business to thrive and continue providing free, high-quality recipes for you.
Nutrition
Did You Make This?
Leave a comment & rating below or tag
@savoryte on social media!
Categories:
You might also like...

Tilapia with Lemon Butter
Flaky pan-seared tilapia topped with a velvety lemon butter sauce. Quick to cook, bright with citrus, and weeknight-easy yet dinner-party special.

Healthy Egg Muffin Cups
Start your morning with veggie-loaded, protein-packed egg muffins at just 50 calories each. Perfect for make-ahead breakfasts, freezer-friendly, and easy to customize.

TikTok Breakfast Tortilla Fold
Crispy, cheesy, and ready in minutes, this viral tortilla fold layers bacon, egg, avocado, and melty cheese into a perfectly portable triangle.
Did You Make This?
Leave a comment & rating below or tag @savoryte on social media!
Rate This Recipe
Share This Recipe
Enjoyed this recipe? Share it with friends and family, and don't forget to leave a review!
Comments (1)
This recipe looks amazing! Can't wait to try it.
Comments are stored locally in your browser. Server comments are displayed alongside your local comments.

Hi, I'm Sophia!
What's Popular

30-Minute Meals!
Join to receive our email series which contains a round-up of some of our quick and easy family favorite recipes.