
>>

Simple, buttery cherry crumble bars with a tender shortbread base, bright cherry filling, and a snow white glaze. Minimal ingredients, maximum nostalgia.
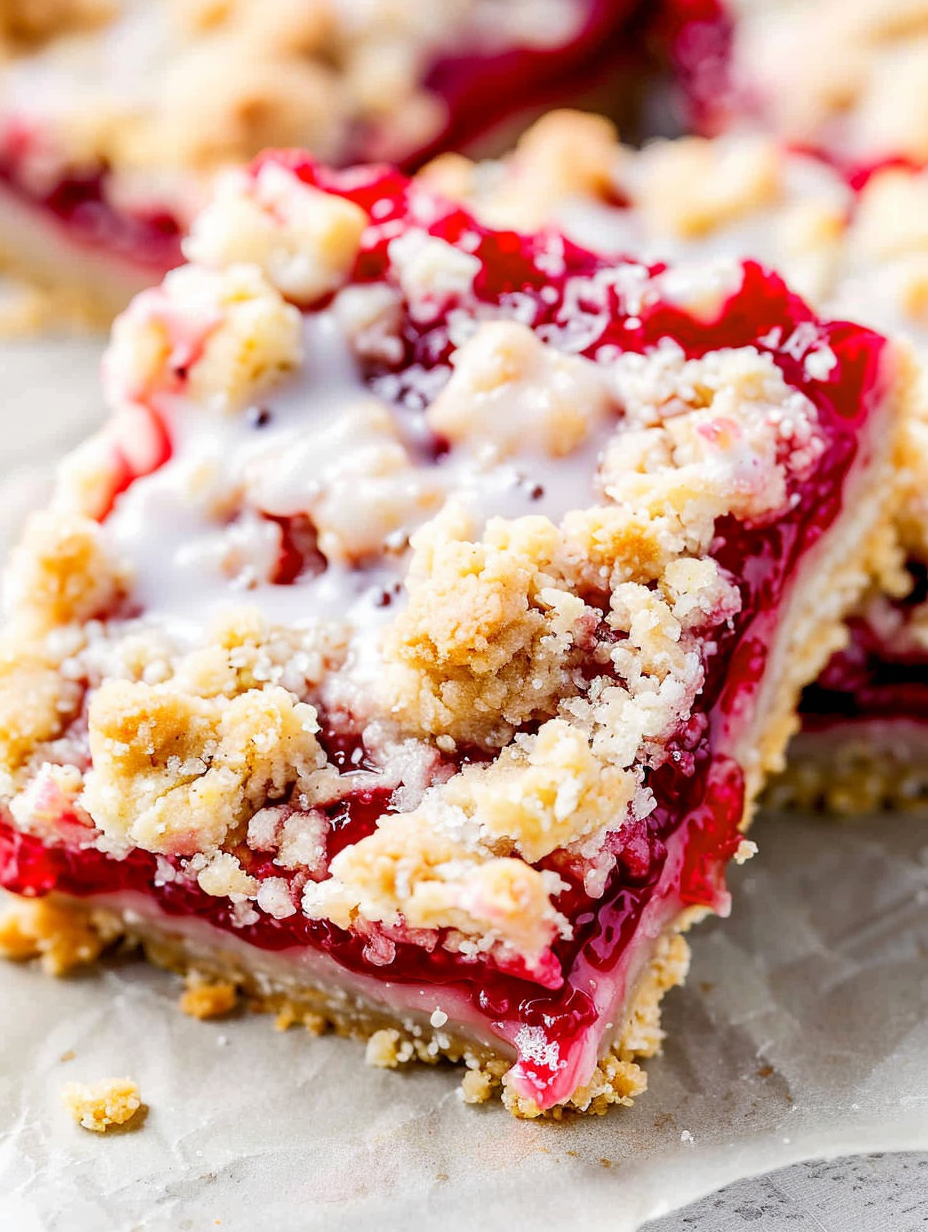
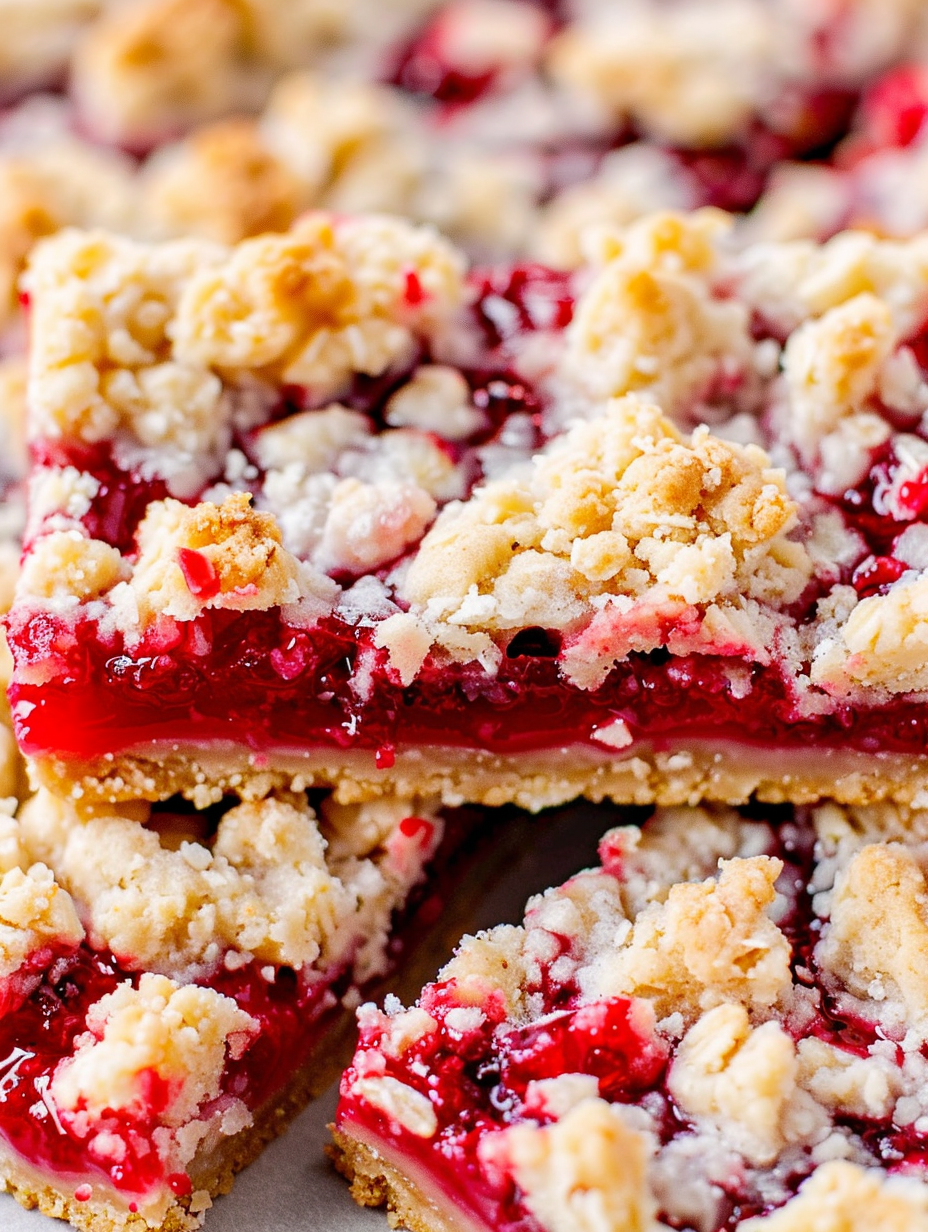
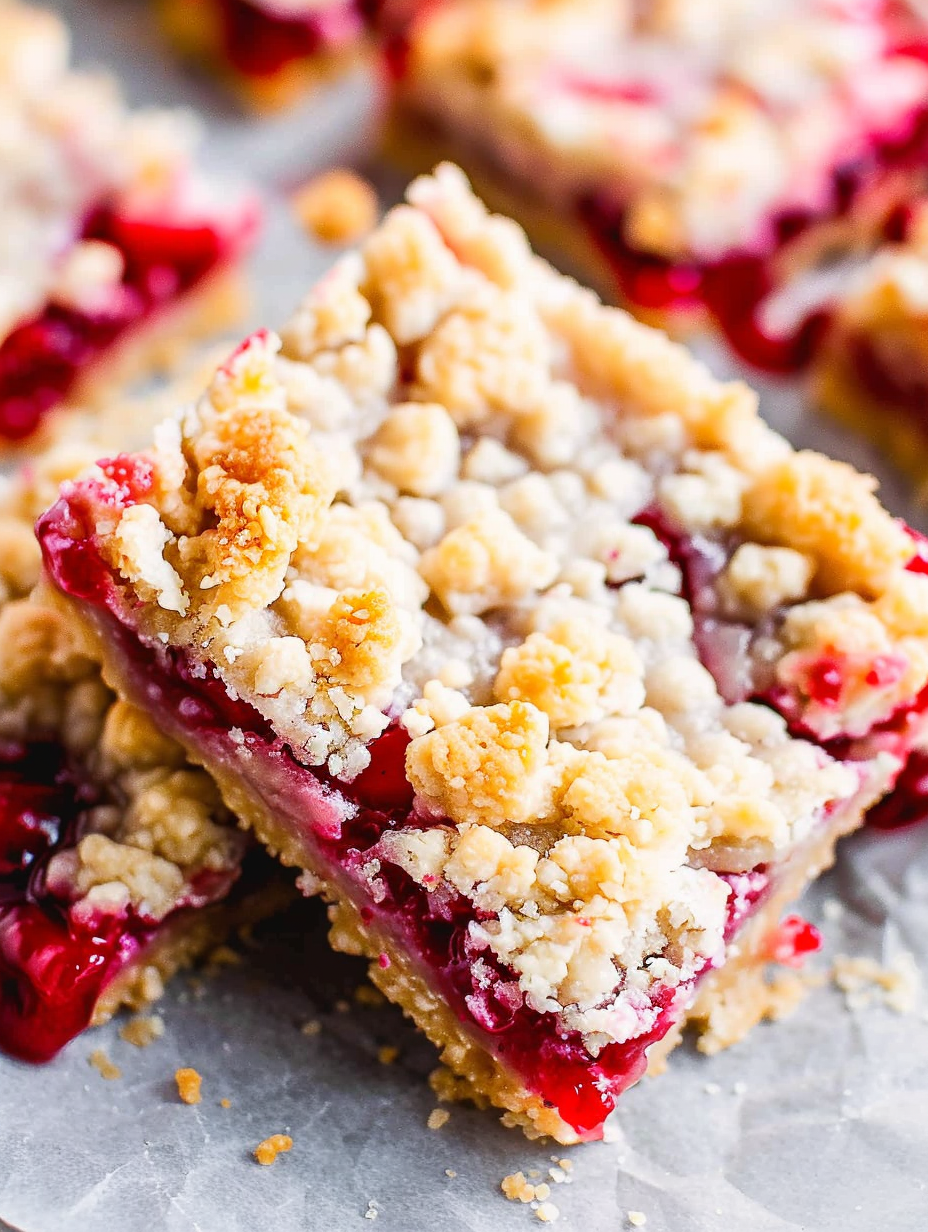
This cherry crumble bars recipe has been a go to when I want a dessert that feels nostalgic but comes together without fuss. I first stumbled across this combination the summer I inherited my grandmother's jelly roll pan and a half empty pantry. The bright jars of canned filling and a few staple baking ingredients turned into a tray of bars that disappeared before the coffee finished brewing. The base is a tender shortbread like dough that bakes to a pale gold. The cherry pie filling adds a glossy, jammy center with bursts of preserved fruit. The crumble on top gives texture contrast while a simple vanilla glaze ties the flavors together.
I make these when friends drop by unexpectedly, and I always keep a couple of cans of cherry filling in the pantry just in case. The bars slice neatly after a short cooling time and travel well for potlucks. They balance sweet and tart, with a buttery richness that is comforting without being heavy. Every time I bring a pan to a neighbor or pack one for a school event I am reminded how small, simple things can create big smiles.
I remember serving these at an impromptu book club where everyone asked for the recipe. My sister said they tasted like an upgraded pop tart but with grown up flavor. In my kitchen they became our weekend ritual, and each batch taught a little more about oven timing and how light golden edges signal readiness.
My favorite part is how the simple glaze makes the bars look festive without extra effort. At a recent family picnic my aunt told me they reminded her of a bakery she loved as a child. Little details like baking until the crumble is only lightly golden and using room temperature butter changed the texture from good to memorable. Those small technique choices make a large difference in the final result.
Store cooled bars in an airtight container at room temperature for up to 24 hours then move to the refrigerator for up to five days. To freeze, wrap individual bars tightly in plastic wrap then place them in a freezer safe zipper bag and remove excess air. Label with date and freeze for up to three months. Reheat gently in a 300 degree Fahrenheit oven for 5 to 8 minutes from thawed to refresh the crumbs. Avoid microwaving for long periods because it can make the crust chewy.
If you need dairy free swaps use a plant based butter with a firm block texture for similar handling. Replace the egg with a flax egg made of one tablespoon ground flaxseed mixed with three tablespoons water, though the texture will be slightly denser. For a lower sugar option choose a no sugar added cherry filling and reduce the icing sugar to taste. Gluten free all purpose blends work well but expect a slightly more fragile crumb. Adjustments affect handling so press the base gently when substituting.
Serve these bars warm with a scoop of vanilla ice cream or dollop of softly whipped cream for an elevated dessert. For a lighter finish pair with a citrus salad of segmented oranges and mint. Garnish with finely grated lemon zest or a few fresh cherries when available. They fit boxed lunches, coffee breaks, or a dessert platter. Slice into smaller squares for bite size portions at parties or leave them larger for dessert plates.
Fruit filled bars are part of an American tradition of portable desserts that blend open top pies and cookie bars. Using canned pie filling became popular in the mid twentieth century when convenience products expanded home baking options. Cherry filling offers a bright contrast to the butter rich base and recalls classic pie flavors while the bar format makes them easier to slice and share. Regional variations swap fillings to match seasonal produce or local preserves.
Switch the cherry filling for blueberry or apple pie filling in cooler months. In summer use a fresh cherry compote thickened with a small amount of cornstarch if you prefer fresh fruit. Add a pinch of cinnamon and nutmeg for autumn. For the holidays fold in a tablespoon of almond extract to the base to echo marzipan flavors. Small changes to fruit and spice make the bars suitable for every season.
These bars are ideal for meal prep because they keep well and portion easily. Bake a pan on Sunday and slice into 12 bars to pack into lunches or snack boxes through the week. Store separated with parchment between layers to avoid sticking. If you need single serve reheats, wrap bars individually and warm in a toaster oven for a quick fresh bite. The glaze holds up well for a few days so you can ice before serving.
Bring these bars to gatherings and notice how quickly they disappear. The buttery base and bright cherry filling are crowd pleasing without being fussy. I hope you enjoy baking and sharing them as much as I do. Make the recipe your own with small tweaks and remember the joy is in the sharing.
Press half the dough firmly into the pan to create an even base and prevent a soggy bottom.
Use room temperature butter for easiest mixing and a tender, even crumb.
Parbake the base so the filling does not make the bottom dough wet and underbaked.
Allow bars to cool before glazing so the icing remains on the surface and does not run into the filling.
This nourishing cherry crumble bars recipe is sure to be a staple in your kitchen. Enjoy every moist, high protein slice — it is perfect for breakfast or as a wholesome snack any time.
This Cherry Crumble Bars recipe makes perfectly juicy, tender, and flavorful steak every time! Serve with potatoes and a side salad for an unforgettable dinner in under 30 minutes.
Preheat oven to 350 degrees Fahrenheit. Line a jelly roll pan with parchment leaving an overhang or spray with non stick spray. Proper lining allows easy removal and cleaner slicing.
Whisk together flour, granulated sugar, baking powder and salt in a large bowl to evenly distribute leavening and salt. This prevents pockets of baking powder and ensures uniform texture.
Beat in cubed room temperature butter in 4 to 5 additions using an electric mixer or pastry cutter until the mixture looks like coarse crumbs with some pea sized pieces.
Add the large egg and vanilla extract and mix until the dough holds together but remains slightly crumbly. If needed add one teaspoon of milk to help combine.
Press half the dough evenly into the prepared pan using the bottom of a measuring cup to smooth. Bake for 12 to 15 minutes until lightly golden and set to avoid a soggy bottom.
Spread both cans of cherry pie filling in an even layer over the warm crust. Crumble remaining dough over the cherries until mostly covered, leaving a few fruit peeks.
Bake for 30 to 40 minutes until the top is a light golden color and the filling bubbles slightly at the edges. Monitor during the last ten minutes to prevent over browning.
While baking whisk powdered sugar with one tablespoon milk and vanilla until pourable. Cool bars 20 minutes, drizzle glaze, allow to set 15 minutes then slice into 12 bars.
Last Step: Please leave a rating and comment letting us know how you liked this recipe! This helps our business to thrive and continue providing free, high-quality recipes for you.
Leave a comment & rating below or tag
@savoryte on social media!

Flaky pan-seared tilapia topped with a velvety lemon butter sauce. Quick to cook, bright with citrus, and weeknight-easy yet dinner-party special.

Start your morning with veggie-loaded, protein-packed egg muffins at just 50 calories each. Perfect for make-ahead breakfasts, freezer-friendly, and easy to customize.

Crispy, cheesy, and ready in minutes, this viral tortilla fold layers bacon, egg, avocado, and melty cheese into a perfectly portable triangle.
Leave a comment & rating below or tag @savoryte on social media!
Enjoyed this recipe? Share it with friends and family, and don't forget to leave a review!
This recipe looks amazing! Can't wait to try it.
Comments are stored locally in your browser. Server comments are displayed alongside your local comments.

Join to receive our email series which contains a round-up of some of our quick and easy family favorite recipes.
