
>>

Bite-sized cherry cheesecake cups made with soft sugar cookie shells, whipped cream cheese filling, and bright cherry topping—perfect for parties and quick desserts.
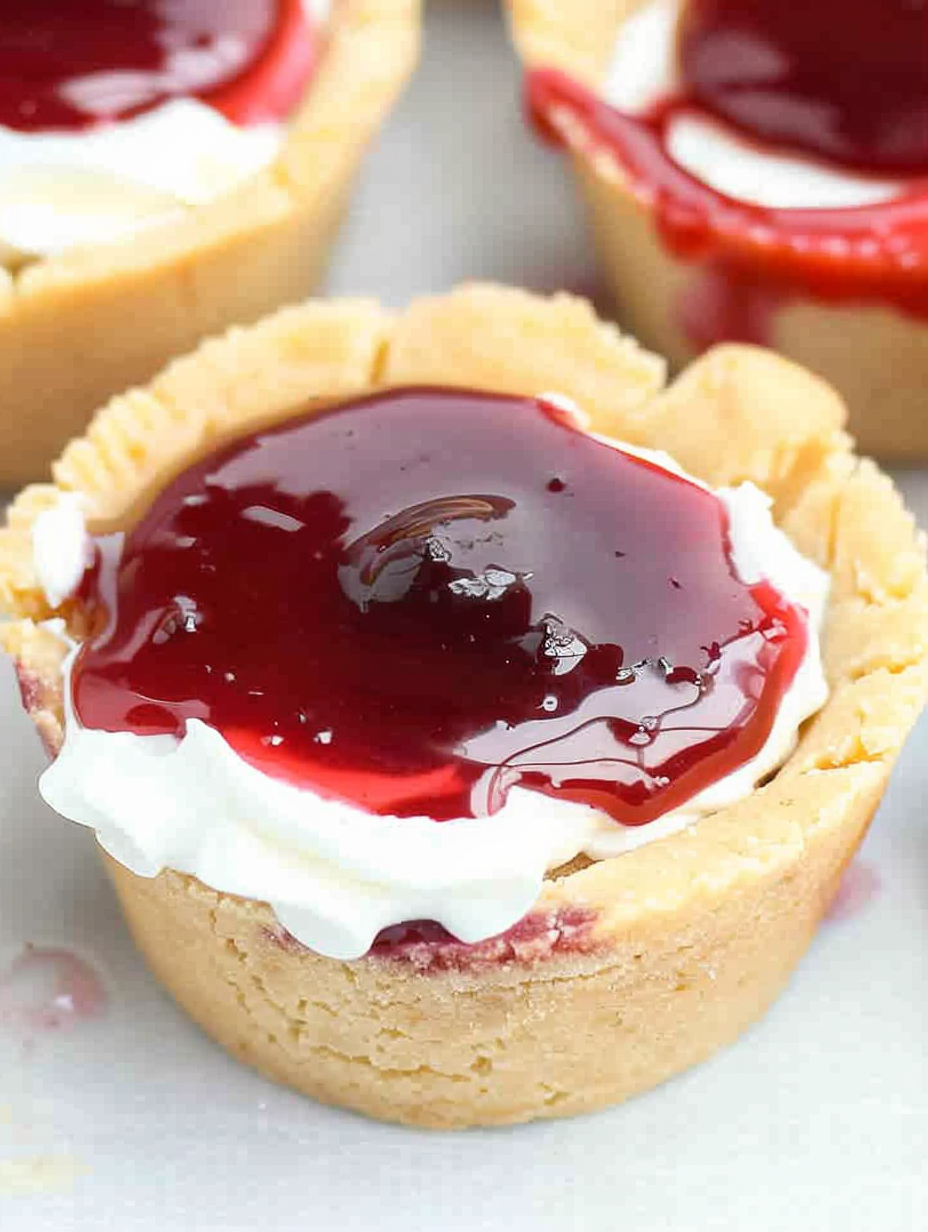
This Cherry Cheesecake Cookie Cups recipe started as a quick solution for an impromptu potluck and has since become my go-to when I need an impressive but easy dessert. I first discovered the combination of a soft sugar-cookie shell filled with a light cream cheese filling and crowned with bright cherry pie filling on a busy holiday afternoon. The sweetness of the cookie contrasts with the tangy cream cheese while the cherries add a glossy pop of color and a burst of fruit flavor. They are small, portable, and satisfyingly rich without feeling heavy.
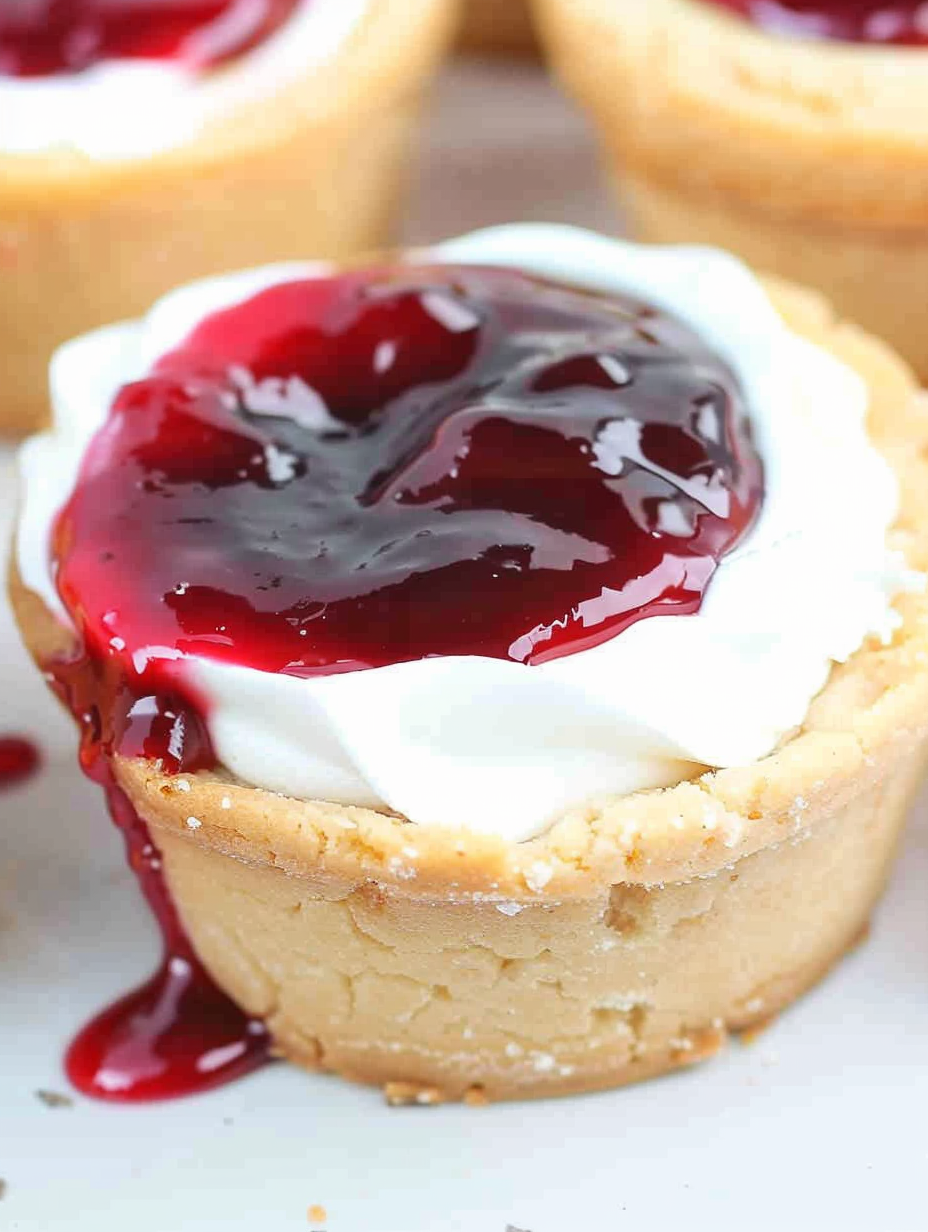
What makes these special is how forgiving the method is: use a refrigerated package of sugar cookie dough for speed, or make the dough from scratch and chill briefly for a slightly fresher, buttery shell. The texture is important—the shell should be crisp on the edges and tender at the base, holding a cool and creamy center that melts on the tongue. I love serving these at backyard gatherings where they disappear first; they are a reliable crowd-pleaser that even picky kids will reach for.
I first made these the weekend my sister moved into her new house; the recipe saved the day when plans changed and fifteen people showed up hungry. Everyone loved the bright cherry notes and the light cream filling. My mother asked for the recipe within minutes, and it has been a requested staple ever since—simple, fast, and reliably delicious.
Let the assembled cups chill for at least 30 minutes before serving to allow the filling to firm up and the flavors to meld. If making ahead, store uncovered in the refrigerator for up to 24 hours and add sprinkles just before serving.
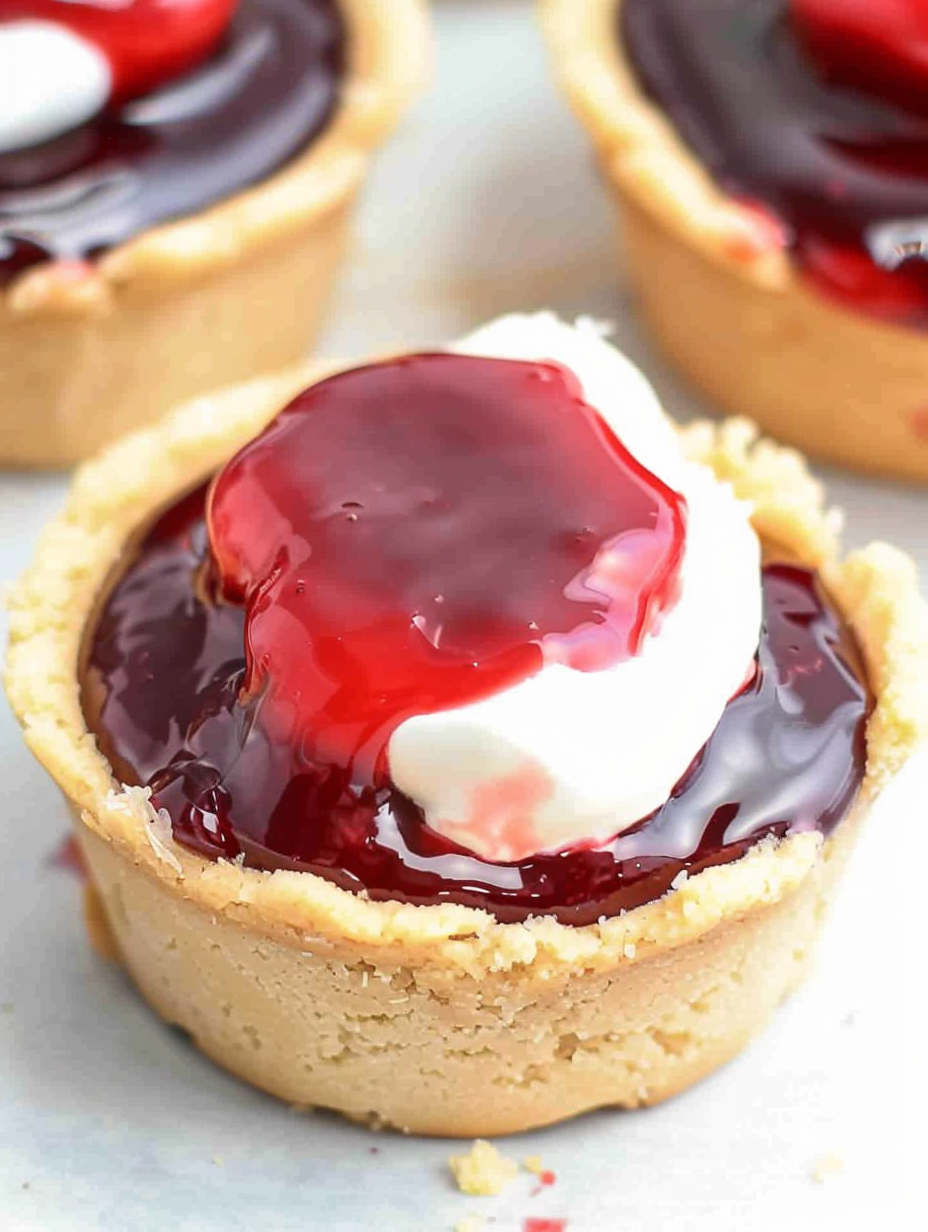
My favorite aspect is how quickly these transform from pantry ingredients into a dessert that looks like you spent hours on it. The first time I served them at a neighbor’s birthday, everyone assumed they were bakery-made; the contrast between the soft cookie shell and the cool, creamy center is what consistently earns compliments. They’re a small pleasure that feels elegant but is truly effortless.
Store assembled cups in an airtight container in the refrigerator for up to 48 hours; beyond that the cookie shells begin to absorb moisture from the filling and lose their crispness. For longer storage, bake and cool the cookie cups, then freeze them in a single layer on a baking sheet until solid before transferring to a freezer-safe bag—this prevents sticking. Thaw frozen cups at room temperature for 10–15 minutes before filling. If you want to fully prepare ahead, fill them and freeze; note that the texture of the cherries and filling will change slightly after freezing, so best results come from filling after thawing.
If you need dairy-free options, substitute a plant-based cream cheese and coconut-based whipped topping; expect a subtle coconut note. To make this gluten-free, use a certified gluten-free sugar cookie dough or make a GF dough with a one-to-one gluten-free flour blend; bake times may vary. For a lower-sugar version, choose a reduced-sugar cherry topping or fresh cherries macerated with a touch of maple syrup. Egg-free cookie dough can be found in some stores or made with flax egg in the from-scratch dough, though texture will be slightly different.
Serve these on a tiered platter for a party or in small cupcake liners for easy handling. Garnish with a mint leaf for color contrast or a light dusting of powdered sugar for a refined look. Pair with coffee or a light dessert wine; they are also a delightful finish to a summer barbecue. For an indulgent variation, drizzle a little warmed dark chocolate over the cherries just before serving.
These bite-sized cups blend two classic American desserts: the sugar cookie and the no-bake cream cheese filling inspired by traditional cheesecake. Miniature, portable desserts like these are a staple of American potlucks and holiday trays—small sweets that allow guests to sample many flavors. The cherry topping evokes the classic cherry-topped cheesecake, reimagined as a handheld treat.
In summer, swap canned pie filling for fresh macerated cherries or mixed berries with a simple syrup. During the holidays, use cranberry-orange sauce or salted caramel with chopped toasted pecans. For spring, lemon curd and a few toasted almond flakes create a bright, nutty alternative. These swaps keep the method the same while letting you celebrate seasonal produce.
Make the cookie shells and keep them in an airtight container for up to 3 days while you prepare the filling on the day of serving. The filling can be mixed the evening before and refrigerated; fold the whipped topping in just before assembly to keep it airy. Pack assembled cups in stacked, vented containers with parchment between layers for easy transport to parties.
These cups are small enough to be portable, but big on flavor—encourage experimenting with toppings and make the recipe your own. Enjoy sharing them with friends and family.
Before you bake, set out your cream cheese to soften and pre-measure your ingredients; that small step speeds the whole process and ensures smooth filling. Happy baking!
Soften the cream cheese to room temperature for a lump-free filling and mix on low to avoid over-whipping.
Press dough evenly into the tin to avoid thin spots that burn or thick bases that stay raw.
Chill filled cups for at least 30 minutes so the filling firms and is easier to serve.
If using store dough, lightly flour your fingers to prevent sticking when shaping the cups.
This nourishing cherry cheesecake cookie cups recipe is sure to be a staple in your kitchen. Enjoy every moist, high protein slice — it is perfect for breakfast or as a wholesome snack any time.
Yes. You can freeze the baked, unfilled cups for up to 3 months. Thaw before filling.
Use 1 can (about 21 oz) of cherry pie filling; plan 1 tablespoon per cup.
This Cherry Cheesecake Cookie Cups recipe makes perfectly juicy, tender, and flavorful steak every time! Serve with potatoes and a side salad for an unforgettable dinner in under 30 minutes.
Preheat oven to 350°F and grease a 12-cup muffin tin thoroughly so cookie cups release cleanly after baking.
Press 1–2 tablespoons of sugar cookie dough into each indentation, pushing up the sides to form a cup shape with an even thickness.
Bake at 350°F for 8–12 minutes until the edges are lightly golden; rotate pan halfway for even baking.
Allow cups to cool in the tin for 10–15 minutes, then run a knife around each and transfer to a cooling rack to cool completely.
Beat 8 ounces softened cream cheese, 1 teaspoon vanilla, and 1 cup whipped topping until smooth; avoid over-mixing.
Spoon 1–2 tablespoons filling into each cup, top with about 1 tablespoon cherry pie filling, garnish if desired, and chill for at least 30 minutes.
Last Step: Please leave a rating and comment letting us know how you liked this recipe! This helps our business to thrive and continue providing free, high-quality recipes for you.
Leave a comment & rating below or tag
@savoryte on social media!

Flaky pan-seared tilapia topped with a velvety lemon butter sauce. Quick to cook, bright with citrus, and weeknight-easy yet dinner-party special.

Start your morning with veggie-loaded, protein-packed egg muffins at just 50 calories each. Perfect for make-ahead breakfasts, freezer-friendly, and easy to customize.

Crispy, cheesy, and ready in minutes, this viral tortilla fold layers bacon, egg, avocado, and melty cheese into a perfectly portable triangle.
Leave a comment & rating below or tag @savoryte on social media!
Enjoyed this recipe? Share it with friends and family, and don't forget to leave a review!
This recipe looks amazing! Can't wait to try it.
Comments are stored locally in your browser. Server comments are displayed alongside your local comments.

Join to receive our email series which contains a round-up of some of our quick and easy family favorite recipes.
