
>>

For the serious caramel lover, these soft and chewy oatmeal bars are layered with gooey caramel and melted chocolate in an easy one bowl, no mixer method.
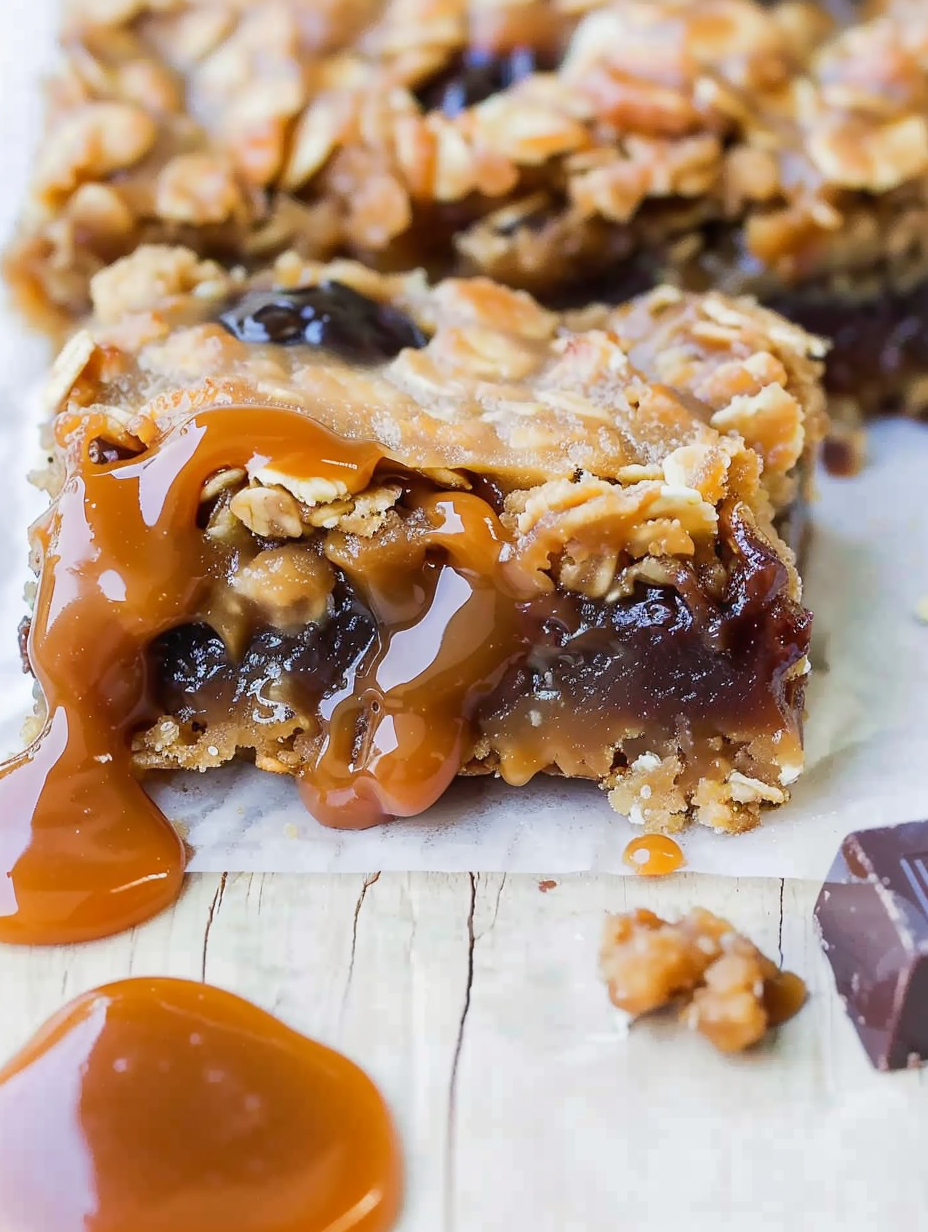
This is the kind of caramel bar that stops conversation at the table and sends everyone back for a second piece. I fell for these the first winter I tried them while experimenting with pantry staples and a stash of soft caramels. The result was a chewy, buttery oat base topped with a sea of glossy caramel and a layer of melty chocolate that becomes irresistible as it cools. The texture is soft and chewy with a slightly crisp edge and a molten center that firms to a sliceable bar after a long cool down. These bars make any gathering feel indulgent yet completely homey.
They are special because they are foolproof and forgiving. No mixer is required and the whole base comes together in one bowl, which is how I like baking on weeknights when I want something impressive without fuss. My family calls them caramelitas and they appear at potlucks, holiday trays, and after school snack plates. When stored properly they keep well and can be frozen in portions that thaw to near fresh out of the pan perfection. Trust me when I say the chocolate drizzle and the way the caramel pulls when you lift a bite will make you smile.
I first made these on a rainy afternoon when I had a few bags of caramels in the pantry. The family reaction was instant and unanimous approval. Over time I learned small adjustments like the exact bake time and the best caramels to use which improved texture and slicing ease. These remain a top request from friends and family when I ask what they want for birthdays and school events.
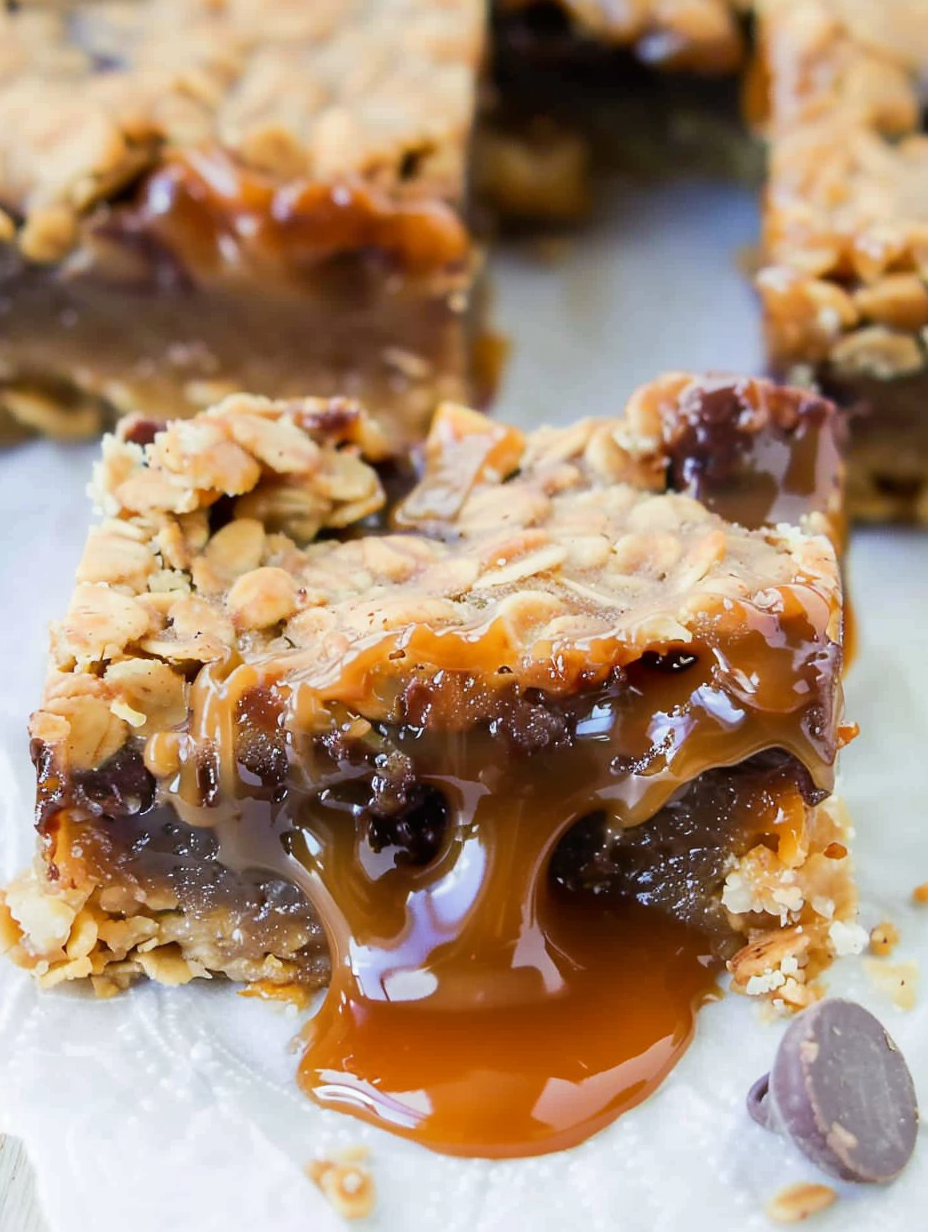
My favorite aspect of making these is the way the chocolate responds to the warm caramel. When I first poured the sauce over the chips the chocolate blooms into little islands that become irresistibly glossy as the pan bakes. Family members will hover by the counter while the pan cools and ask to lick any drips left in the bowl. That warmth and shared anticipation is exactly why I keep this formula in my baking rotation.
Store cooled bars in an airtight container at room temperature for up to one week. If you need to keep them longer arrange bars in single layers separated by parchment in a freezer safe container and freeze for up to four months. To thaw remove desired number of bars to the refrigerator for a few hours then bring to room temperature before serving so the caramel softens without becoming runny. Reheat individual bars briefly in a warm oven if you want a freshly melted center. Avoid storing uncovered in the refrigerator because the cold can overly harden the caramel and dull the chocolate flourish.
If you cannot find soft wrapped caramels use caramel bits or chopped baking caramels and add a splash of heavy cream to reach the same pourable texture. For a lighter version substitute half the butter with vegetable oil though the texture will be slightly less tender. Use gluten free all purpose flour and certified gluten free oats to make a gluten free version. To reduce sweetness try semi sweet or bittersweet chocolate in place of the semi sweet chips. Note that changing the fat to a non dairy option will alter the caramel behavior so avoid that swap if you want a classic set.
Serve bars at room temperature with a small scoop of vanilla ice cream for a decadent dessert or pair with strong coffee for an afternoon pick me up. Garnish with a light dusting of flaky sea salt for a sophisticated contrast or press chopped toasted pecans onto the crumb top before baking for a textural lift. These bars also travel well on dessert trays and make thoughtful homemade gifts when wrapped in waxed paper and tied with string.
Bars made with oats caramel and chocolate have roots in American baking traditions that favor portable tray style desserts. This combination echoes the classic gooey bar family which includes blondies and layered oat squares. Caramels became widely used in home baking when individually wrapped candies became affordable and easily available. Today this layered format has many regional variations and always represents a cozy approachable indulgence in home kitchens.
In autumn add a teaspoon of ground cinnamon and a pinch of ground nutmeg to the base for cozy spice. For the holidays fold in dried cherries to the chocolate layer or press chopped roasted hazelnuts into the crumb for a festive touch. In summer serve slightly chilled with fresh berries on the side. For a citrus twist add a teaspoon of orange zest to the caramel while melting for a bright counterpoint to the deep caramel notes.
To make ahead prepare bars fully then wrap the cooled pan in foil and store in the refrigerator overnight. Slice the next day for neater edges. For portioned gifting cut bars to size then wrap each piece in parchment and store in a single layer in a box. When freezing wrap each layer in plastic wrap before placing in a freezer safe container. Label with date and use within four months for best flavor. Thaw at room temperature for maximum chewiness.
These bars are simple to adapt and always invite conversation. Make them your own and share with people you love.
Use soft wrapped caramels labeled for baking for the smoothest melted caramel sauce
Allow bars to cool completely at room temperature for the cleanest slices
Line the pan with foil and spray it to make removal and slicing simple
If caramel is too thick add one tablespoon heavy cream at a time until it pours
This nourishing carmelitas recipe is sure to be a staple in your kitchen. Enjoy every moist, high protein slice — it is perfect for breakfast or as a wholesome snack any time.
This Carmelitas recipe makes perfectly juicy, tender, and flavorful steak every time! Serve with potatoes and a side salad for an unforgettable dinner in under 30 minutes.
Preheat oven to three hundred fifty degrees Fahrenheit. Line an eight by eight inch pan with aluminum foil and spray with cooking spray then set aside.
In a large microwave safe bowl melt the butter about ninety seconds then whisk in three quarters cup packed light brown sugar and one tablespoon vanilla until smooth.
Stir in one cup flour one cup rolled oats one teaspoon baking soda and half teaspoon salt until the mixture is thick and holds together when pressed.
Press half of the oat mixture evenly into the prepared pan smoothing the top then bake for ten minutes to set the base.
Combine thirty five unwrapped caramels with half cup heavy cream and a pinch of salt in a microwave safe bowl. Heat in sixty second bursts stirring after each until smooth, about four to five minutes. Alternatively heat gently in a saucepan over low heat stirring constantly.
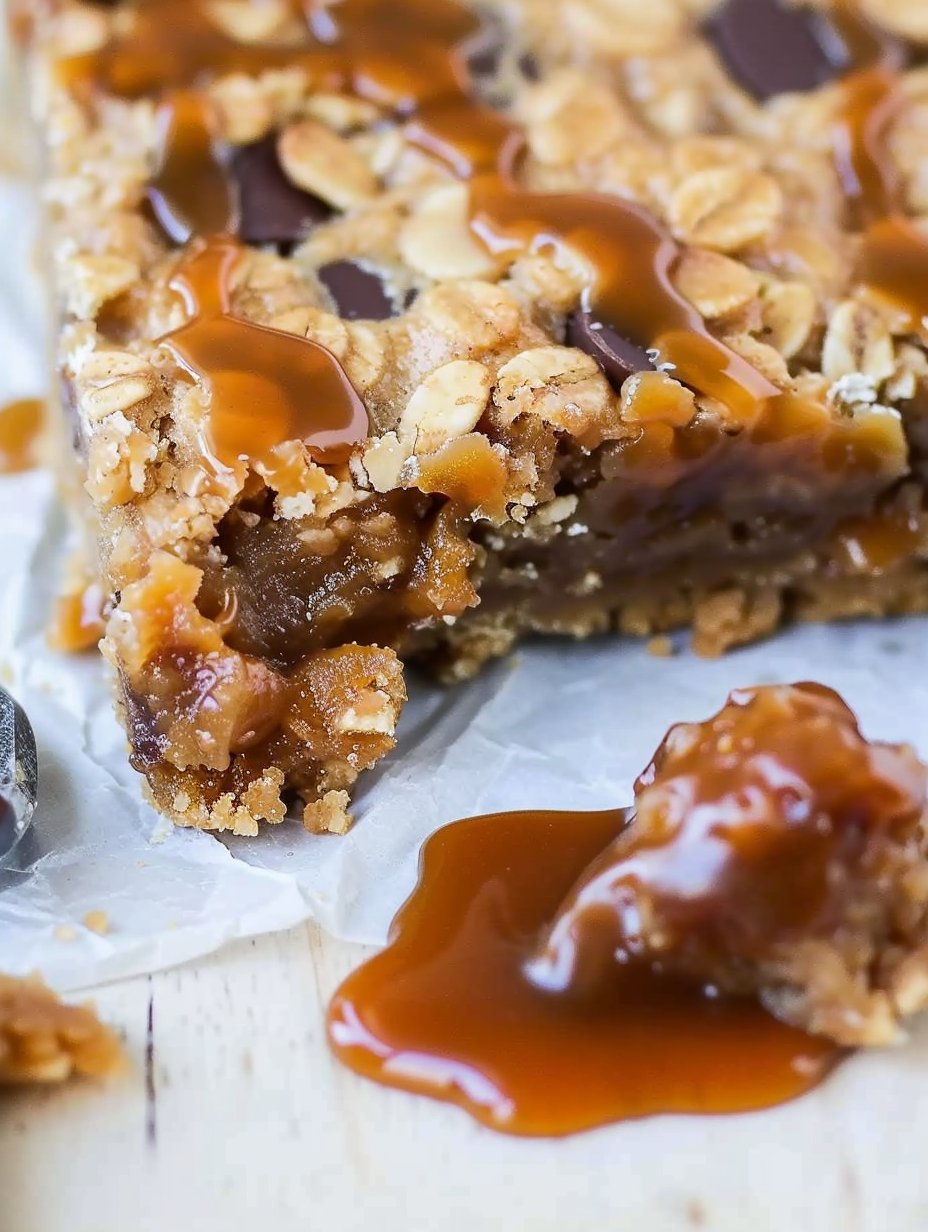
After the base bakes sprinkle one cup chocolate evenly over it. Slowly pour the warm caramel sauce over the chocolate then crumble the reserved oat mixture on top. Return to oven and bake fifteen to eighteen minutes until edges are lightly browned and center bubbles slightly.
Allow bars to cool in the pan at room temperature for up to four hours or overnight to let the caramel firm. For quicker cooling place the pan in the refrigerator covered to avoid odors. Slice after cooling for clean pieces.
Last Step: Please leave a rating and comment letting us know how you liked this recipe! This helps our business to thrive and continue providing free, high-quality recipes for you.
Leave a comment & rating below or tag
@savoryte on social media!

Flaky pan-seared tilapia topped with a velvety lemon butter sauce. Quick to cook, bright with citrus, and weeknight-easy yet dinner-party special.

Start your morning with veggie-loaded, protein-packed egg muffins at just 50 calories each. Perfect for make-ahead breakfasts, freezer-friendly, and easy to customize.

Crispy, cheesy, and ready in minutes, this viral tortilla fold layers bacon, egg, avocado, and melty cheese into a perfectly portable triangle.
Leave a comment & rating below or tag @savoryte on social media!
Enjoyed this recipe? Share it with friends and family, and don't forget to leave a review!
This recipe looks amazing! Can't wait to try it.
Comments are stored locally in your browser. Server comments are displayed alongside your local comments.

Join to receive our email series which contains a round-up of some of our quick and easy family favorite recipes.
