
>>

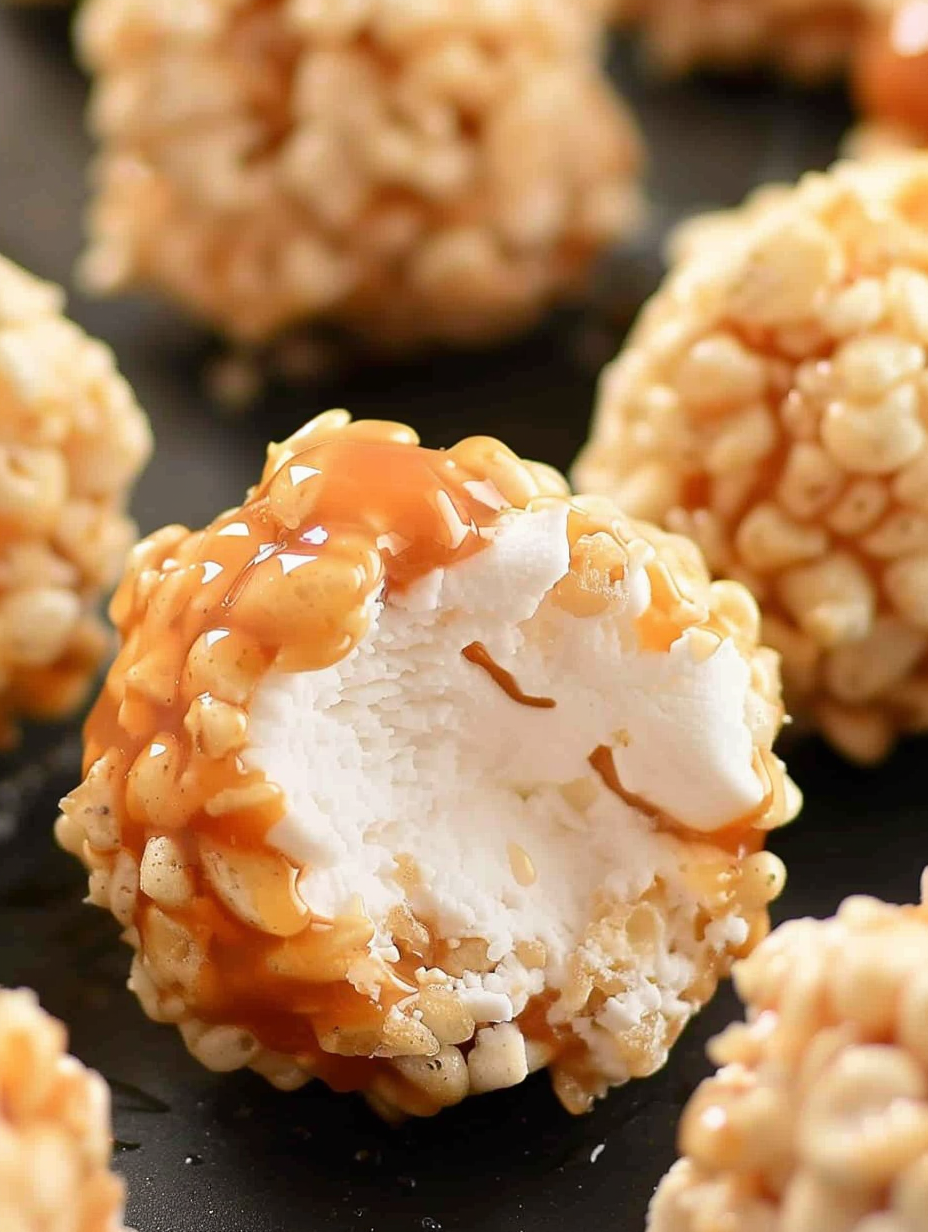
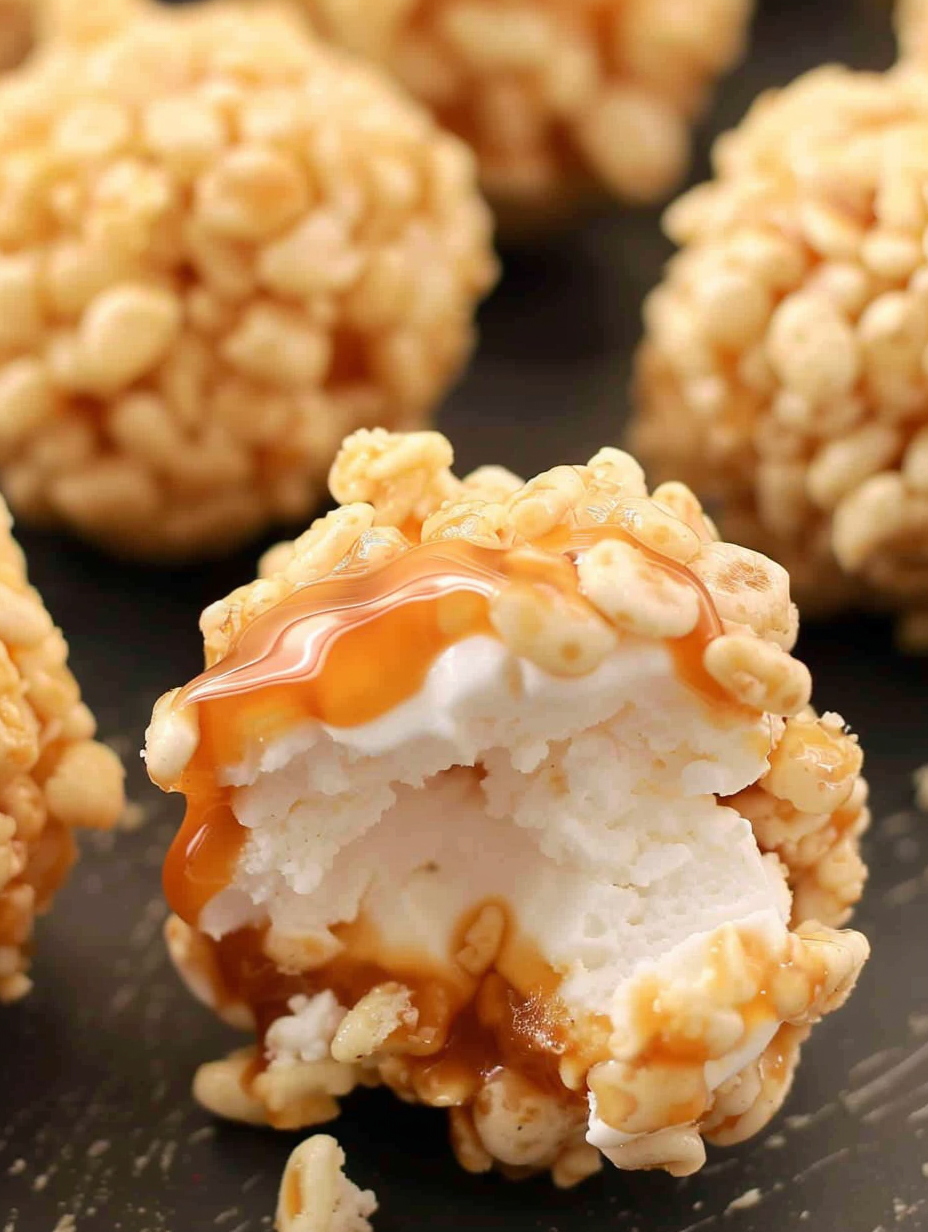
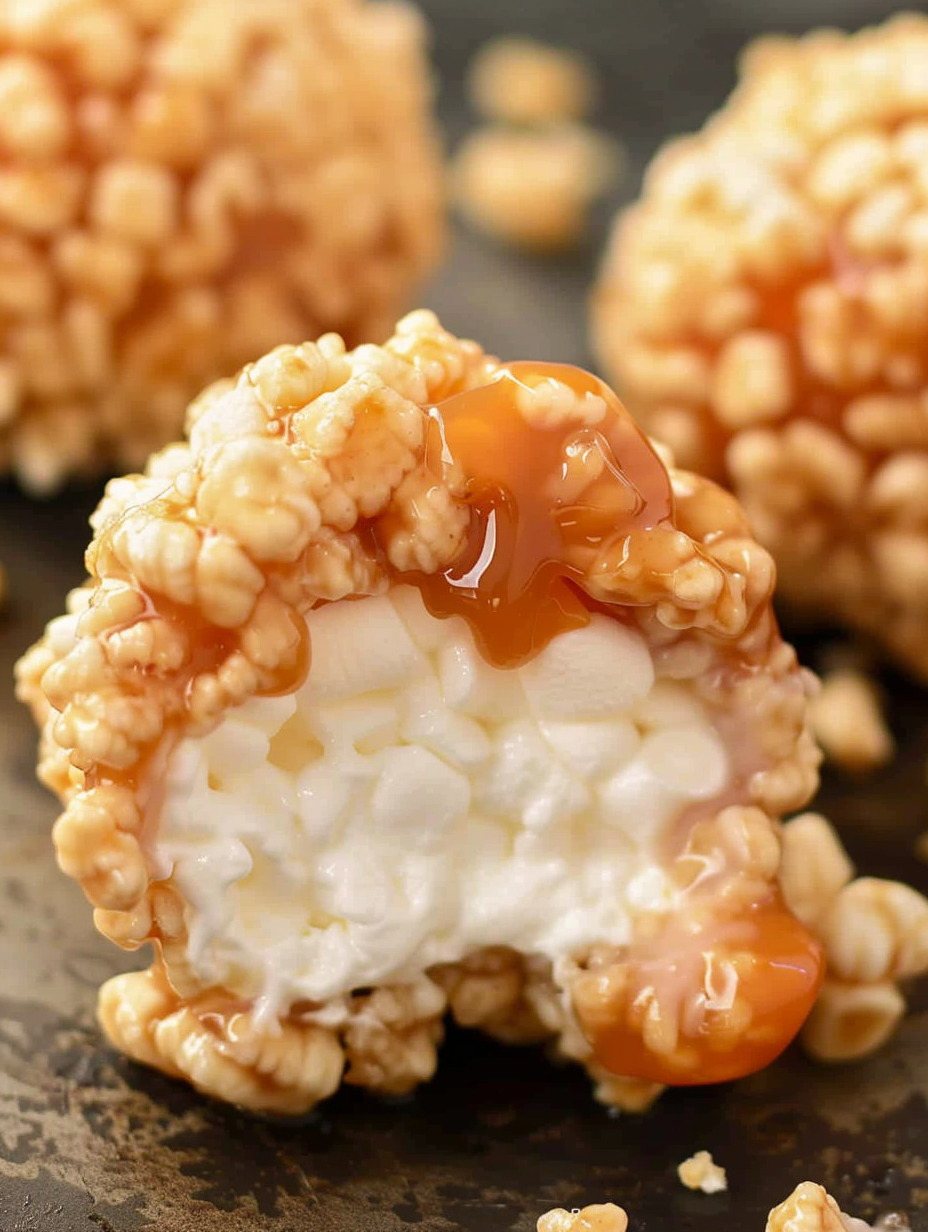
Sticky caramel-coated marshmallows rolled in crunchy Rice Krispies — a playful, gift-worthy treat that's easy enough for the whole family to make.
I first learned this method from a neighbor who made them each holiday season. Her trick was to use a toothpick so the marshmallow stayed intact while dipping, and that little habit changed everything for my family: presentation is neater and the texture stays pillowy inside. After sharing batches with teachers and friends, I’ve honed the timing and found the best brands and equipment to keep the process stress-free.
My favorite thing about this sweet is how it transforms ordinary ingredients into something gift-worthy. One year I packaged them in cellophane bags tied with twine and handed them out to teachers; the reaction was priceless. The method is forgiving, so you can scale easily for parties or small batches for weeknight fun.
Store the finished pieces in a single layer or separated by parchment to prevent sticking. An airtight container in the refrigerator keeps them fresh for up to seven days; for longer storage, freeze in a single layer on a tray until solid, then transfer to a freezer bag for up to three months. Thaw overnight in the refrigerator or for an hour at room temperature before serving to restore chewiness. Avoid leaving them at room temperature for extended periods in warm weather, as the caramel can become overly soft.
Want to adapt? Use chocolate caramels or butterscotch for a flavor twist, or substitute coconut condensed milk for a dairy-free version (note texture differences). Swap Rice Krispies for gluten-free crisp rice cereal to accommodate gluten sensitivities. For a vegetarian option, replace marshmallows with gelatin-free vegan marshmallows and use plant-based butter and condensed milk alternatives; expect slightly different setting and chewiness.
Arrange on a platter dusted with powdered sugar or drizzle with melted dark chocolate for contrast. They pair beautifully with coffee or a cup of hot cocoa for cozy gatherings. For parties, serve on tiers or in mini cupcake liners for easy pickup. They’re also lovely tucked into small boxes with tissue for gifting — add a sticker or ribbon to personalize.
This playful treat is a hybrid of classic candy techniques and the American tradition of cereal-based confections. Rice Krispie treats date to the 1930s as an easy no-bake dessert, and the addition of caramel and whole marshmallows riffs on holiday chocolate-dipped confections. Combining sticky caramel and marshmallow elements reflects a love of contrasting textures that’s common in festive American sweets.
For holidays, tint melted white chocolate and drizzle over the finished pieces, or use colored sprinkles after rolling. Pumpkin-spiced caramels or a pinch of cinnamon in the caramel sauce adds autumnal warmth. Around Valentine’s Day, use heart-shaped sprinkles or dip half in pink-tinted white chocolate for a romantic twist.
Make them ahead for party prep: finish the balls and freeze, then thaw and package the day of the event. For school lunches, keep in a small airtight container with a paper towel to absorb condensation. When scaling up, melt the caramel in batches to maintain an even texture and avoid overheating. Using a wide bowl for rolling speeds up assembly when you have multiple helpers.
These caramel marshmallow Rice Krispie balls are a little bit nostalgic, a little bit fancy, and entirely approachable. Whether you’re making them with kids or assembling a platter for a party, they’re a reminder that simple ingredients and a bit of patience can produce a memorable treat. Give the recipe a try, and don’t be surprised if it becomes a seasonal staple in your home too.
Warm the bowl slightly before rolling if the cereal is cold so it adheres more evenly.
Work in small batches to prevent the caramel from cooling and stiffening while you’re still dipping.
If the caramel becomes too thick, warm it gently over the lowest heat or briefly in the microwave in 10-second bursts.
Use toothpicks or wooden skewers for neater dipping and easier removal once set.
This nourishing caramel marshmallow rice krispie balls recipe is sure to be a staple in your kitchen. Enjoy every moist, high protein slice — it is perfect for breakfast or as a wholesome snack any time.
Yes — these freeze well. Freeze in a single layer until solid, then transfer to an airtight container for up to three months. Thaw overnight in the refrigerator.
Use a toothpick or skewer and pull it straight out after the coating firms; wiggle gently if it resists. Alternatively, poke from the top if the stick is too embedded.
This Caramel Marshmallow Rice Krispie Balls recipe makes perfectly juicy, tender, and flavorful steak every time! Serve with potatoes and a side salad for an unforgettable dinner in under 30 minutes.
Unwrap caramels and measure the condensed milk and butter. Line a cookie sheet with parchment and pour the cereal into a wide bowl. Insert toothpicks into each marshmallow for dipping.
In a medium saucepan over medium-low heat combine caramels, sweetened condensed milk, and butter. Stir constantly for about 5–7 minutes until smooth and glossy, taking care not to scorch.
Using a toothpick, dip each marshmallow into the hot caramel, rotating to coat evenly and tapping excess back into the pan. Work efficiently before the caramel firms.
Immediately roll the caramel-coated marshmallow in the Rice Krispies, pressing gently to adhere. Place on the parchment-lined sheet and carefully remove the toothpick.
Allow to set at room temperature about 30 minutes or chill 15–20 minutes to firm. Store in an airtight container in the refrigerator up to 7 days or freeze for longer storage.
Last Step: Please leave a rating and comment letting us know how you liked this recipe! This helps our business to thrive and continue providing free, high-quality recipes for you.
Leave a comment & rating below or tag
@savoryte on social media!

Flaky pan-seared tilapia topped with a velvety lemon butter sauce. Quick to cook, bright with citrus, and weeknight-easy yet dinner-party special.

Start your morning with veggie-loaded, protein-packed egg muffins at just 50 calories each. Perfect for make-ahead breakfasts, freezer-friendly, and easy to customize.

Crispy, cheesy, and ready in minutes, this viral tortilla fold layers bacon, egg, avocado, and melty cheese into a perfectly portable triangle.
Leave a comment & rating below or tag @savoryte on social media!
Enjoyed this recipe? Share it with friends and family, and don't forget to leave a review!
This recipe looks amazing! Can't wait to try it.
Comments are stored locally in your browser. Server comments are displayed alongside your local comments.

Join to receive our email series which contains a round-up of some of our quick and easy family favorite recipes.
