
>>

Chewy Rice Krispies bars with a creamy peanut butter base and a silky butterscotch–chocolate topping — an irresistible no-bake treat perfect for parties and lunchboxes.
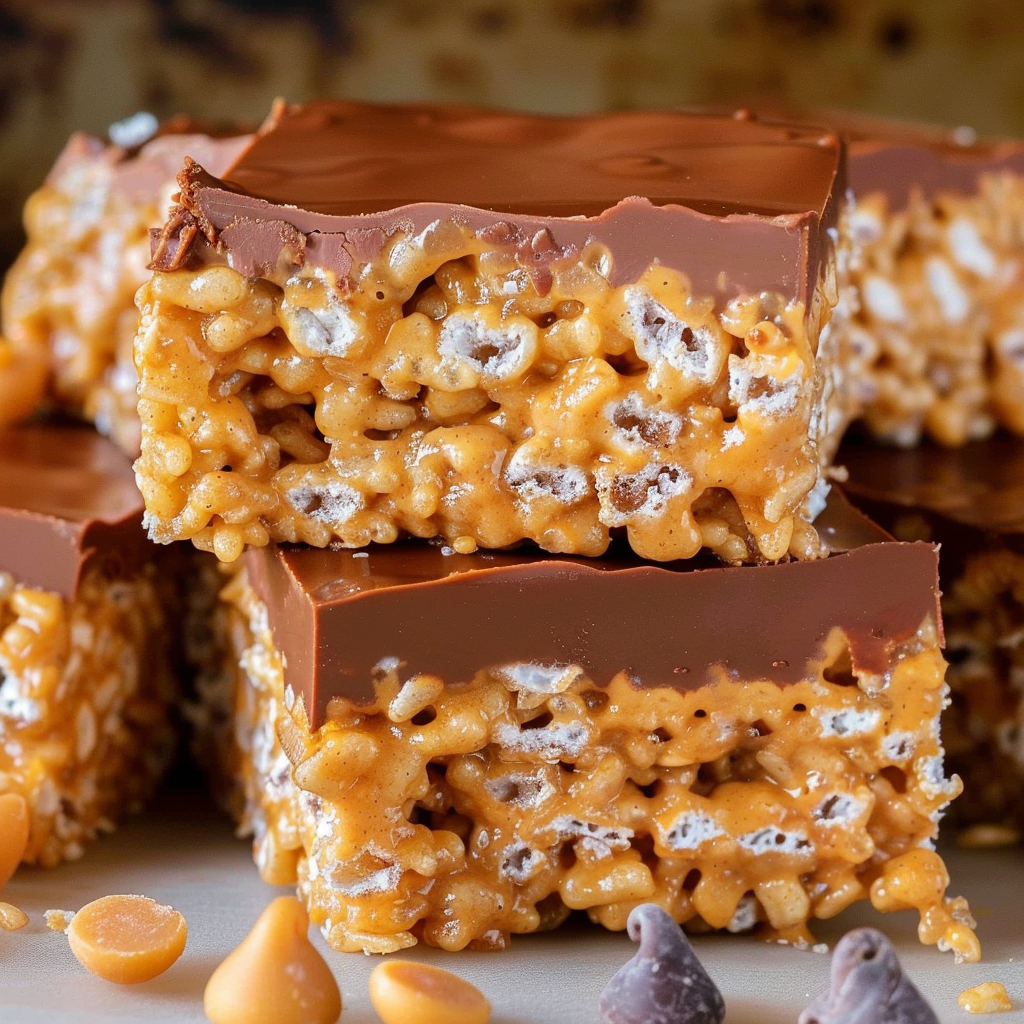
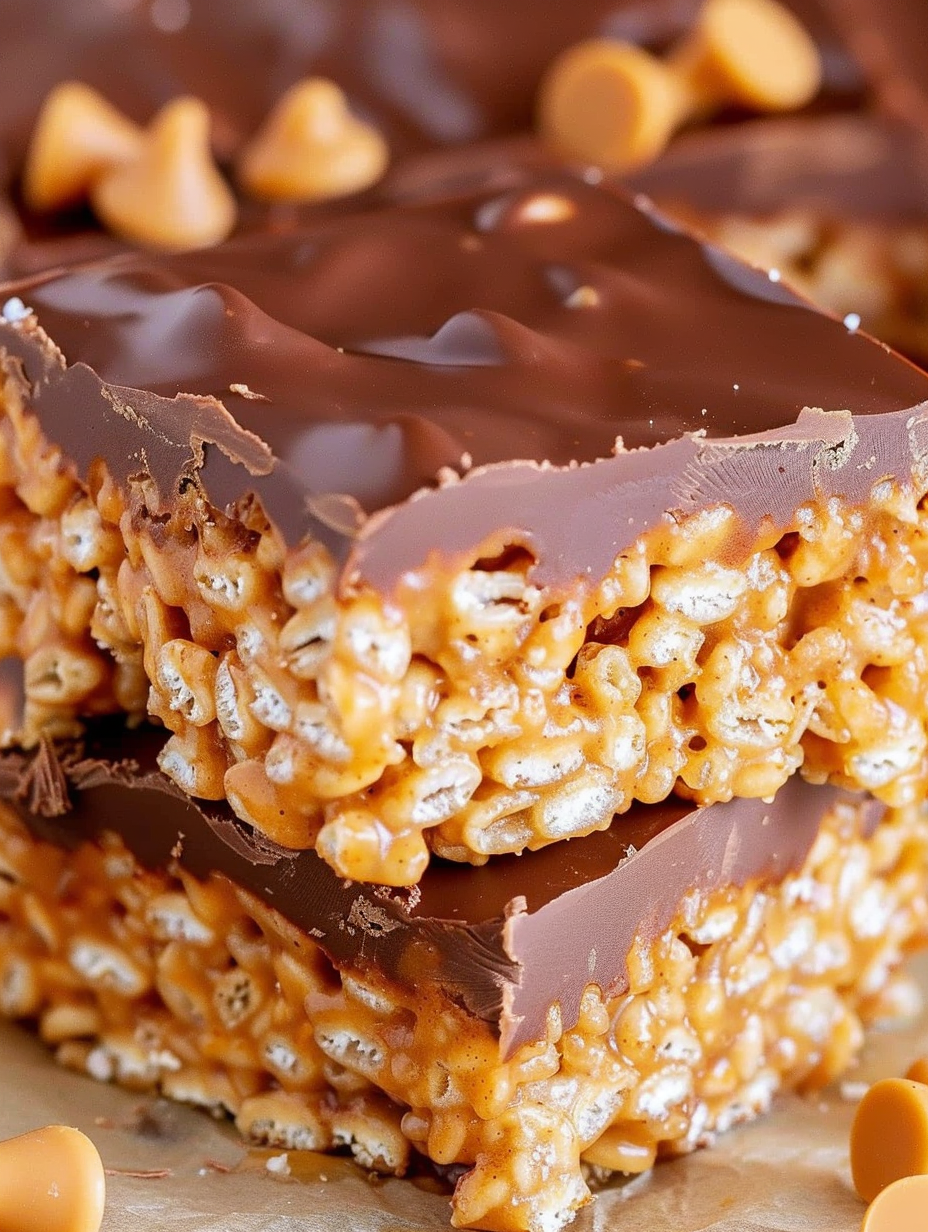
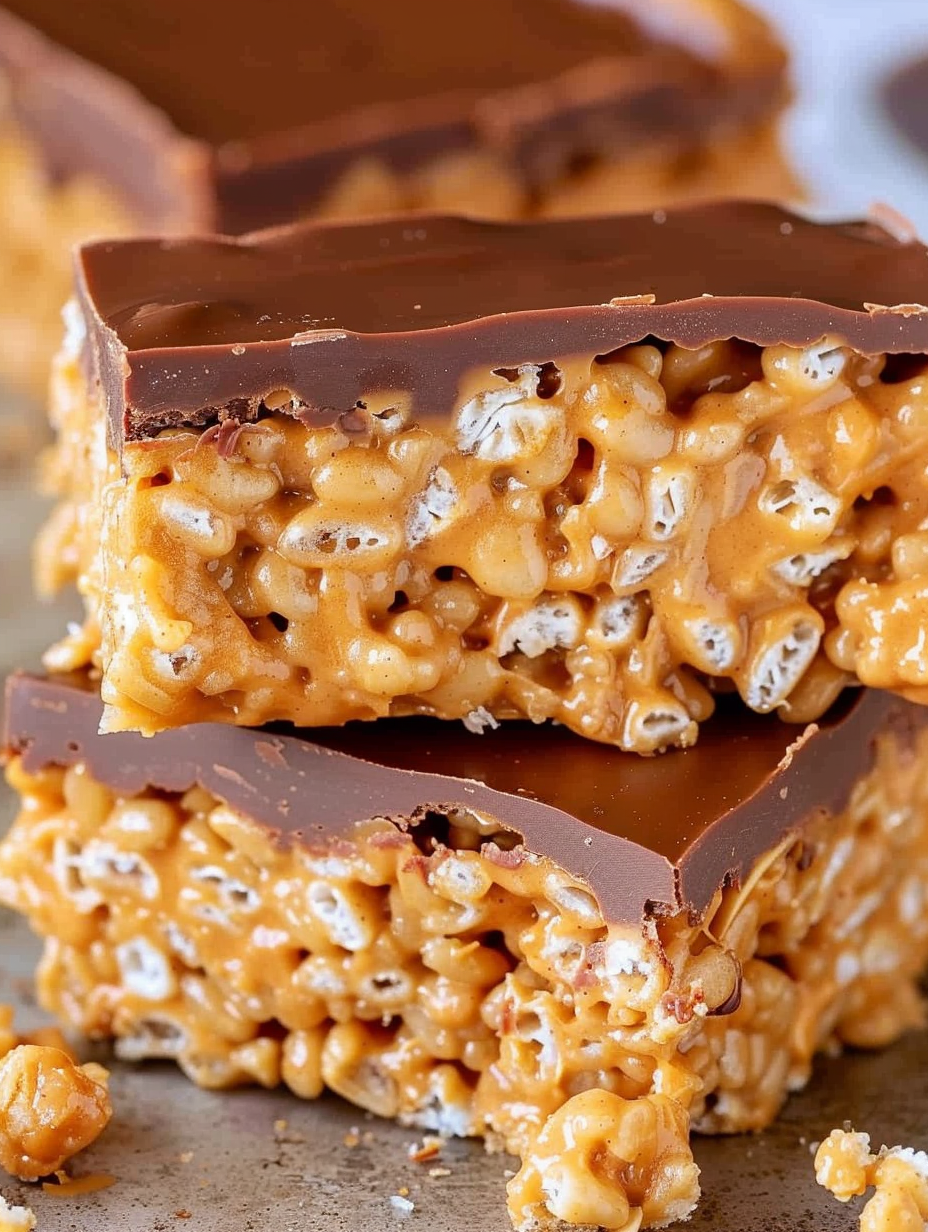
This recipe has been my go-to crowd-pleaser for years: a batch of chewy, peanut-buttery Rice Krispies bars crowned with a glossy layer of butterscotch and semi-sweet chocolate. I first discovered this combination at a summer bake sale when I was looking for a no-bake pick that traveled well and stayed tender without refrigeration. The first time I made them at home, my kids announced they were “better than store-bought,” and friends kept asking for the recipe at potlucks. The texture is the key — light, slightly springy cereal bound by a warm, sweet peanut butter syrup, finished with a smooth, split-flavor topping that balances creamy butterscotch and deep chocolate notes.
What makes these bars special is how quickly they come together and how reliably they delight every time. There’s no oven required, and the ingredients are pantry-friendly: Rice Krispies cereal, corn syrup, peanut butter, sugars, and two kinds of chips. The topping sets into a shiny, snappy layer that cuts cleanly if you chill it long enough. I often make a double batch for gatherings because they vanish faster than I can box them. Read on for exact tricks I use to keep the bars chewy but not dense, how to prevent grainy toppings, and ways to adapt the recipe for different occasions.
On the first holiday I made these, my aunt took one bite and asked if I’d packaged the recipe — it continues to be the treat folks request for bake sales and last-minute dessert tables. The combination of textures and the glossy topping always earns compliments.
My favorite part of making these is the moment the topping cools enough to run a knife through — the glossy split between butterscotch and chocolate looks like a little piece of craftsmanship. Family members often remember the scent of warm peanut butter mixed with corn syrup and sugar; it’s nostalgic and instantly comforting.
For short-term storage, keep the bars in an airtight container at room temperature for up to 48 hours; place a sheet of parchment between layers to prevent sticking. If you prefer a firmer topping, store them in the refrigerator — chilled bars slice more cleanly, though refrigeration can slightly firm the base. To freeze, wrap the pan tightly in plastic wrap and then foil, or cut into bars and freeze in a single layer on a baking sheet before transferring to a freezer bag. Thaw wrapped bars at room temperature for 20–30 minutes before serving for best texture.
To make a nut-free version, substitute 1 cup of sun butter or soy nut butter for the peanut butter, but be aware the flavor profile will shift. For a dairy-free or vegan version, choose dairy-free chocolate and butterscotch chips (some brands make vegan butterscotch or use caramel alternatives) and verify your peanut butter is vegan-friendly. If you want less sweetness, reduce granulated sugar to 1/3 cup and brown sugar to 1/3 cup, but keep corn syrup at 1 cup to maintain pliability. For gluten-free, ensure you use a certified gluten-free crisp rice cereal.
Cut bars into 15 squares and serve on a platter lined with parchment. Garnish individual pieces with a light sprinkle of flaky sea salt to contrast the sweetness, or add chopped roasted peanuts on top of the warm topping before it fully sets for extra crunch. Pair with coffee for dessert after dinner or pack them in lunchboxes as an occasional sweet treat. For a party tray, alternate with fresh fruit to balance sugar and texture.
These bars fall into the American tradition of cereal-based treats — quick, no-bake sweets often assembled at home for school functions and potlucks. The combination of peanut butter and butterscotch taps into classic mid-century American flavors, where convenience ingredients like corn syrup and flavored chips became pantry standards. Over time, these snacks evolved into many regional variants, but the core concept — cereal held together with a sweet binder and topped with a glossy layer — remains beloved for its simplicity and nostalgia.
In winter, stir in 1/2 cup chopped toasted pecans and a pinch of cinnamon into the cereal mix for a holiday twist. For summer gatherings, top the warm chocolate-butterscotch with a scattering of crushed freeze-dried raspberries for a bright contrast. For autumn, replace half of the semi-sweet chips with cinnamon-molasses chips or fold in small bits of candied ginger for warmth. These swaps let the basic technique shine while adapting to seasonal flavors.
Make the base mixture up to one day ahead and press into the pan, cover tightly, then prepare the topping and finish the day you plan to serve so the topping appears fresh and glossy. Alternatively, fully assemble and freeze in individual portions; wrap each bar in parchment and foil so guests can grab a treat without thawing the entire batch. Use a serrated knife warmed under hot water (wiped dry) to slice neat bars after chilling.
These bars are a simple, nostalgic indulgence that reward a small bit of patience at the end — letting the topping set yields a professional-looking finish. Try the variations, tuck a few into a friend’s care package, and watch them disappear.
Warm the peanut butter slightly if it’s very stiff to ensure a smooth, even coating on the cereal.
Use a clean, dry saucepan for melting chips and stir constantly over low heat to avoid scorching.
Press the cereal mixture gently into the pan — pressing too hard will make dense, chewy bars instead of light ones.
If the topping becomes grainy, remove from heat immediately and stir vigorously; a splash of neutral oil can sometimes help smooth it.
This nourishing the best scotcheroos recipe is sure to be a staple in your kitchen. Enjoy every moist, high protein slice — it is perfect for breakfast or as a wholesome snack any time.
This The Best Scotcheroos recipe makes perfectly juicy, tender, and flavorful steak every time! Serve with potatoes and a side salad for an unforgettable dinner in under 30 minutes.
Spray a 9 x 13-inch baking dish with cooking spray or line with parchment. Place 6 cups Rice Krispies cereal into a large bowl and set aside.
Combine 1 cup light corn syrup, 1 cup peanut butter, 1/2 cup packed light brown sugar, 1/2 cup granulated sugar and 1/2 teaspoon salt in a medium saucepan. Heat over medium-low, stirring constantly until fully melted, smooth and glossy, about 3–5 minutes.
Remove pan from heat and immediately stir in 1 teaspoon vanilla extract. Pour the warm mixture over the cereal and stir quickly with a wooden spoon until evenly coated.
Transfer coated cereal to the prepared dish and press evenly using parchment or an offset spatula. Press gently to avoid compacting the mixture; you want a cohesive but airy texture.
Place 11 ounces butterscotch chips and 1 1/2 cups semi-sweet chocolate chips in a medium saucepan and heat over medium-low. Stir constantly until completely smooth, about 4–6 minutes, or use a double boiler to reduce risk of burning.
Pour the melted topping evenly over the cereal layer and smooth with an offset spatula. Let sit at room temperature for at least 2 hours until the topping is set before cutting into 15 bars.
Last Step: Please leave a rating and comment letting us know how you liked this recipe! This helps our business to thrive and continue providing free, high-quality recipes for you.
Leave a comment & rating below or tag
@savoryte on social media!

Flaky pan-seared tilapia topped with a velvety lemon butter sauce. Quick to cook, bright with citrus, and weeknight-easy yet dinner-party special.

Start your morning with veggie-loaded, protein-packed egg muffins at just 50 calories each. Perfect for make-ahead breakfasts, freezer-friendly, and easy to customize.

Crispy, cheesy, and ready in minutes, this viral tortilla fold layers bacon, egg, avocado, and melty cheese into a perfectly portable triangle.
Leave a comment & rating below or tag @savoryte on social media!
Enjoyed this recipe? Share it with friends and family, and don't forget to leave a review!
This recipe looks amazing! Can't wait to try it.
Comments are stored locally in your browser. Server comments are displayed alongside your local comments.

Join to receive our email series which contains a round-up of some of our quick and easy family favorite recipes.
