
>>

Crispy, low carb zucchini chips coated in parmesan and spices. A keto friendly, healthier alternative to potato chips that is easy to make and addictive.
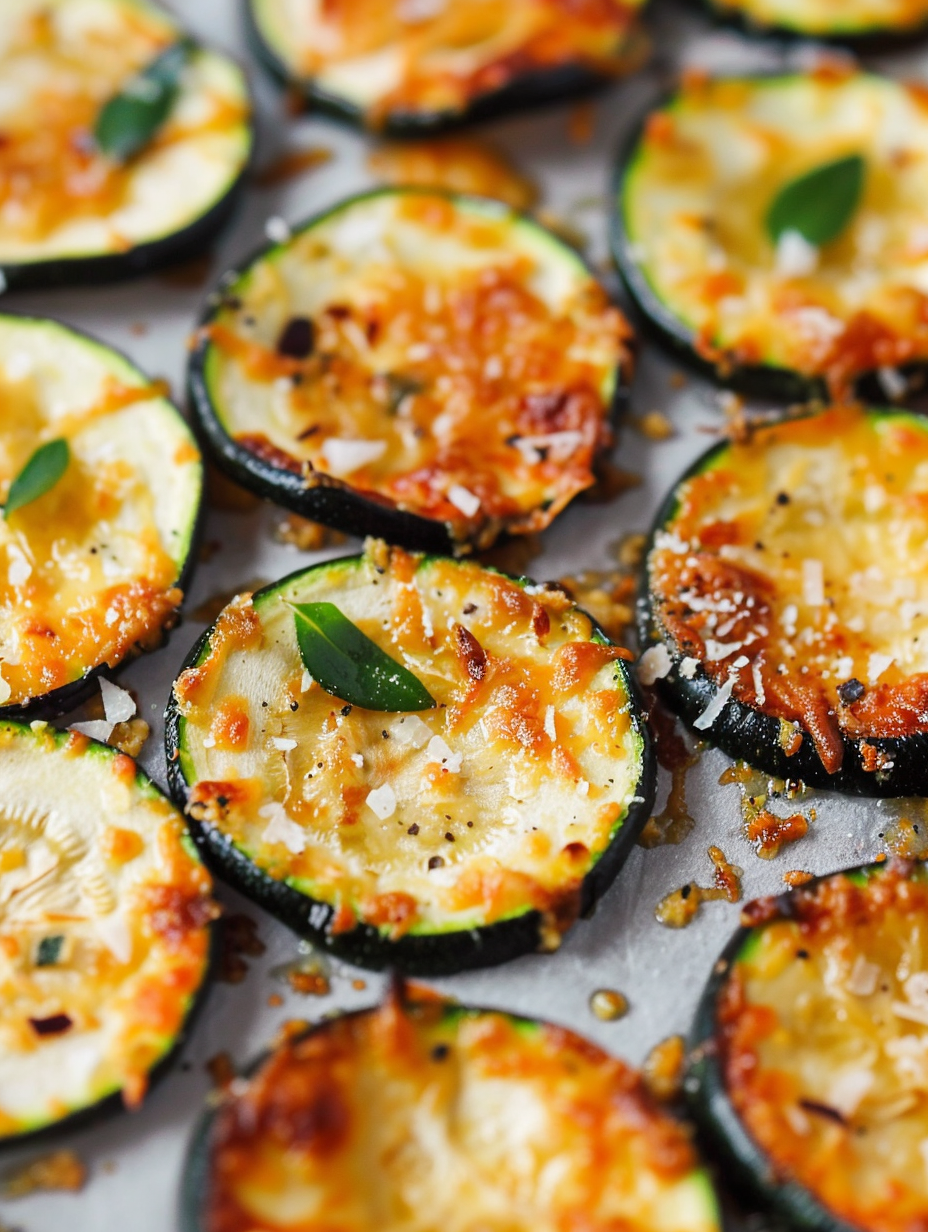
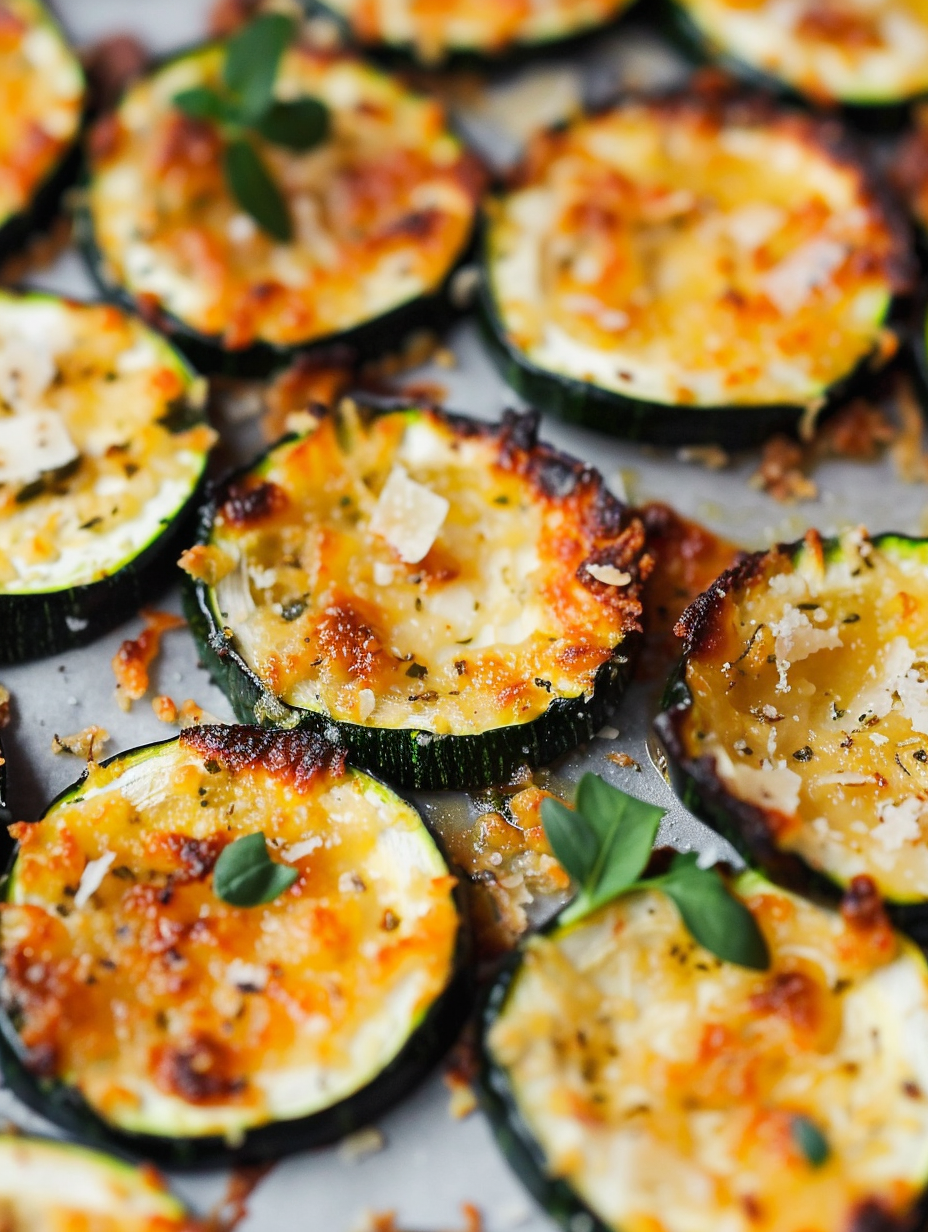
This recipe for baked zucchini chips has been a summer staple in my kitchen ever since the first backyard zucchini haul forced me to get creative. I discovered the combination of thinly sliced zucchini, a light olive oil coating and a generous dusting of finely grated parmesan on an afternoon when I wanted something salty and crunchy without reaching for a bag of potato chips. The result surprised me. The chips bake up with golden, lacy edges and a tender yet crisp center that makes them a satisfying snack or appetizer
What makes these chips special is how quickly they come together and how well they balance texture and flavor. The parmesan browns and forms tiny crisp pockets that contrast with the zucchini body. The touch of garlic powder and paprika brings savory warmth and a hint of smokiness. I serve them at parties and nobody complains about portion control. They are low in carbohydrates and fit a ketogenic plan when eaten in reasonable amounts which is why they have become my go to when friends ask for a lighter snack option.
My family reacts the same way every time I make a batch. The first round is always a test to see if they will like them and by the second tray the bowl is empty. The recipe also taught me a simple lesson about moisture control. Salting the slices first and blotting the surface can change the crunch dramatically and now I salt when I want the crispiest results. Little refinements like using finely grated parmesan over coarser shreds make a surprising difference.

My favorite part of this method is how approachable it is. Little changes such as switching to smoked paprika or swapping olive oil spray for a light brushing allow me to customize for different occasions. I once made three trays for a summer picnic and everyone kept asking what else I had served because the bowl emptied so quickly. The parmesan driven flavor keeps the chips interesting even when eaten plain which is why they become the snack that disappears first.
Store cooled chips in an airtight container at room temperature for up to three days. Avoid refrigerating since moisture in the fridge will soften them. If they lose crunch, warm them in a preheated 250 F oven for 5 to 8 minutes on a baking sheet to re crisp. Use parchment or a wire rack for cooling and storage to maintain airflow and prevent steam from collecting on the underside. If you make a large batch separate layers with paper towels to absorb any residual moisture.
If you need to swap ingredients try these simple changes. Replace olive oil with avocado oil for a neutral flavor and a slightly higher smoking point. Use Pecorino Romano for a saltier and sharper finish but reduce added salt by one quarter. For a dairy free version try a thin sprinkle of nutritional yeast to mimic a cheesy note keeping in mind the texture will not crisp exactly the same. If you prefer less salt reduce the added salt to 1/4 teaspoon and rely on the cheese for seasoning.
Serve these chips with a cooling dip such as tzatziki, a simple herbed Greek yogurt dip, or a lemony garlic aioli. They pair well with fresh vegetables and a crisp white wine or a light beer. For a party arrange them in a shallow bowl with small ramekins of dipping sauces around for color contrast. Garnish with finely chopped parsley or a squeeze of lemon to brighten the parmesan richness.
Slicing vegetables thinly and baking them until crisp is a technique seen in many culinary traditions where frugality and texture meet. While potato chips trace to European and American snack history, turning summer squash into crisp bites draws from coastal Mediterranean kitchens where vegetables are emphasized seasonally. The use of parmesan nods to Italian influence and adds the umami punch that makes these chips feel indulgent while remaining light.
In summer use fresh garden zucchini and experiment with herbs like fresh thyme or oregano added after baking. In cooler months try the same technique with thinly sliced sweet potatoes or beets but lower the oven temperature slightly and extend cooking time since root vegetables hold more moisture. For a holiday twist add a pinch of ground cayenne and swap the garlic powder for onion powder to create a spicier chip for game day or festive trays.
For make ahead snacks, bake the chips fully and cool completely before storing in an airtight container layered with paper towels. Portion into small jars or snack bags for grab and go convenience. If you plan to re crisp, schedule a quick reheat in the oven just before serving. When prepping for a crowd I slice zucchinis in the morning and keep the slices on a rack in the refrigerator to air dry which shortens baking time and helps obtain consistent crunch.
These baked zucchini chips are an easy, crowd friendly snack that rewards precise slicing and simple technique. Try them the next time you want something crunchy, savory and just a little bit healthier than traditional options. Share a tray with friends and see how quickly they vanish.
Slice uniformly about 1/8 inch thick for even cooking and consistent crispness.
Salt and rest slices in a colander for 15 to 20 minutes then pat dry to reduce moisture and improve crisping.
Use freshly grated parmesan from a wedge for better browning and flavor compared with pre shredded cheese.
Bake on parchment or a silicone mat and avoid overlapping slices to prevent steaming.
If chips soften after storage, re crisp in a 250 F oven for 5 to 8 minutes on a baking sheet.
This nourishing baked zucchini chips recipe is sure to be a staple in your kitchen. Enjoy every moist, high protein slice — it is perfect for breakfast or as a wholesome snack any time.
Slice the zucchini thinly and optionally salt and blot slices for 15 to 20 minutes to remove excess moisture. Pat dry before tossing with oil and baking.
Either lightly greased parchment paper or a silicone mat works. I prefer slightly greased parchment for easier removal and crisping.
Store at room temperature in an airtight container for up to 3 days. Re crisp in a 250 F oven for a few minutes if needed.
Arrange in a single layer in the air fryer basket and cook at 360 F for about 10 to 15 minutes, shaking halfway through. The basket size may require multiple batches.
You can omit oil but expect less crisp texture. The oil helps the parmesan brown and form the crisp pockets that create crunch.
This Baked Zucchini Chips recipe makes perfectly juicy, tender, and flavorful steak every time! Serve with potatoes and a side salad for an unforgettable dinner in under 30 minutes.
Preheat the oven to 375 F and line a rimmed baking sheet with lightly greased parchment paper or a silicone mat to prevent sticking.
Slice zucchini into rounds about 1/8 inch thick using a mandoline or sharp knife. Uniform thickness ensures even baking.
For crisper chips, sprinkle slices with salt and rest in a colander for 15 to 20 minutes, then pat dry with paper towels.
Combine olive oil, salt, pepper, paprika and garlic powder in a bowl, then toss the zucchini slices until lightly coated.
Lay slices in a single layer on the prepared sheet and sprinkle evenly with finely grated parmesan to form a thin top layer.
Bake at 375 F for 15 to 17 minutes until edges brown and cheese turns golden. Cool on the sheet for several minutes to firm up before serving.
Last Step: Please leave a rating and comment letting us know how you liked this recipe! This helps our business to thrive and continue providing free, high-quality recipes for you.
Leave a comment & rating below or tag
@savoryte on social media!

Flaky pan-seared tilapia topped with a velvety lemon butter sauce. Quick to cook, bright with citrus, and weeknight-easy yet dinner-party special.

Start your morning with veggie-loaded, protein-packed egg muffins at just 50 calories each. Perfect for make-ahead breakfasts, freezer-friendly, and easy to customize.

Crispy, cheesy, and ready in minutes, this viral tortilla fold layers bacon, egg, avocado, and melty cheese into a perfectly portable triangle.
Leave a comment & rating below or tag @savoryte on social media!
Enjoyed this recipe? Share it with friends and family, and don't forget to leave a review!
This recipe looks amazing! Can't wait to try it.
Comments are stored locally in your browser. Server comments are displayed alongside your local comments.

Join to receive our email series which contains a round-up of some of our quick and easy family favorite recipes.
