
>>

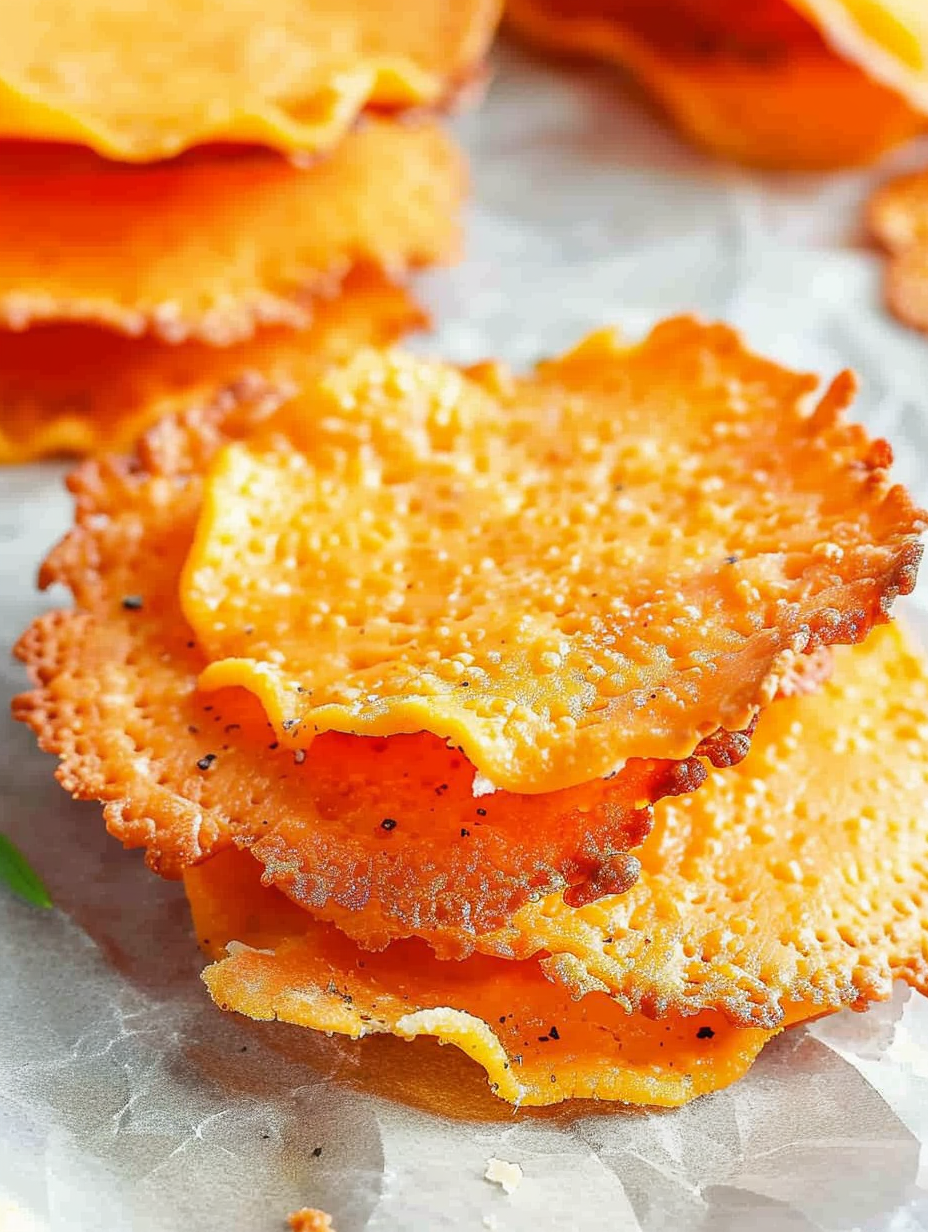
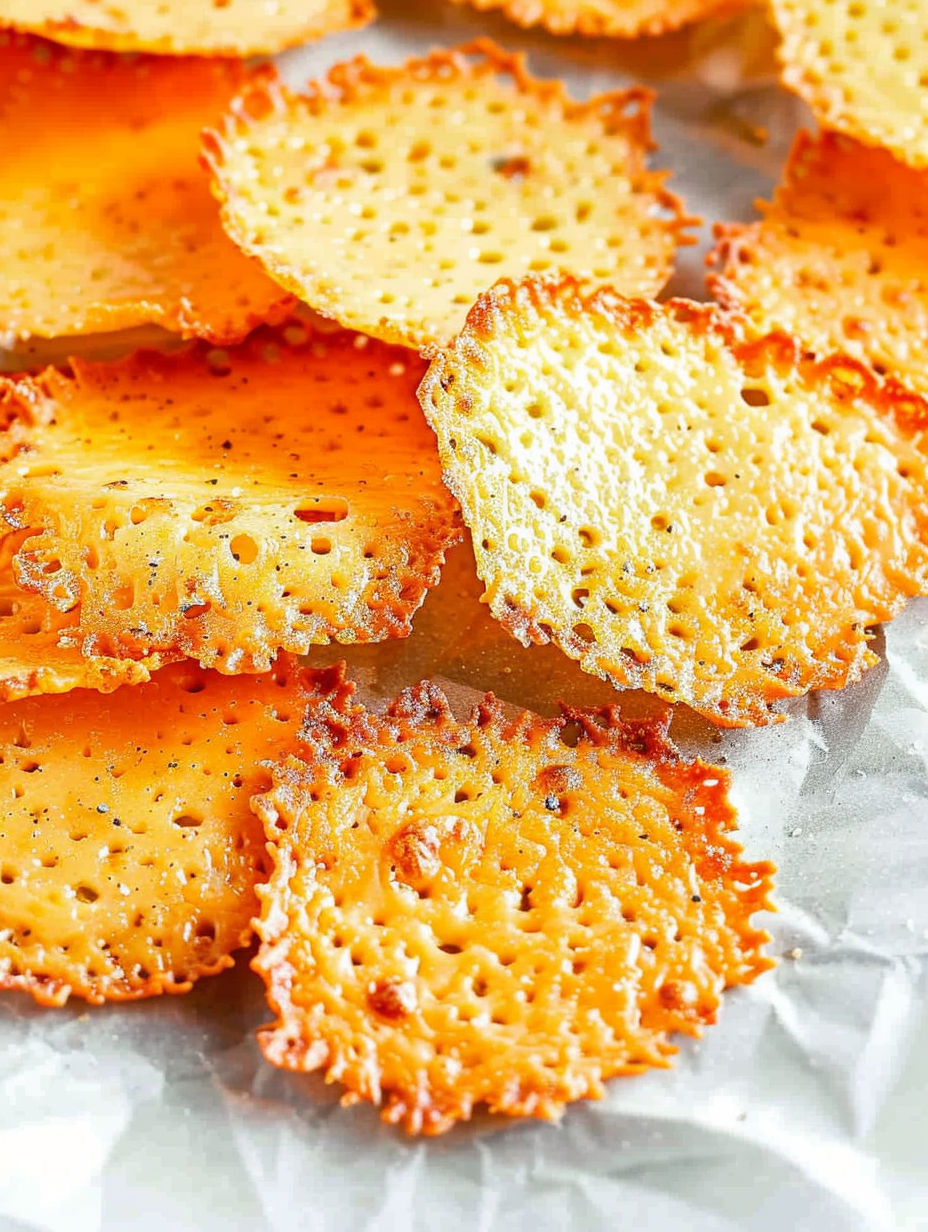
Super-easy baked cheese crisps — ready in 10 minutes, customizable, and perfect for low-carb snacking or party nibbles.

This recipe for baked cheese crisps has been my go-to when I want something salty, crunchy, and impossibly fast. I first discovered this method during a late-night craving session: a single cup of shredded cheddar turned into a tray of golden, lacy crisps in under 10 minutes, and the whole house smelled like comfort. Since then these little rounds have become my pantry rescue for sudden guests, road-trip snack prep, and an afternoon nibble that satisfies crunchy cravings without hauling out the deep fryer.
What makes these so special is their simplicity — just cheese, a pinch of garlic, and the right heat — but the results feel a little bit gourmet. The texture is crisp at the edges with a slightly firmer center when cooled, and the garlic gives a whisper of savory lift that makes them addictive. I love how customizable they are: swap cheeses, add herbs or seeds, or make mini ladylike tuiles to top soups or salads. These crisps live in my weekday rotation precisely because they’re fast, inexpensive, and always met with a cheer when I place a plate on the counter.
I remember serving these at a casual game night; people kept reaching for the tray even after pizza had been delivered. My sister insisted they tasted like a fancy cheese wafer from a charcuterie shop — a high compliment for two pantry items. Over time I've learned small tricks, like dabbing excess grease and spacing the mounds properly, that make the difference between limp crackers and perfectly crisp rounds.
One of my favorite things about these crisps is how forgiving they are: even if a batch comes out a touch too brown at the edges, the flavor is still excellent. I’ve learned that rotating pans halfway through baking can even out hot spots in older ovens. Family members have used them as a crunchy salad topper, a quick cheese plate element, or a crunchy side to tomato soup on chilly evenings.
Cool crisps completely before storing to preserve crunch. Layer them between sheets of parchment in an airtight container; this prevents sticking and keeps edges intact. In the refrigerator they’ll stay crisp for about one week. For longer storage, freeze in a single layer on a tray until solid, then transfer to a zip-top freezer bag with parchment dividers — they’ll last up to 3 months. Re-crisp at room temperature or for 1–2 minutes in a 300°F oven if they soften during storage.
Try Pecorino Romano or Parmesan for a saltier, nuttier profile — use the same volume, though harder cheeses may spread slightly less. For a spicy twist, substitute half the cheddar with pepper jack. If you want a dairy-free version, use a plant-based shredded cheese that is specifically formulated to melt; expect a slightly different texture. Reduce garlic powder to 1 teaspoon for a milder aroma, or swap for onion powder or smoked paprika for an alternate flavor direction.
Serve as a standalone snack with pickles and olives, or use as a crunchy garnish for salads and soups. They make a fun low-carb base for small bites: top each crisp with a slice of cherry tomato and basil or a dollop of herbed cream cheese. For party platters, pair with sliced meats, nuts, and a drizzle of honey for contrast. Arrange them in a fan shape on a wooden board and add fresh herbs for a pretty presentation.
Crisped cheese has roots in European kitchens where aged hard cheeses were often pan-fried or broiled to make quick snacks and garnishes. Modern oven-baked crisps are a natural evolution, driven by the convenience of home baking and the popularity of low-carb snacking. Variations appear in Italian cucina as "frico" (a fried cheese crisp) and in contemporary American snack culture as baked cheese crisps on charcuterie boards — a simple technique that highlights the flavor of aged cheese.
In winter, add warm spices like smoked paprika and a pinch of cayenne to pair with hearty soups. Spring and summer benefit from fresh herb accents such as chopped chives or dill sprinkled on right after baking. For holiday entertaining, press festive toppings like finely chopped pistachios or rosemary onto the warm cheese for a colorful, aromatic twist. The base technique stays the same — just vary the toppings to suit seasonal produce and flavors.
Batch-bake multiple sheets and cool completely, then store in separate airtight containers for easy grab-and-go snacks. Portion into single-serving bags for lunches or picnic packs. If using crisps as salad toppers during the week, store them separately and only add to salads just before serving to prevent sogginess. For quick reheating, 1–2 minutes in a 300°F oven will revive their snap without over-browning.
These crisps are small pleasures that transform simple ingredients into something celebratory. Whether you’re feeding a crowd or looking for a quick afternoon pick-me-up, they deliver big flavor with zero fuss — try your favorite cheese combos and make them your own.
Use freshly shredded cheese from a block to improve melting and browning; pre-shredded cheese contains anti-caking agents that can change texture.
Remove excess grease with a paper towel while crisps are still warm to maintain a crisp texture.
Space mounds at least 2 inches apart; the cheese spreads more than you expect as it melts.
Watch the oven closely during the last 2 minutes — cheese can go from golden to burnt quickly.
Cool crisps completely on a wire rack before storing to preserve crunch.
This nourishing baked cheese crisps recipe is sure to be a staple in your kitchen. Enjoy every moist, high protein slice — it is perfect for breakfast or as a wholesome snack any time.
This Baked Cheese Crisps recipe makes perfectly juicy, tender, and flavorful steak every time! Serve with potatoes and a side salad for an unforgettable dinner in under 30 minutes.
Preheat oven to 350°F. Line one or two baking sheets with parchment paper and position a rack in the middle of the oven.
Drop 1 tablespoon piles of shredded cheddar on the parchment, spacing about 2 inches apart to allow spreading.
Sprinkle each mound with a pinch of garlic powder (dividing the 2 teaspoons across the batch) and any optional seasonings; press seeds into the top if using.
Bake for 5–8 minutes, watching closely. Remove when the edges are golden brown and the centers have set.
Lift the parchment onto a cooling rack and let crisps cool for 3–5 minutes. Dab tops with a paper towel if visible grease is present to keep them crisp.
Once cooled, stack with parchment between layers in an airtight container. Refrigerate up to one week or freeze for up to three months.
Last Step: Please leave a rating and comment letting us know how you liked this recipe! This helps our business to thrive and continue providing free, high-quality recipes for you.
Leave a comment & rating below or tag
@savoryte on social media!

Flaky pan-seared tilapia topped with a velvety lemon butter sauce. Quick to cook, bright with citrus, and weeknight-easy yet dinner-party special.

Start your morning with veggie-loaded, protein-packed egg muffins at just 50 calories each. Perfect for make-ahead breakfasts, freezer-friendly, and easy to customize.

Crispy, cheesy, and ready in minutes, this viral tortilla fold layers bacon, egg, avocado, and melty cheese into a perfectly portable triangle.
Leave a comment & rating below or tag @savoryte on social media!
Enjoyed this recipe? Share it with friends and family, and don't forget to leave a review!
This recipe looks amazing! Can't wait to try it.
Comments are stored locally in your browser. Server comments are displayed alongside your local comments.

Join to receive our email series which contains a round-up of some of our quick and easy family favorite recipes.
